gregorydragon
Juvie Member
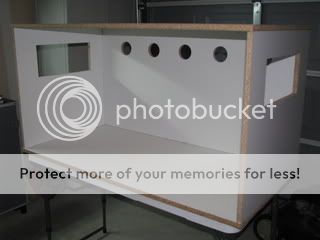
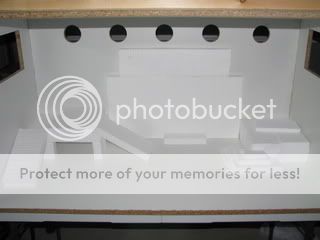
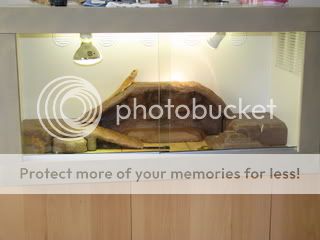
I finally finished the last touch of Mango's viv this weekend, which was the middle section of the rock wall. He hung out on it all day so I know he loves it. The viv itself took me a few weeks because I could only work on it a few hours at a time every couple of days. As you can see, I started on the fake rock idea before the viv was complete. And I grouted the tile in. This bad boy is HEAVY!!! I have to fixtures installed to provide two basking spots, but the main basking spot (under the MVB) gets up to the 115-117 range with both of them on. It also makes the cool side stay in the 90-95 range so I only have one light on at a time. I want to add more, but I just can't figure out what to do yet. N-E-Way, here are the pics:
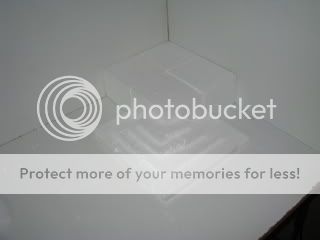
Shell
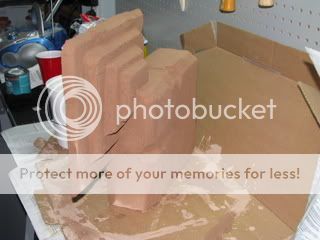
Drafting for fake rock

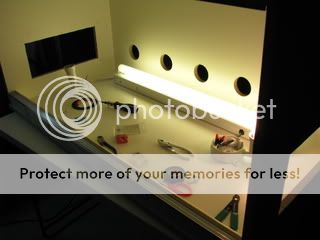
Lights

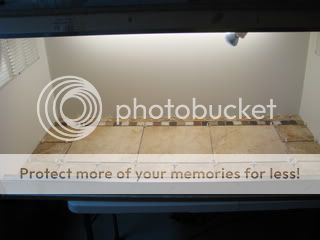
Tile
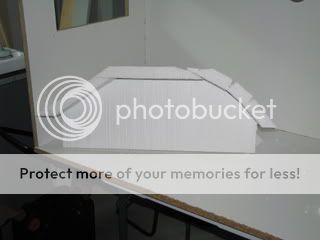
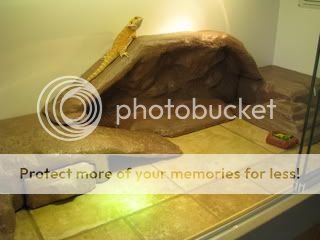
I finished this piece of the fake rock first and used some old furnishings from his smaller tank. I needed to test the temps and elevation under the MVB before I started making the fake rock on the left side.
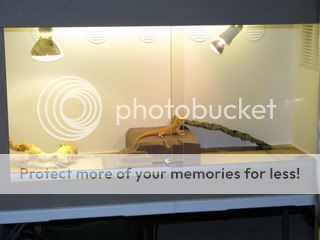
Finally Complete!!!
I only have both basking lights on for the pic.
Loving it!
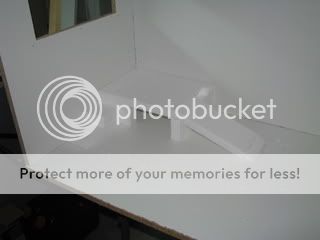
Oh! I just remembered something. The very last piece that I completed was actually the little rectangular piece on the left of the viv between the ramp and the stairs. This is a cave. I put the ramp/stair piece in there for two days before I completed the back bridge. He didn't want to come out of there. I kept taking him back out and was considering making a whole new piece for that side. My brilliant wife asked why wouldn't I just make something to cover it up during the day. So I made a "door" to block it during the day. I ended up taking the big piece out until the door was done. When he is out, he is active and walks around a lot. Some day, if he starts to brumate, I'll just let him stay in there.
Shell
Drafting for fake rock
Lights
Tile
I finished this piece of the fake rock first and used some old furnishings from his smaller tank. I needed to test the temps and elevation under the MVB before I started making the fake rock on the left side.
Finally Complete!!!
I only have both basking lights on for the pic.
Loving it!
Oh! I just remembered something. The very last piece that I completed was actually the little rectangular piece on the left of the viv between the ramp and the stairs. This is a cave. I put the ramp/stair piece in there for two days before I completed the back bridge. He didn't want to come out of there. I kept taking him back out and was considering making a whole new piece for that side. My brilliant wife asked why wouldn't I just make something to cover it up during the day. So I made a "door" to block it during the day. I ended up taking the big piece out until the door was done. When he is out, he is active and walks around a lot. Some day, if he starts to brumate, I'll just let him stay in there.


