Entertainment center viv.

Status
Not open for further replies.
I'm building an entertainment center viv for my sons beardie. She's about 8 months old and has outgrown her 20 long tank. I haven't got the lighting figured out quite yet, but the rest is mostly figured out. It's gonna be 6'x4'x2' with the viv area about 2.5' high. I'm using 1'x2' tiles for the flooring and a 2'x4'x1/8" piece of plexiglass that I'll cut in half for the doors. I'm not a carpenter so il just winging it and hoping for the best!

The plans.

IMG_0868.jpg


The materials so far.

IMG_0869.jpg


The side panels cut.

IMG_0871.jpg


I still have a few more cuts to make and then I'll start assembly.
 

limited279

Member
Original Poster
Got all of the main parts put together. Still need vents and lighting though. Any suggestions will be grateful! Here are the pics, a couple of progress and a couple with Kalos in her future new home.

Looking like a cubbord

IMG_0881.jpg


Looking like a desk

IMG_0882.jpg


Now we're getting somewhere

IMG_0884.jpg


Kalos looks so small in there!

IMG_0883.jpg
 

bjosephs

Member
Looks really good if you ask me. Definitely better than the 4X2X2 I started over the weekend. Keep us updated.


-Brian
 

limited279

Member
Original Poster
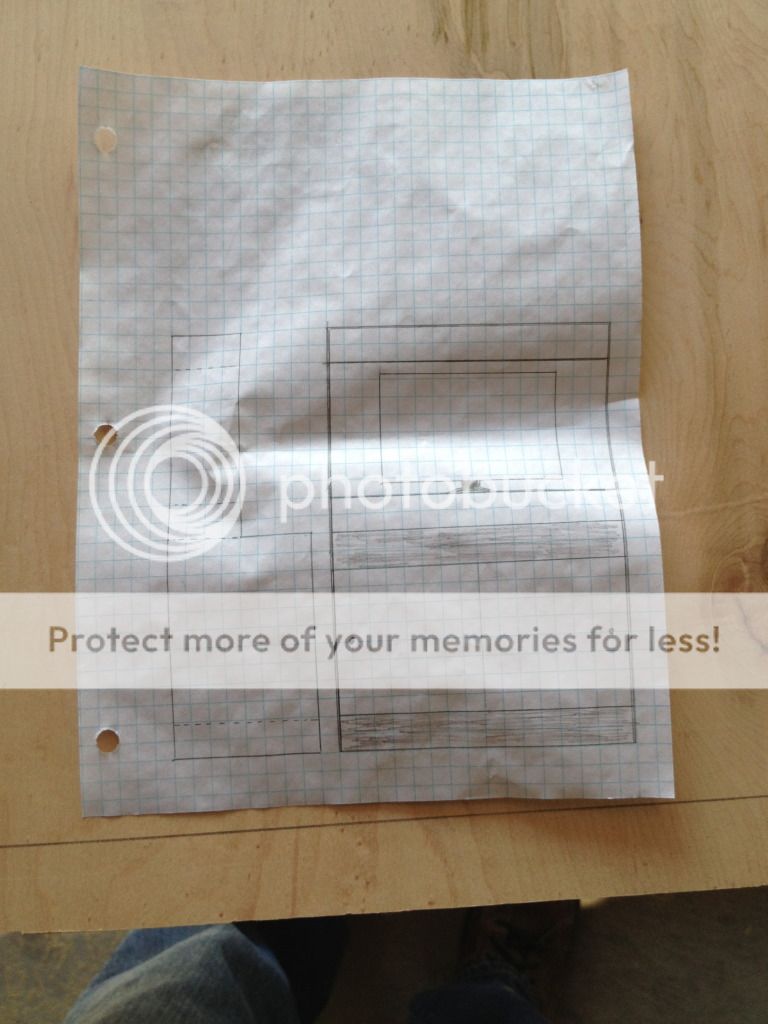
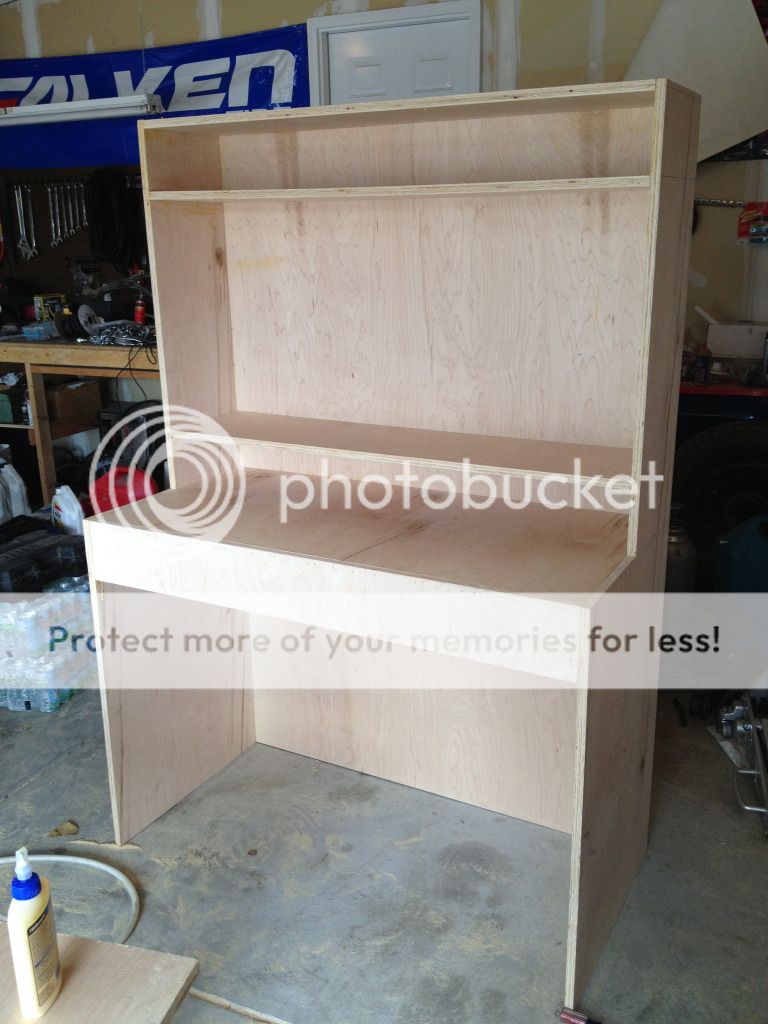
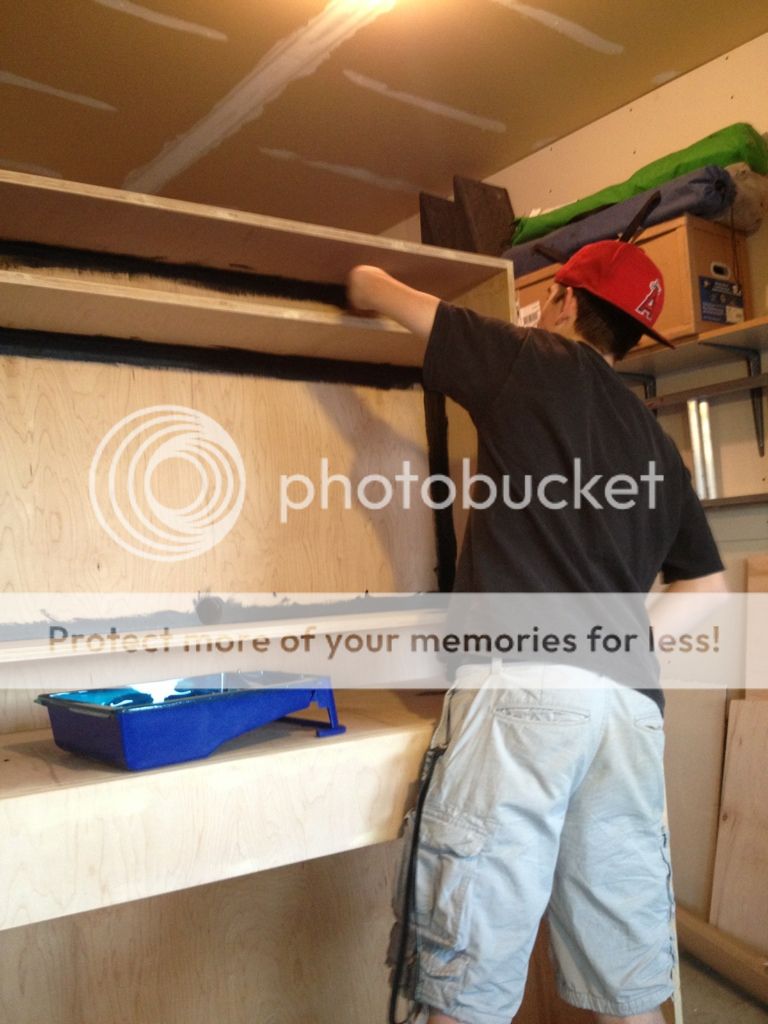
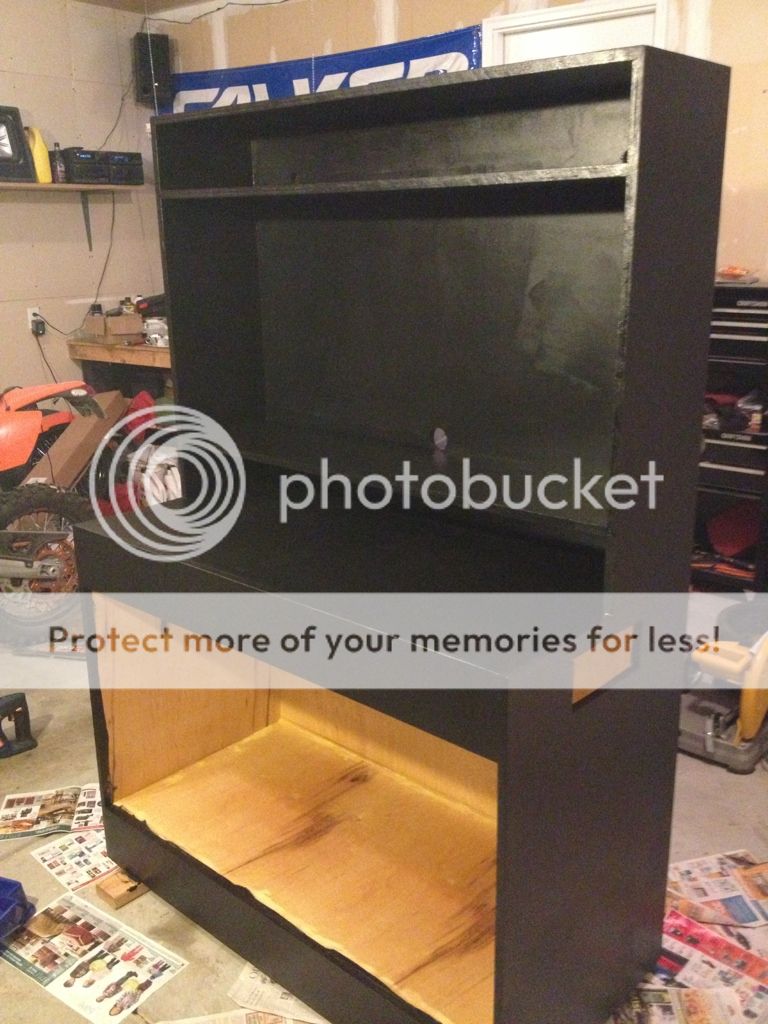
I haven't done much on this until today. During the week I used putty to fill in the nail holes and fill in some gaps. A table saw would really have helped cutting a straiter edge but with what I have it ain't to bad. After a bit of sanding I was happy with the result. I also changed my idea of using the channel I found at Lowe's and ordered some sliding door track. after a quick google search I found this 
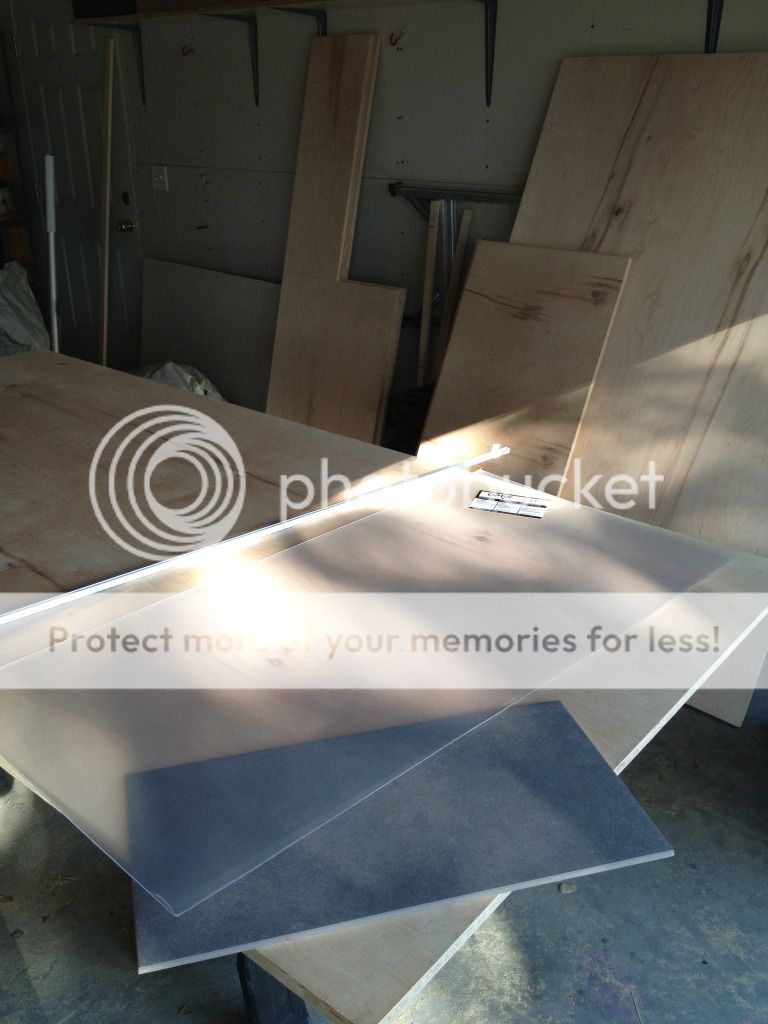
http://www.rockler.com/product.cfm?page=2275&site=ROCKLER I did order it through amazon and got it in 4 days! The packaging was way more than I expected, the rails were shrink wrapped to a piece of wood then wrapped in cardboard. $25 and change shipped, not bad since I couldn't find it locally. I decided to go with glass since it is going to be the same price as plexiglass and will last longer and not get scratched up as easy.
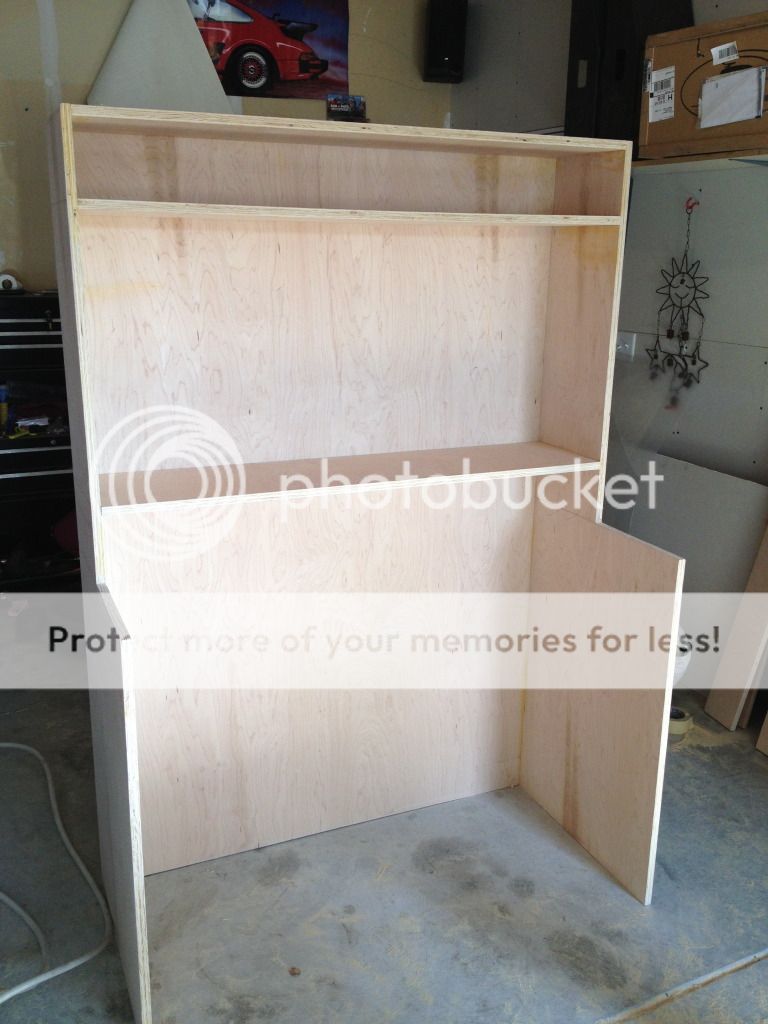
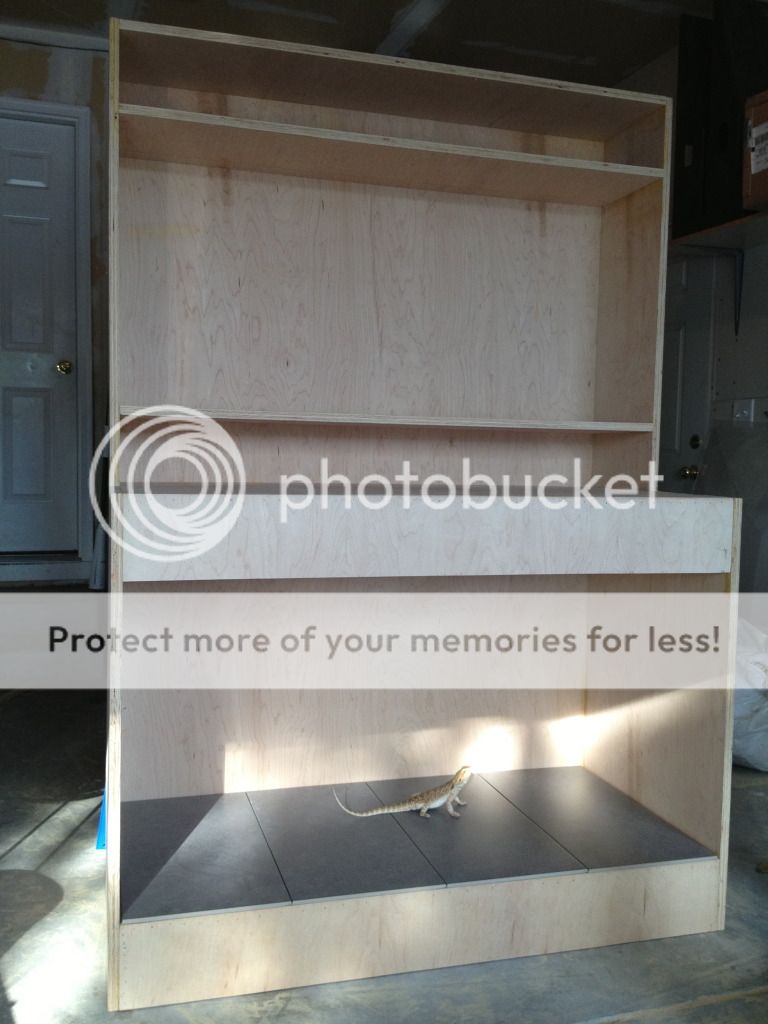
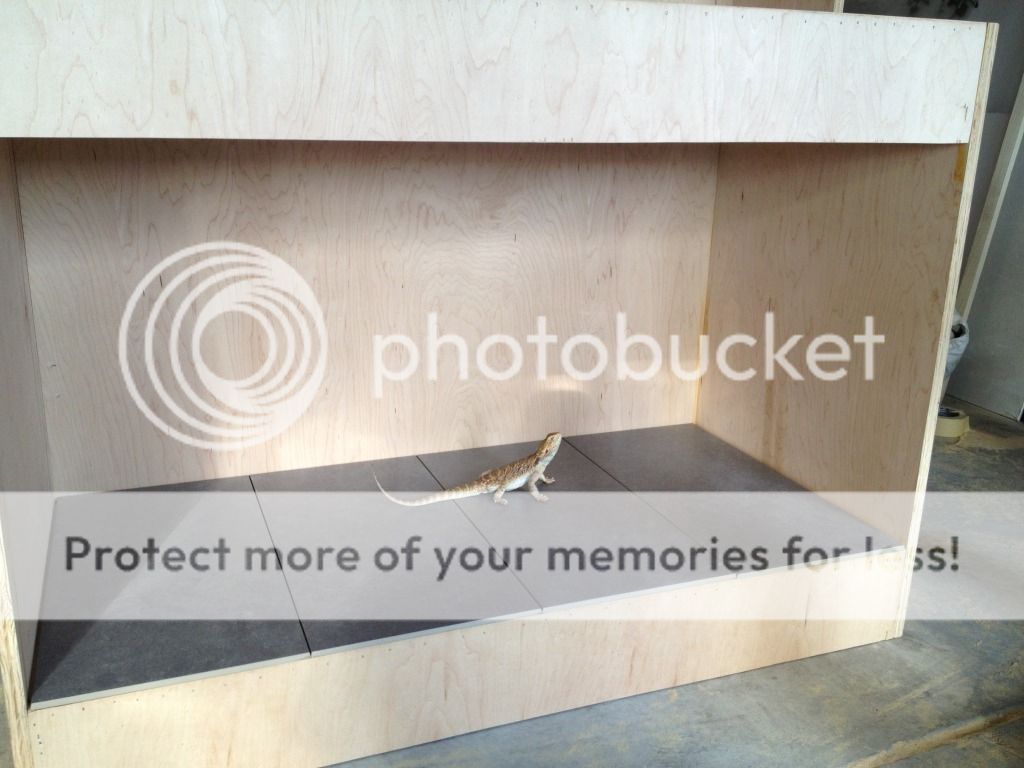
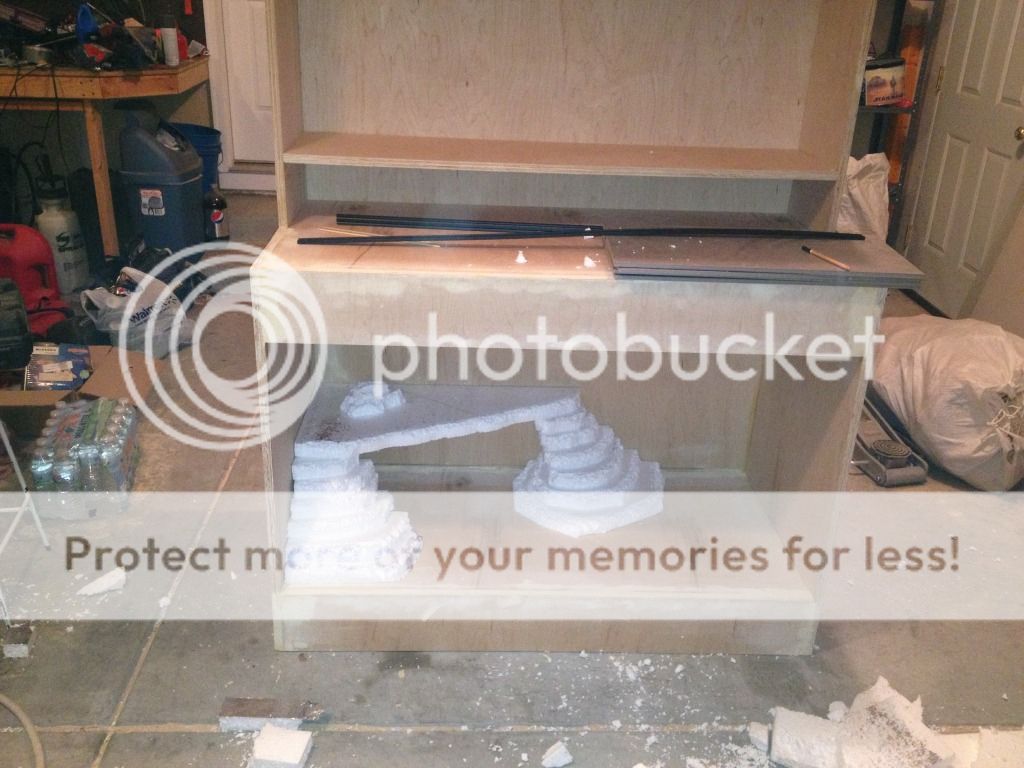
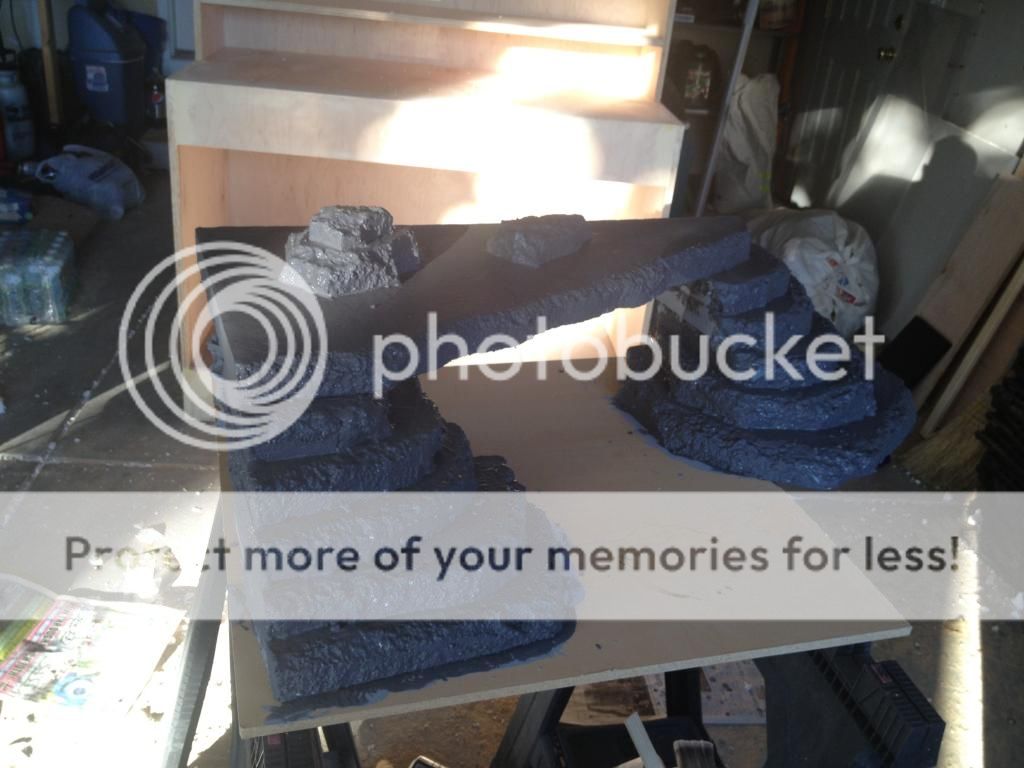
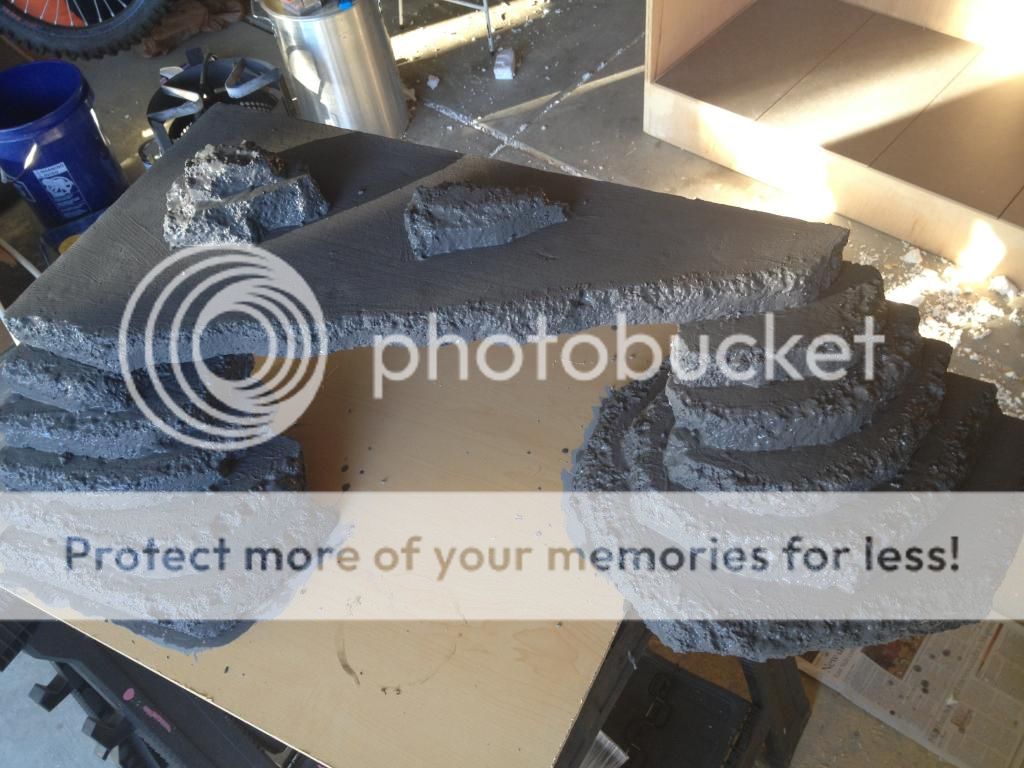
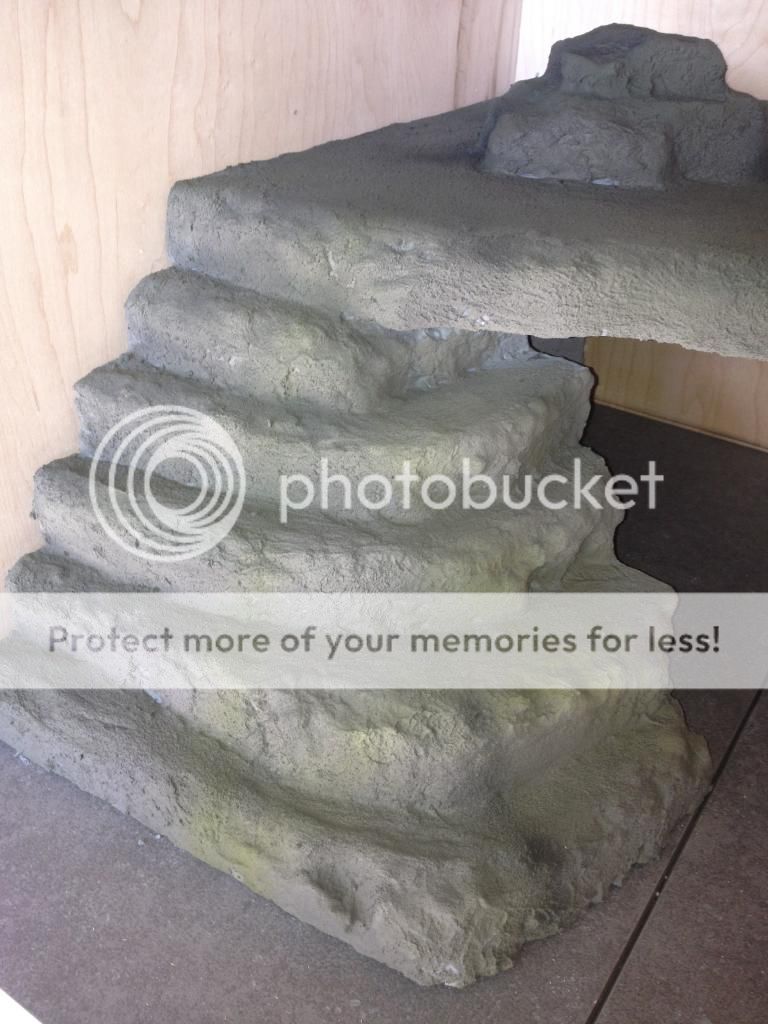
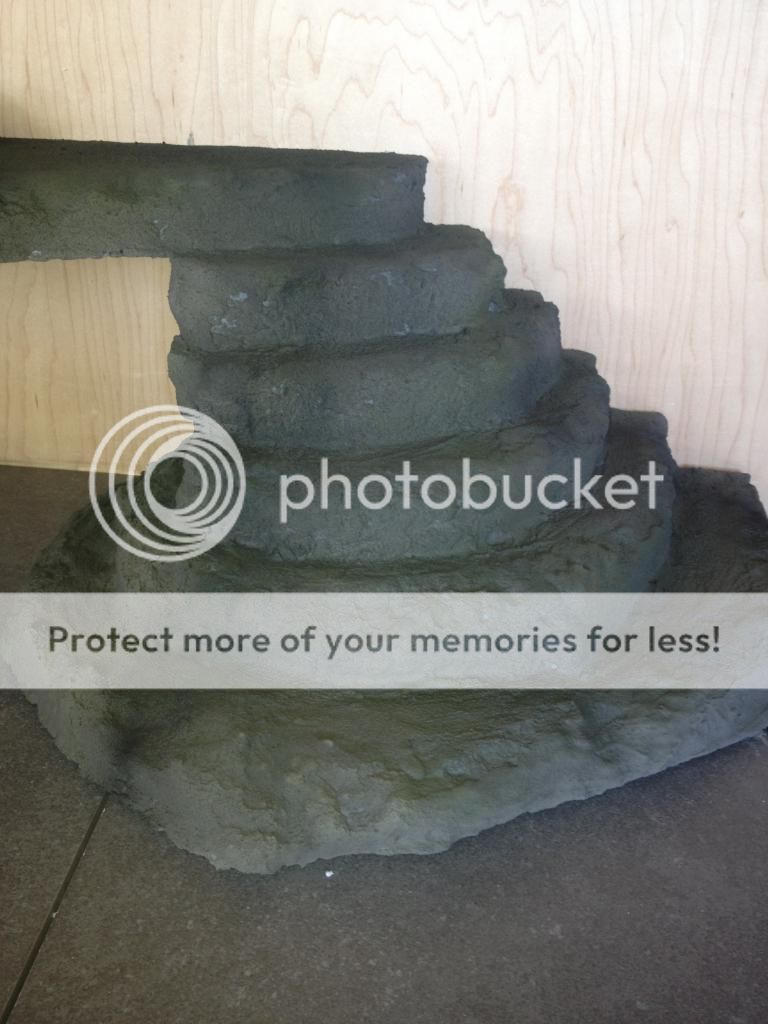
Today I started the "rock" ledge. I saved the scrap pieces of styrofoam insulation I used for my garage door. It is thicker than I think most use but I think it'll work. I did have to take off the aluminum and plastic backing, but meh, it was free! It took me quite a while figuring out how to set it up and get a look I liked. I'm really picky and not very artistic so thats probably what took so long. Over all I'm pretty happy with the results. Tomorrow I will grout the first coats of the non sanded grout I got, then a couple coats of sanded grout on Monday. honestly I really don't know what I'm doing so if you see mistake or errors please point them out so I can fix them!!! Anyhow on with the pics!

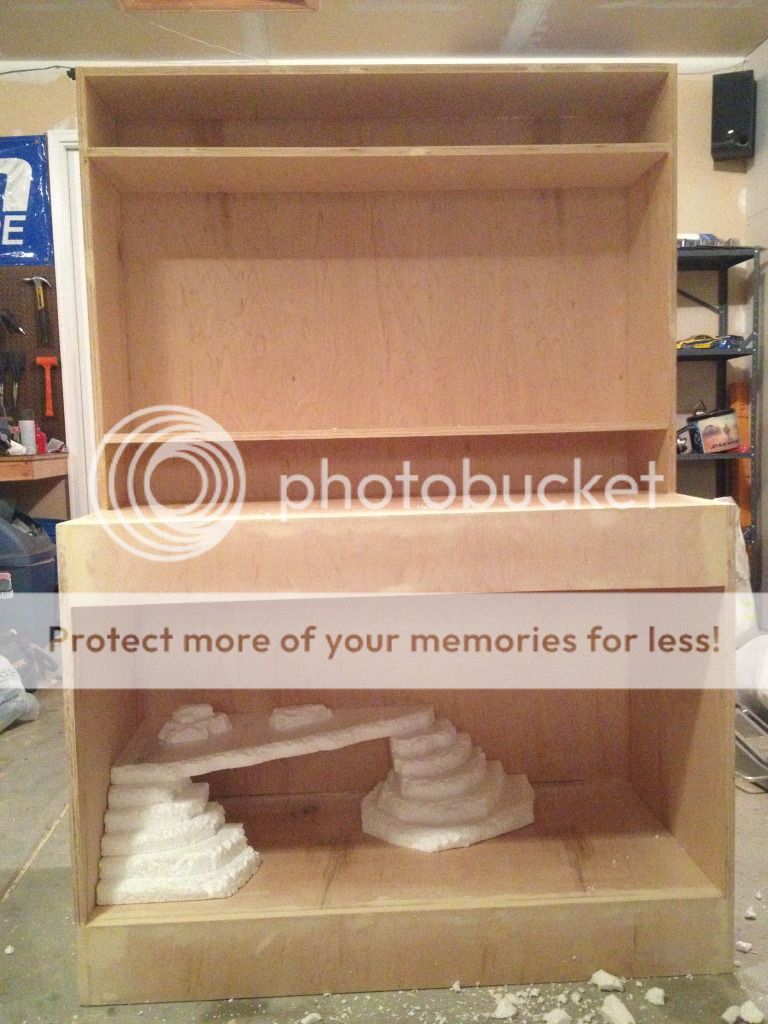
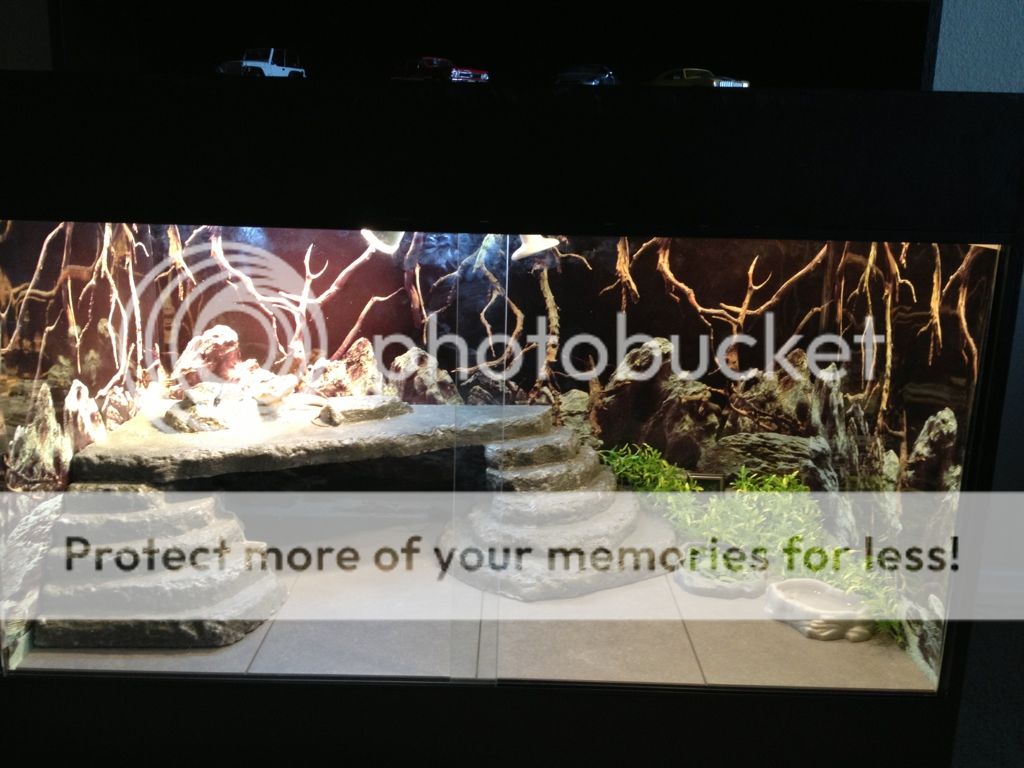
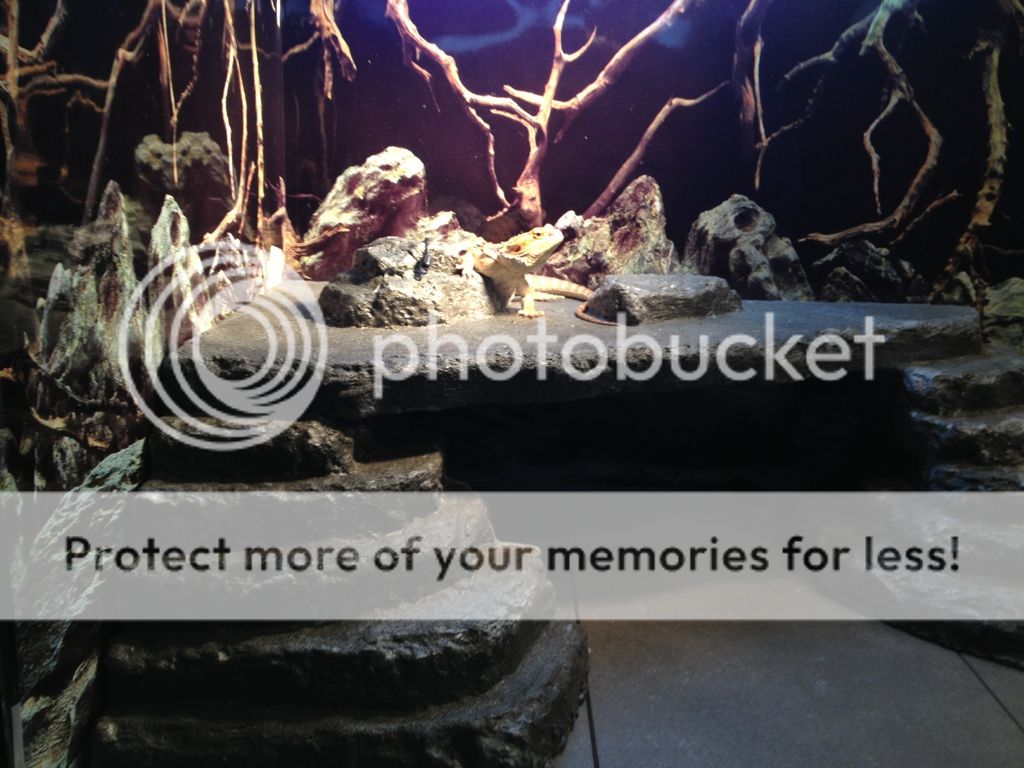
First look at the ledge/basking area,
IMG_0800.jpg

IMG_0801.jpg


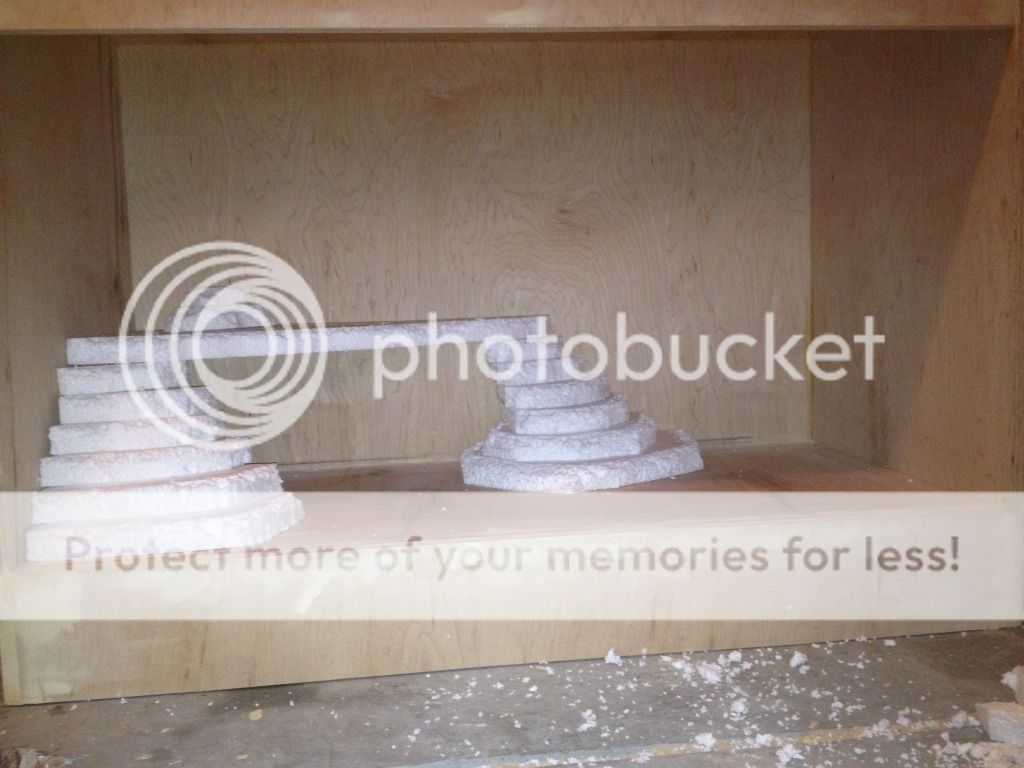
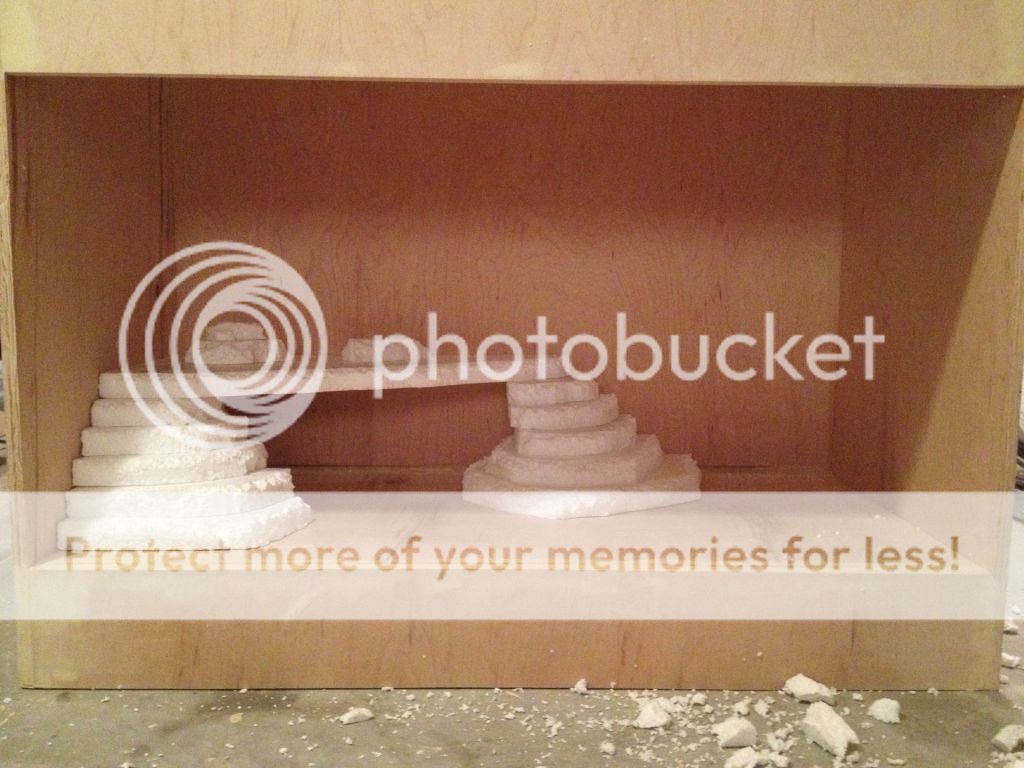
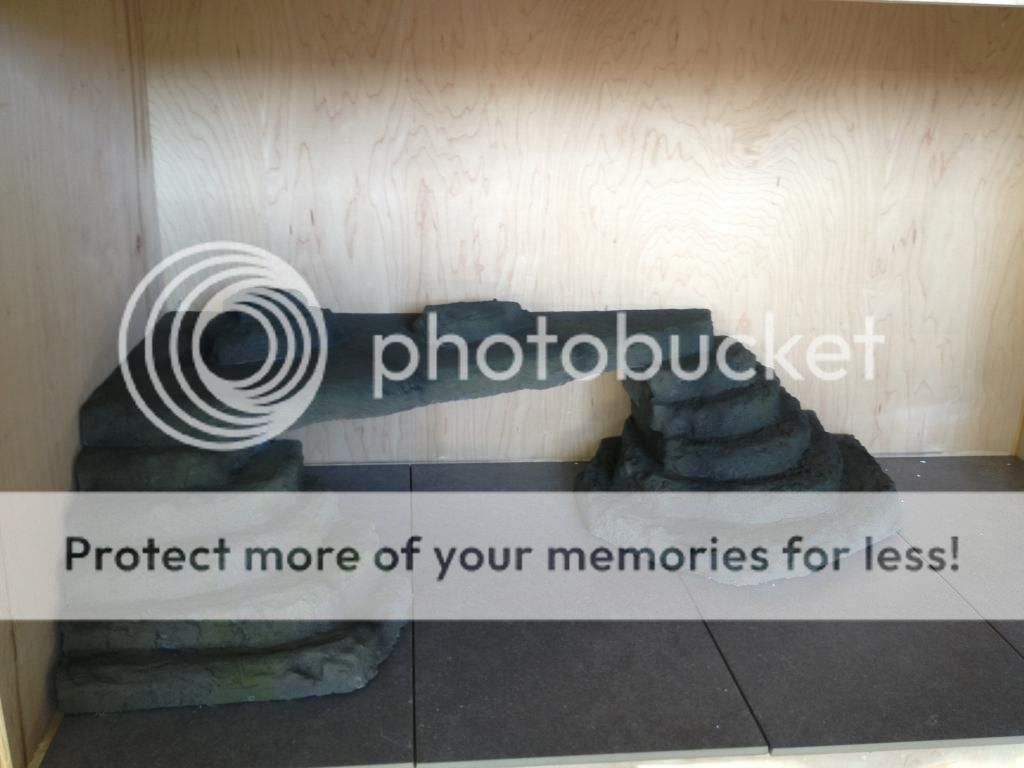
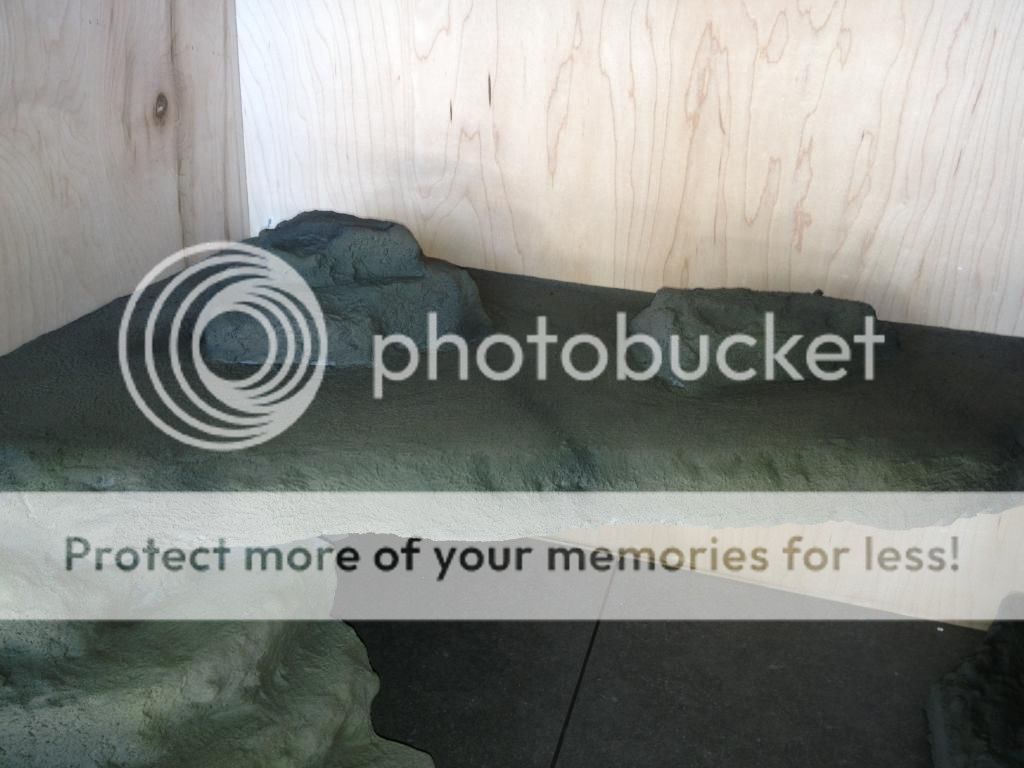
I thought it was a bit to high so I took a layer out And I'm much happier with how it looks, I also added a "rock" to the top to give it a bit more texture.
IMG_0804.jpg

IMG_0806.jpg

IMG_0807.jpg


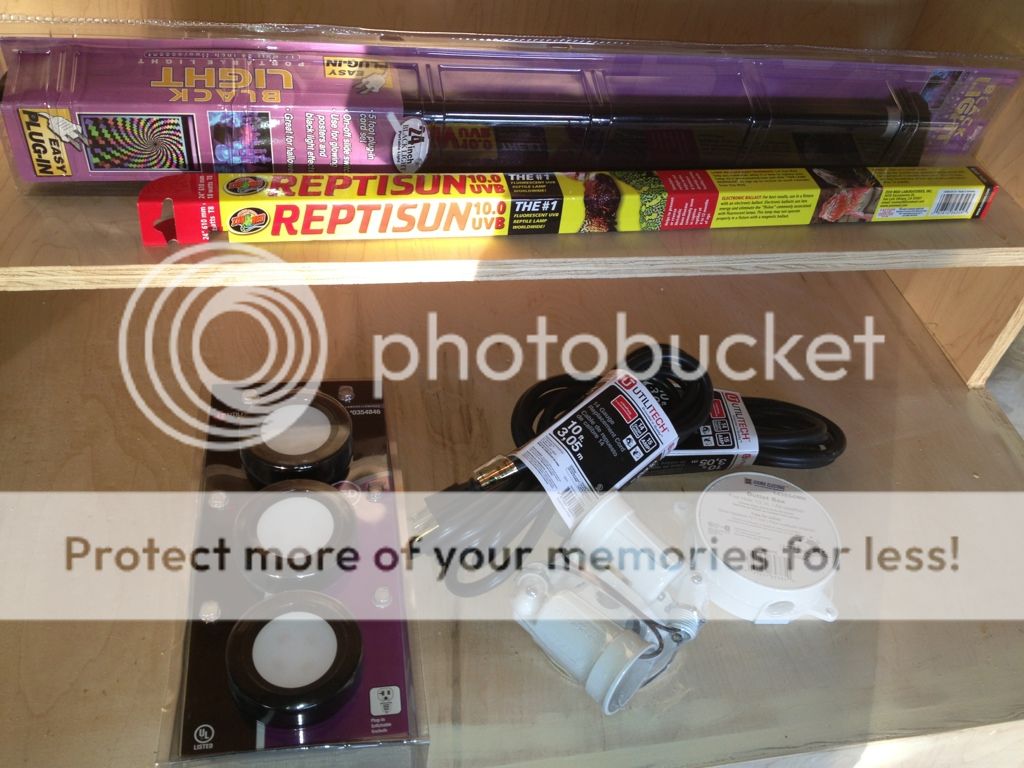
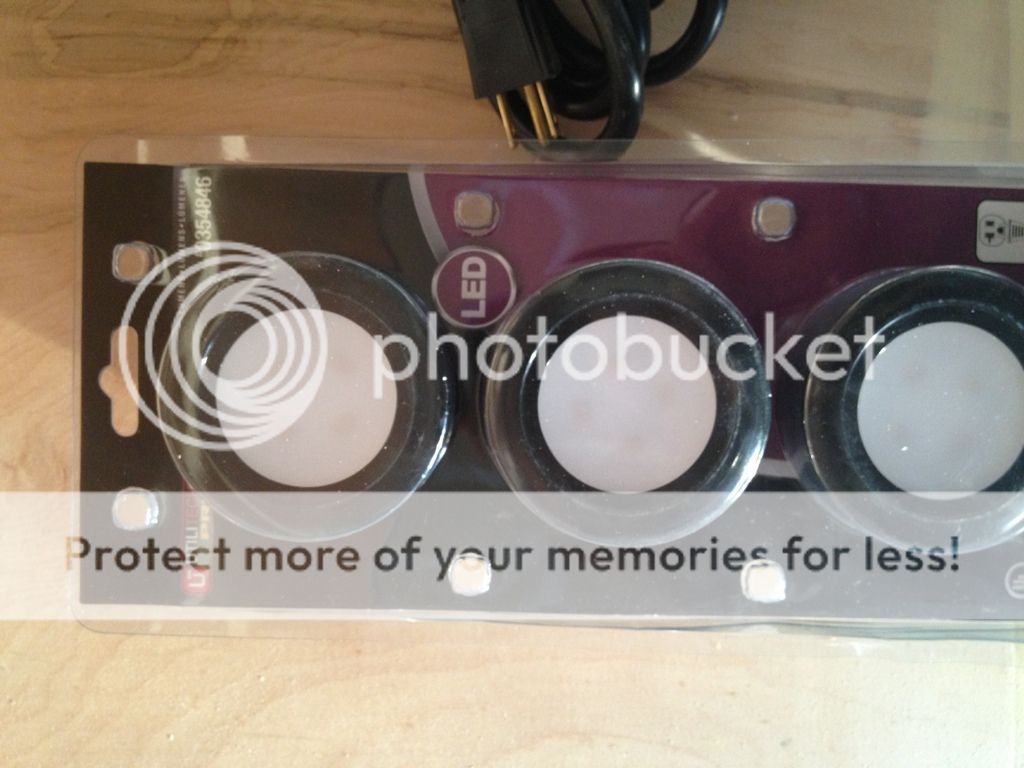
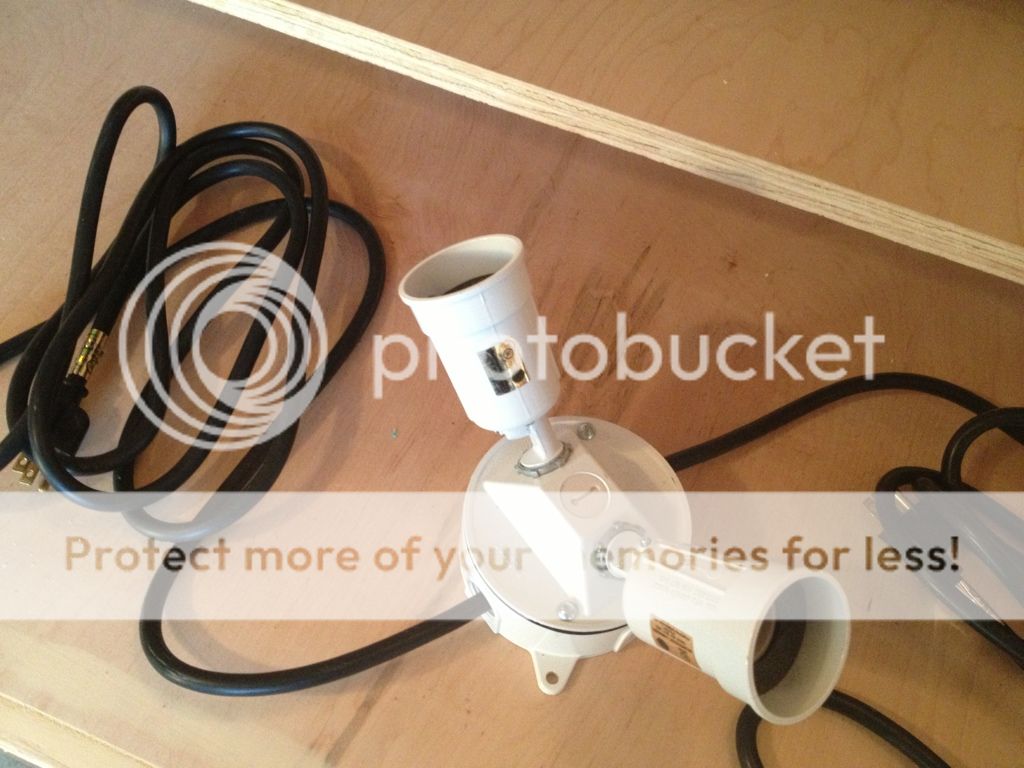
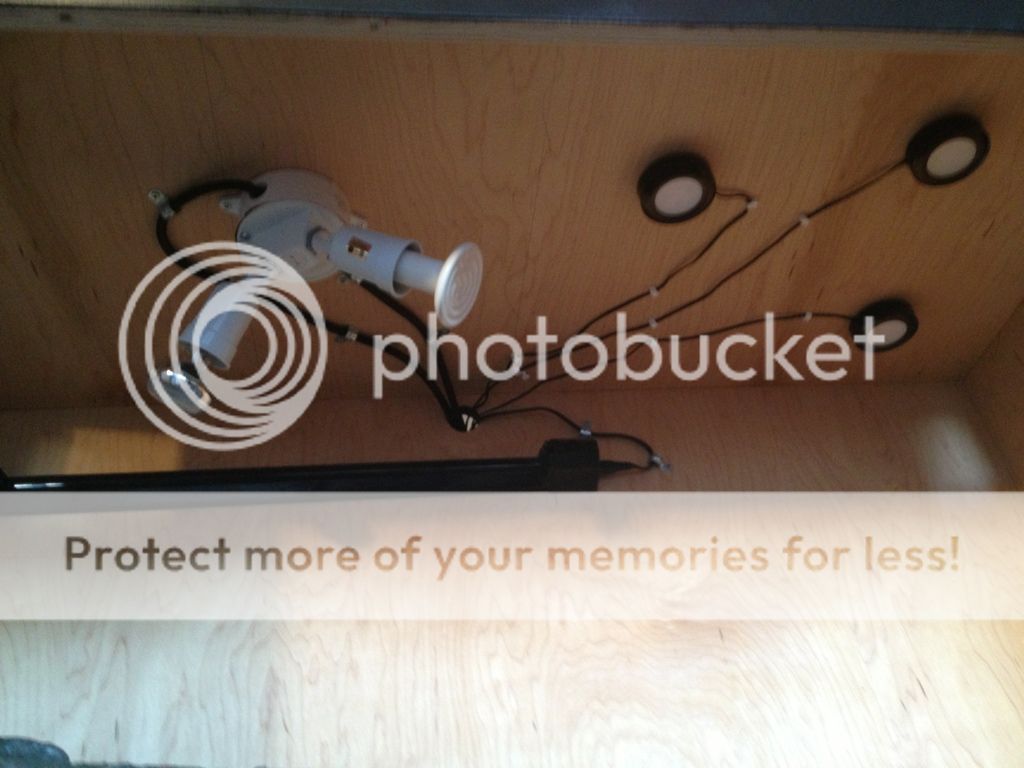
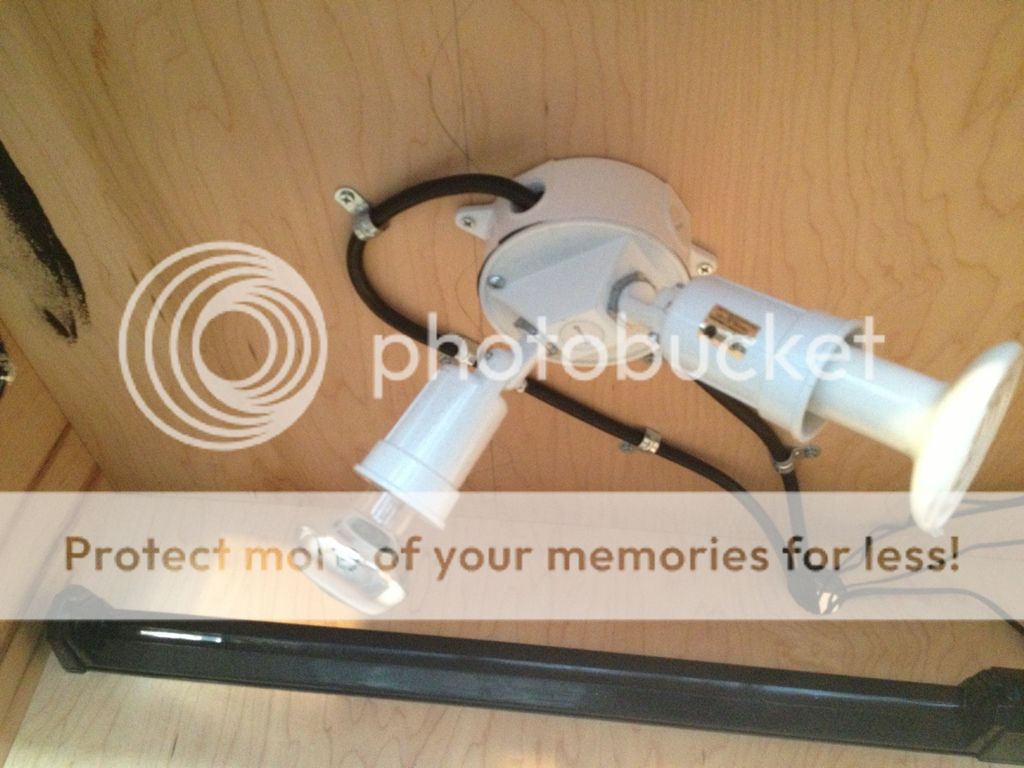
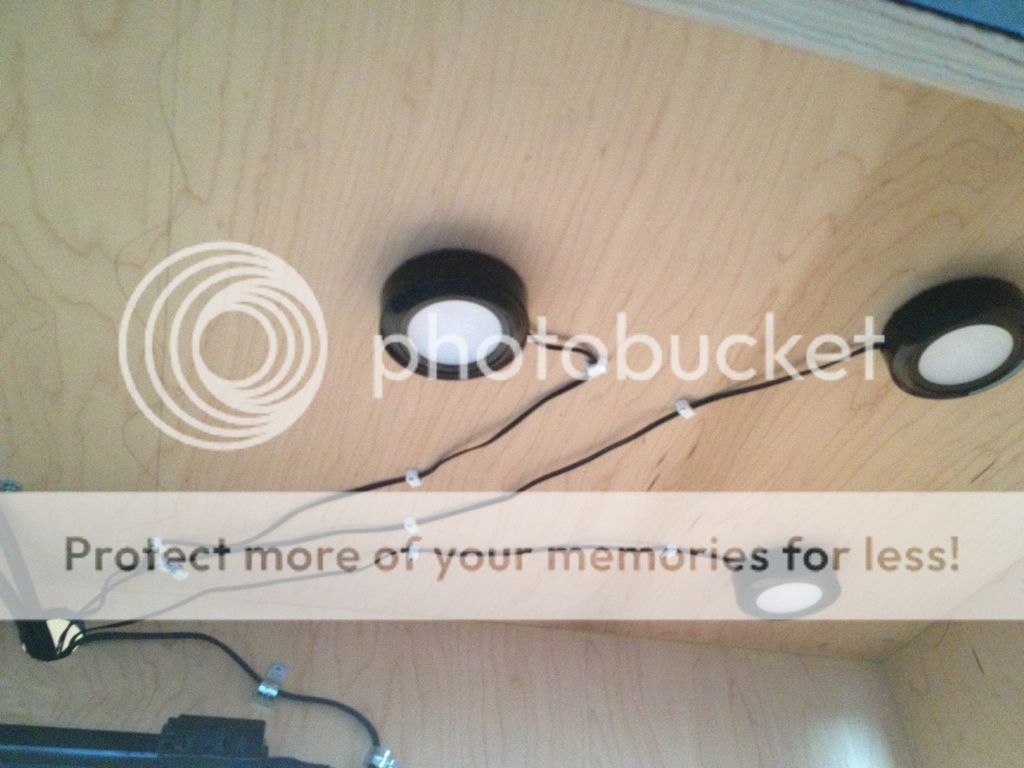
I did use some bamboo skewers to hold the legs and a couple in the ledge for more support. I picked up a 24" reptisun 10.0 that I will have about 16 " above this ledge. If this isn't right please let me know so I can make changes as needed for the health and well being of this little guy. I also need to add some ambient lighting as well and am not to sure as what to use. I will have what ever watt light needed to keep her basking area 95ish. I'm thinking a less wattage bulb on the cool side will do the trick. I also will run a ceramic heater off of a rheostat controller at night on the warm (ledge) side of the viv. I'm hoping she will sleep under the ledge, but I reckon she'll decided where she lays her head for the night!
 

limited279

Member
Original Poster
Got the first coat of grout on today. We got grey to go with the tile but it kinda looks like concrete bricks. I plan on giving it a bit of color after the final coat before the sealer goes on.
IMG_0819_zps00fe9620.jpg

IMG_0818_zps5ccb1817.jpg


Kalos being weird and wanting a bigger home soon!!!
IMG_0815_zpsb2c8176d.jpg
 
Oh Gosh! This is going to be amazing! I have a glass display case that I want to convert into a new home for Sonic, but I am not quite sure how to get started. He has a nice size tank right now, but he needs a mansion!
 

limited279

Member
Original Poster
^^^^Thanks! It's turning out alright I reckon. I just looked at a bunch of vivs on here and figured what worked best for what room I had to work with. I figured an entertainment center wouldn't take up much space and double usage is a plus. Also when he moves out he can take it with him. The work isn't hard and I used the K.I.S.S. method. You can do it!


I got the final coat of sanded grout on and used a bit of OD greens and black spray paint to give it a bit of color. Next is the sealant and painting of the viv.
IMG_0832_zps8bc07fde.jpg

IMG_0831_zps92f688c8.jpg

IMG_0830_zpsee50fa41.jpg

IMG_0829_zpsbb47bd54.jpg
 

limited279

Member
Original Poster
Yesterday I picked up the lighting and vent stuff I'll be using. Also ordered the glass for the doors. I got tempered since it'll be do close to the ground. The glass will be done on tues and the background is suppose to come in on tues also. I just ordered an aquarium background for now to see how we like the viv setup. I figure we could get different tile color, new background and build another platform to give her a change of scenery every so offen.
Here is what I got for the lighting.
BB59BBD2-47C1-4D6A-87B7-0113C8FC148F-6241-00000761F9DA98BB.jpg


Under counter LED kit for ambient lighting. 410 lumens no extra heat and only 9 watts!
80C5F98B-FBAC-4B40-8139-620406D6CE35-6241-00000761B5F51AD2.jpg


Finished up the basking/CHE fixture. Found this a Lowe's, I think is for outdoor flood lighting but it'll work awesome for what I want! Basically it's a electrical box with different covers and separate light sockets. I got the 2 socket kit and the box with 2 10' repair extension cords (extension cord with only one end). I wired each socket separately, hopefully it'll work out as good as I think it will!
EE319166-1B1F-4B9B-AA9B-E3D4FAFD1E37-6241-00000761AE2A1DE3.jpg
 

limited279

Member
Original Poster
Got the outside painted and the inside got a few coats of polyurethane. Also got the light fixtures all mounted. All I have left is background, doors and cutting the tile. Should have it finished up in the next day or two.

My son doing the painting.
2DDAD2CE-2F20-429D-91FB-0D9FEA572577-8820-000009AA55C18963.jpg


Painted.
EFA456BC-77FA-4A41-A0A4-B756C7FE0BA2-8820-000009AA4DDE53D4.jpg


The light fixtures.
73504124-7110-4444-B6CB-F311E48D718F-8820-000009AA3CC45B83.jpg

78AEA0AC-FB3E-48C5-B86E-541574BD4E89-8820-000009AA337EF2F2.jpg

7B516062-7BDB-4B71-8CD1-A7FEC6111FD8-8820-000009AA27D2C575.jpg
 

limited279

Member
Original Poster
Got it finished up and put in my sons room. Had to move the light fixture to get a better bashing temp and I still need to do a few touch ups on the paint. Turned out pretty good I reckon!

522B29DA-D754-4B9C-A79A-A58FBFCA0931-13517-00000F246148A1FB.jpg

5A28F65A-F1E3-46BD-A646-FB04B060EC1D-13517-00000F2452EB7BF1.jpg

5DC6D352-B9B3-4A94-80DA-1F8FEFB8AEB1-13517-00000F2472030A9B.jpg

5E134B51-B333-4DDA-917E-0473E87E1961-13517-00000F24781FC448.jpg
 
Status
Not open for further replies.

Members online

Still Needs Help

Latest resources

Latest posts

Latest profile posts

is tape safe for fixing something in my leopard geckos hide?
Day 3 of brumation. It's a struggle. I really miss my little guy. 😔
Mirage entered brumation yesterday, I'm gonna miss hanging out with my little guy.
Getting ready for another day. Feeling sleepy. 😴
I just walked into my room and instead of looking at me, Swordtail's eyes darted directly to the ice cream drumstick I'm holding

Forum statistics

Threads
156,133
Messages
1,258,107
Members
76,095
Latest member
rollerboy
Top Bottom