Thanks for the measurements! I don't have a temp gun, but I do have a kitchen steak thermometer

and it reads 120 degrees on the surface of my Arcadia Jungle Dawn. If I touch it with my hand, I can withstand it for 5-7 seconds, I can’t do it longer. You're right, the LEDs get very hot, but I'm still worried that something inside will melt.
I've read complaints about the JD, often these lamps burn out, so I'm still afraid to use this lamp inside the TZP housing, because the ventilation there is not the best and the cooling of the LEDs will be noticeably worse.
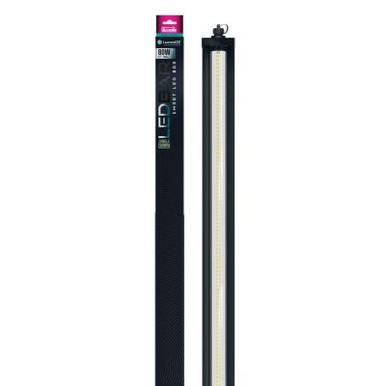
I was hoping that the heating would be less in the LuminIZE, but it seems that this is not the case.

 Luckily, I did not have to take them up on their offer!