schooled_ca
Hatchling Member
Hello all! I used to be a more active poster, but haven't been too active in a few years. Now that I've got a bit more disposable time, I'm sure I'll be spending a bit more on here ")
Dave History: Dave is a 4 year old standard pet store beardy that was bought on an impulse. I ended up doing a ton of research (mostly on here!) and have become a pretty big guru on reptiles since! I've also been helping out local pet stores with product knowledge on the side to help provide their customers with the best service.
Any ways, on to the good stuff!
I had built a 4x2x2 Crossfire style viv for him about 3.5 years ago once he'd outgrown his 20g starter tank. I had very limited funds/space at the time, and was living with 3-4 room mates in a house at the time. Let's just say... my last priority was a "nice" viv for the lizard.

Things have changed, and now I have my own condo in Vancouver, and have been spending the past year making it my own. Replacement floors really got me thinking... I need to make a beautiful custom viv for the lizard!
Day 1 and 2
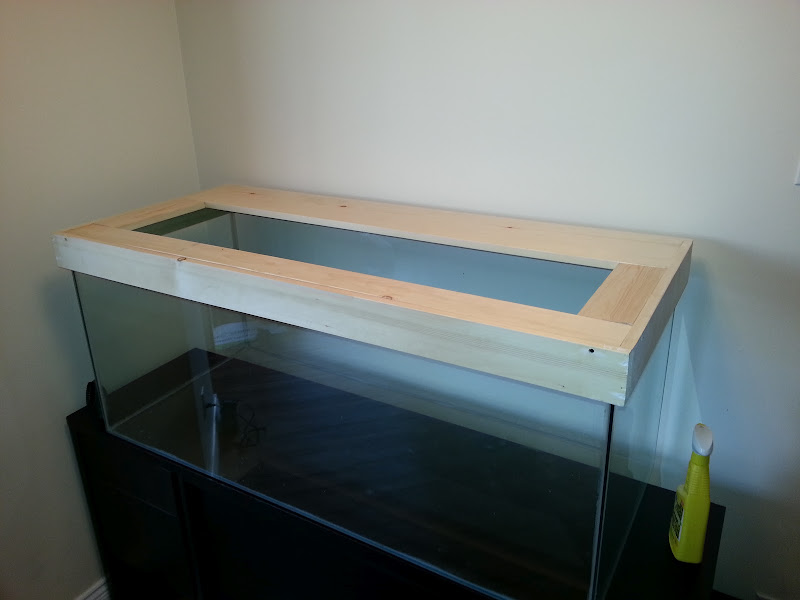
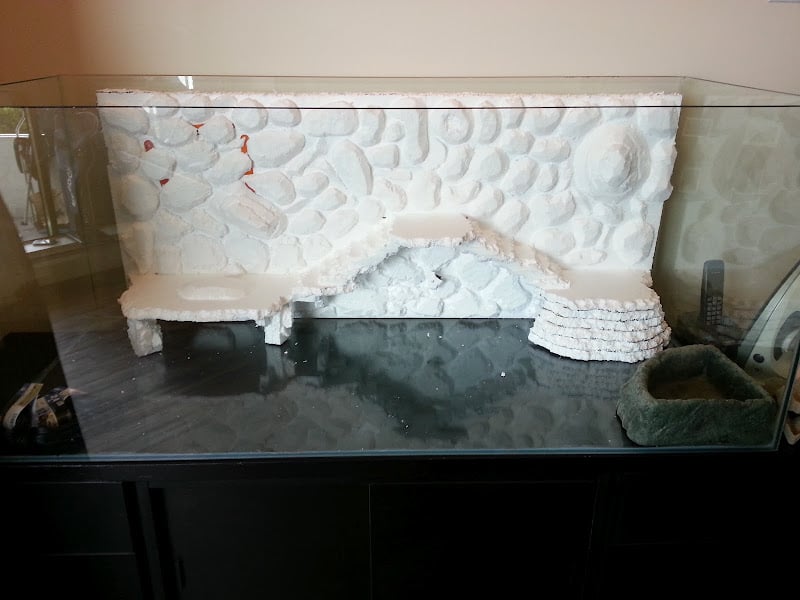
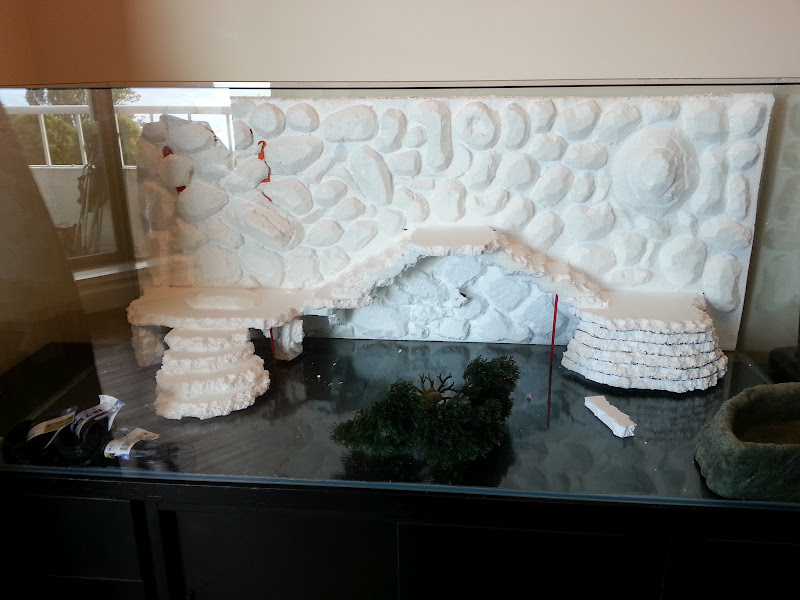
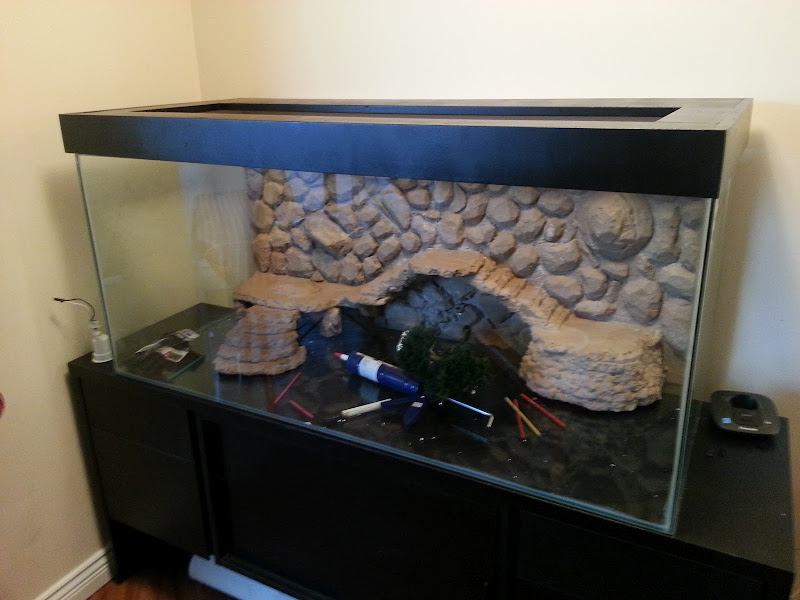
I wanted a seamless glass aquarium to start, and went looking. Was quoted between 400-600 from various glass shops for one of the size I required. I was sickened, and almost ready to give up. I had been hunting on Craigslist, but people were delusional asking extreme prices for their used, 50g-90g aquariums! And most of them were disgusting! I had no luck... until last week, when a pictureless add for a 120g aquarium popped up. I was sceptical because the description was short, and no pictures. I called the guy, and he LITERALLY lived 1 block over in DOWNTOWN VANCOUVER! Vancouver is pretty big, so this was just weird. I went over to have a look... and it was perfect! I picked this up for 70 bucks!!

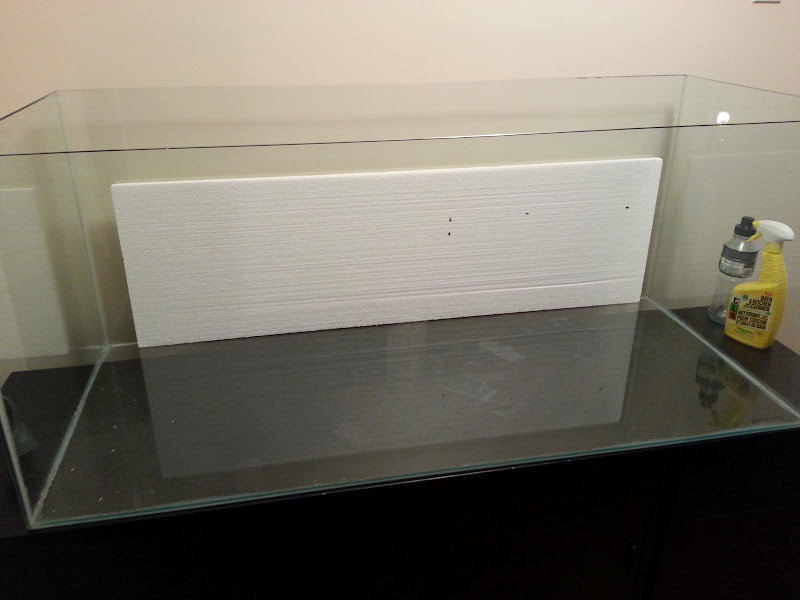
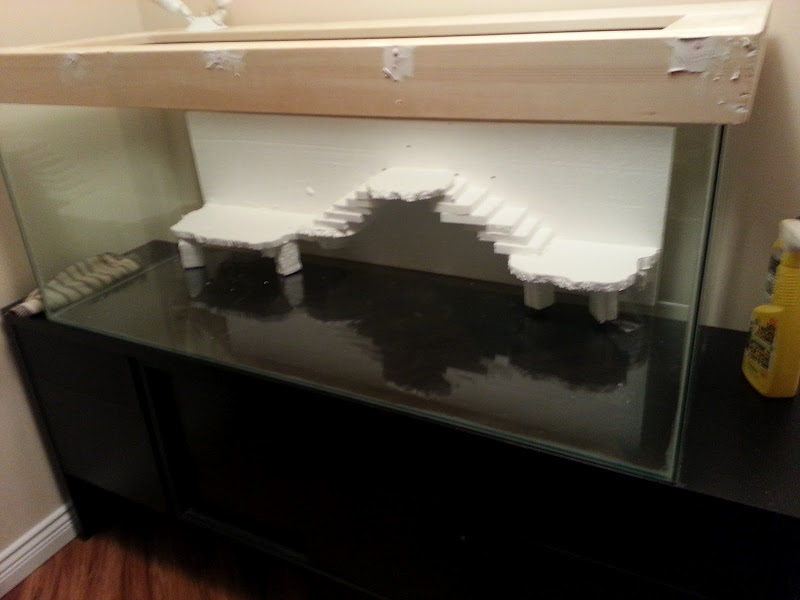
It's AMAZING! 52"x22"x22" and not a single scratch! The guy was a huge reptile enthusiast himself... had a few beautiful Ball Pythons, free range Chameleon (REALLY COOL!) and a nice bird.
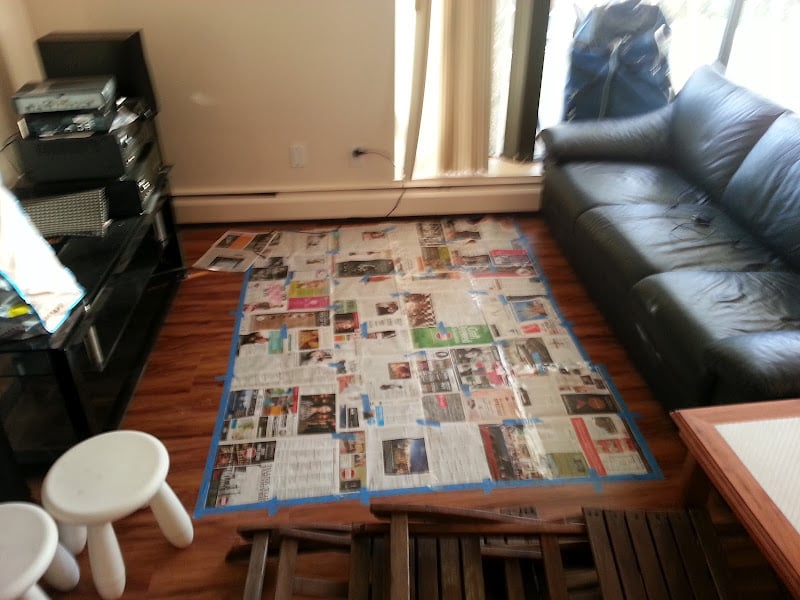
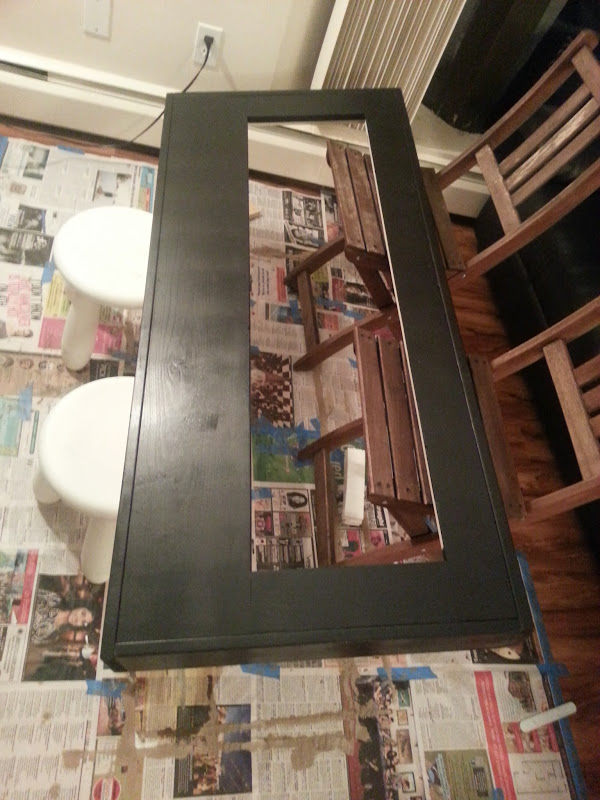
I was about to go to IKEA to replace my long shelf/storage unit with a black one to match the rest of my furniture, but I was in a DIY mood and thought it'd be a good idea to just re-finish mine black! Turned out to be a great idea!!


Please check out the next post for more!
Dave History: Dave is a 4 year old standard pet store beardy that was bought on an impulse. I ended up doing a ton of research (mostly on here!) and have become a pretty big guru on reptiles since! I've also been helping out local pet stores with product knowledge on the side to help provide their customers with the best service.
Any ways, on to the good stuff!
I had built a 4x2x2 Crossfire style viv for him about 3.5 years ago once he'd outgrown his 20g starter tank. I had very limited funds/space at the time, and was living with 3-4 room mates in a house at the time. Let's just say... my last priority was a "nice" viv for the lizard.
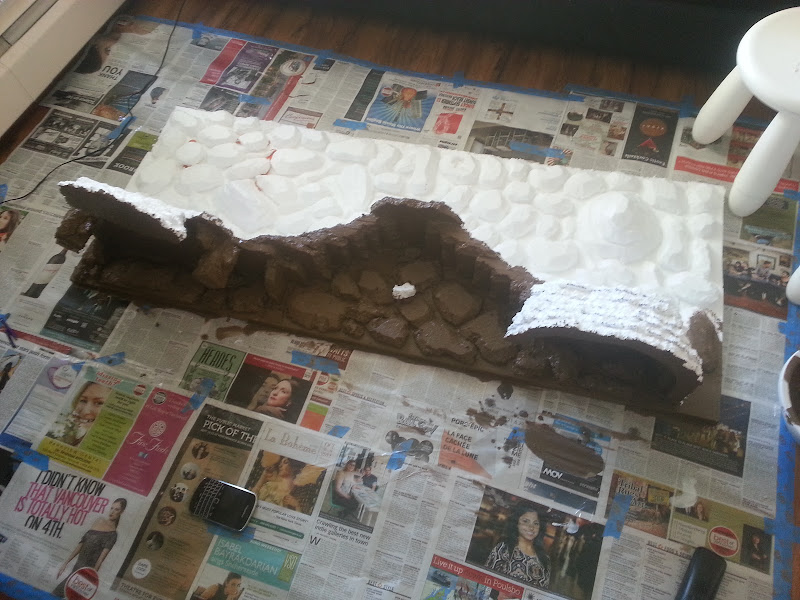
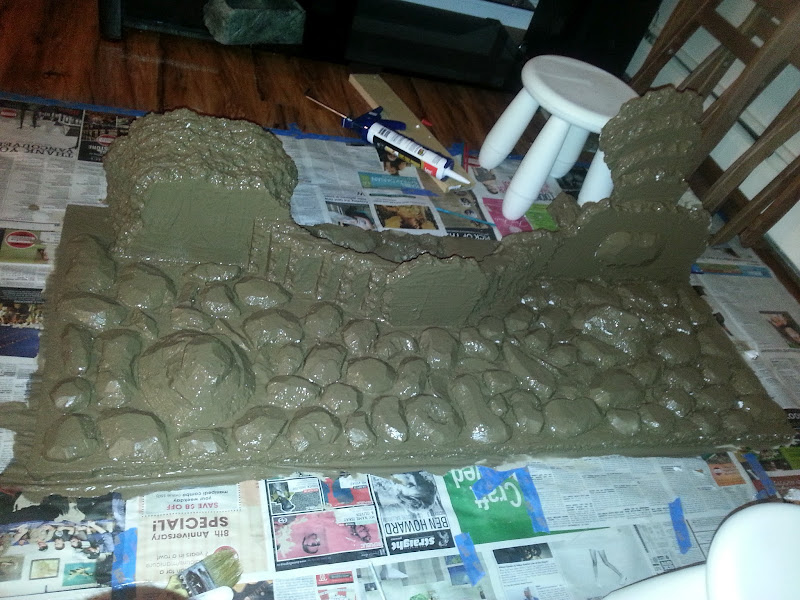
Things have changed, and now I have my own condo in Vancouver, and have been spending the past year making it my own. Replacement floors really got me thinking... I need to make a beautiful custom viv for the lizard!
Day 1 and 2
I wanted a seamless glass aquarium to start, and went looking. Was quoted between 400-600 from various glass shops for one of the size I required. I was sickened, and almost ready to give up. I had been hunting on Craigslist, but people were delusional asking extreme prices for their used, 50g-90g aquariums! And most of them were disgusting! I had no luck... until last week, when a pictureless add for a 120g aquarium popped up. I was sceptical because the description was short, and no pictures. I called the guy, and he LITERALLY lived 1 block over in DOWNTOWN VANCOUVER! Vancouver is pretty big, so this was just weird. I went over to have a look... and it was perfect! I picked this up for 70 bucks!!
It's AMAZING! 52"x22"x22" and not a single scratch! The guy was a huge reptile enthusiast himself... had a few beautiful Ball Pythons, free range Chameleon (REALLY COOL!) and a nice bird.
I was about to go to IKEA to replace my long shelf/storage unit with a black one to match the rest of my furniture, but I was in a DIY mood and thought it'd be a good idea to just re-finish mine black! Turned out to be a great idea!!
Please check out the next post for more!