HeatherSullivan
Hatchling Member
Just wanted to share a step by step to my Dubia bin. Total cost was about 40 bucks and took about 2 hours max to put together.
Items used:
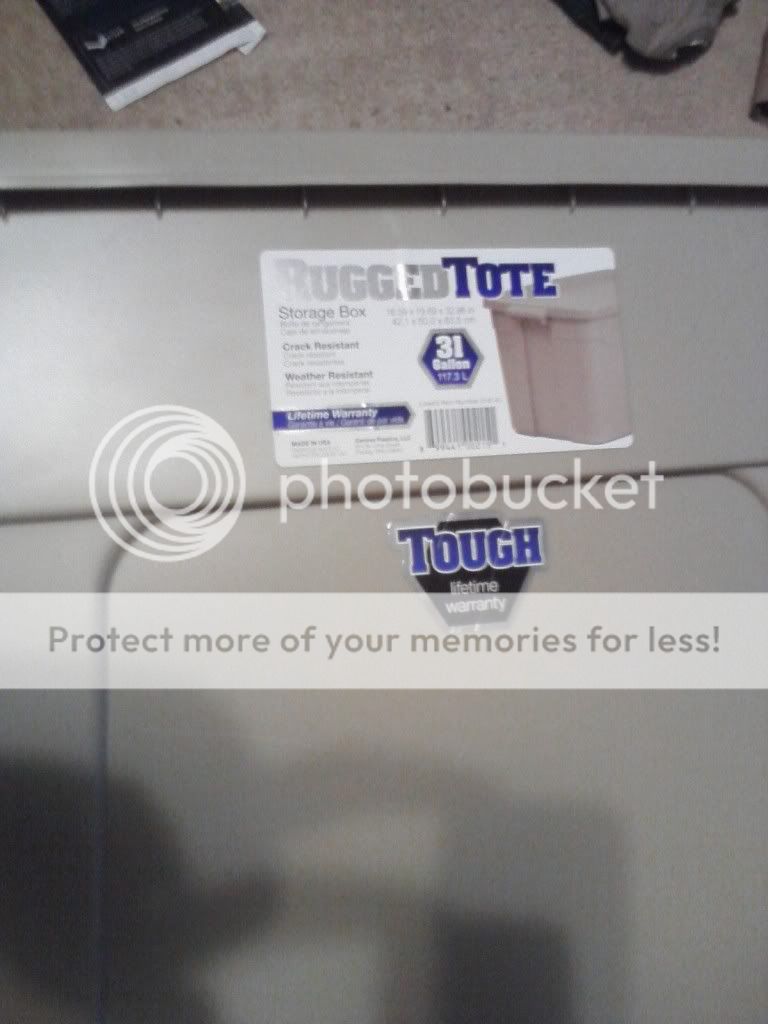
31 gallon bin $14
light fixture $2
wire for light $7
screen mesh $3
hot glue gun $5
hot glue sticks $6
utility knife $5
rubber insulating tape (had it at home)
I started with a 31 gallon rubber bin. I was sure to choose one that neither my 2 year old nor cat could break into.
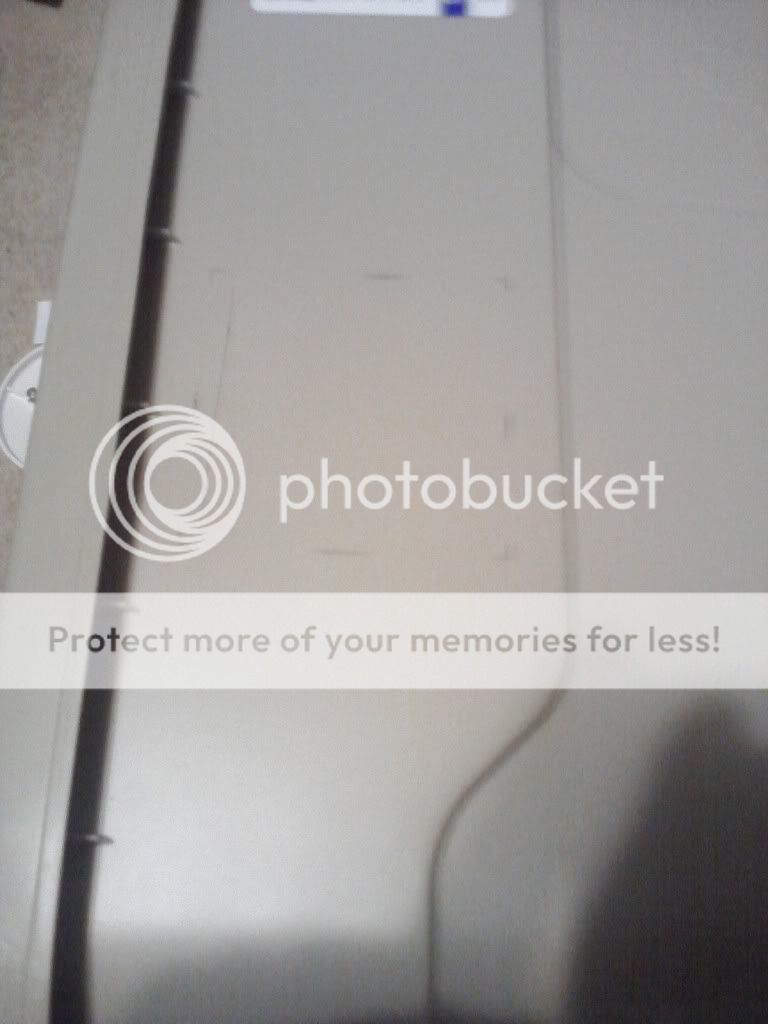
I marked where my wire mesh would fit.
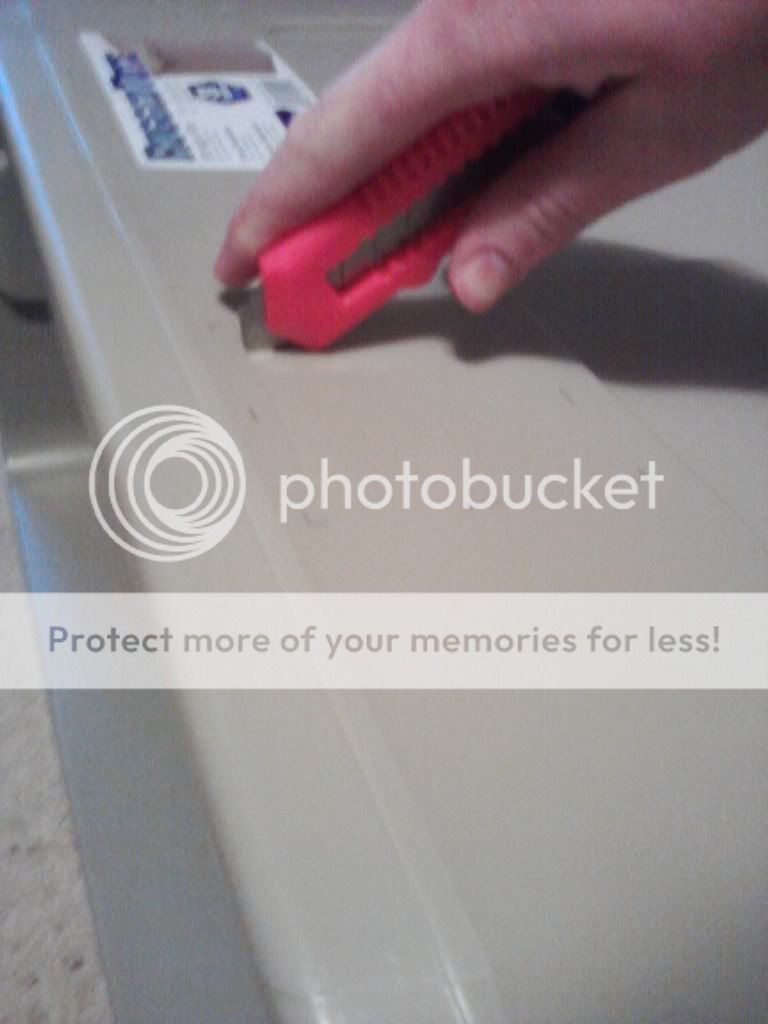
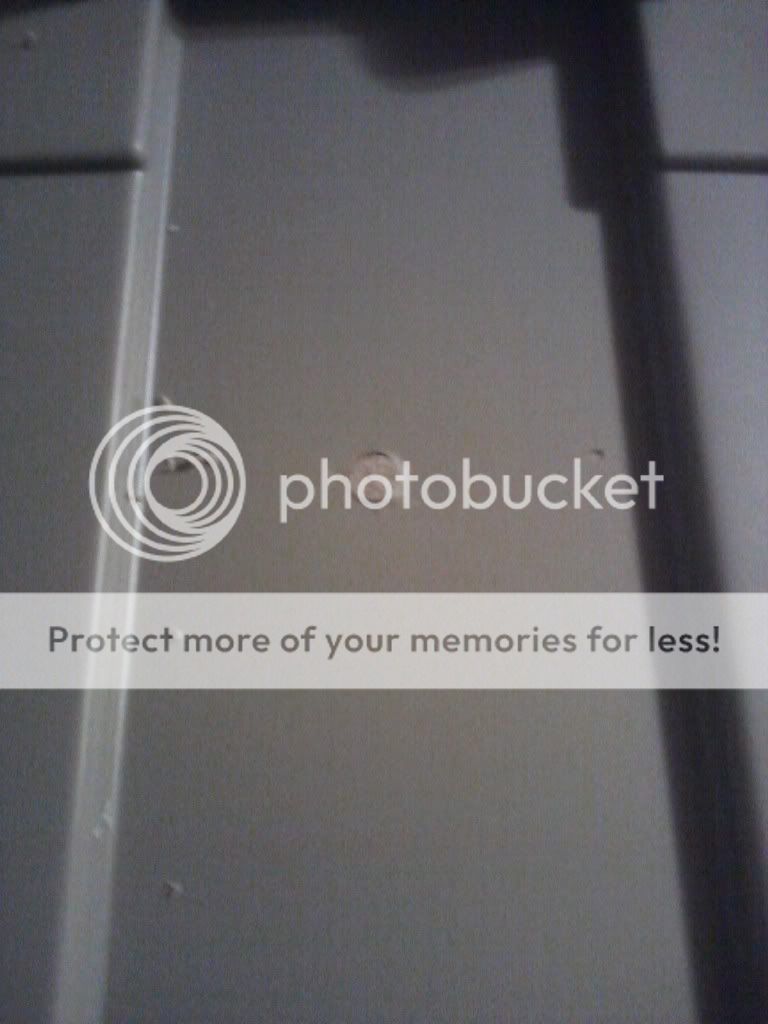
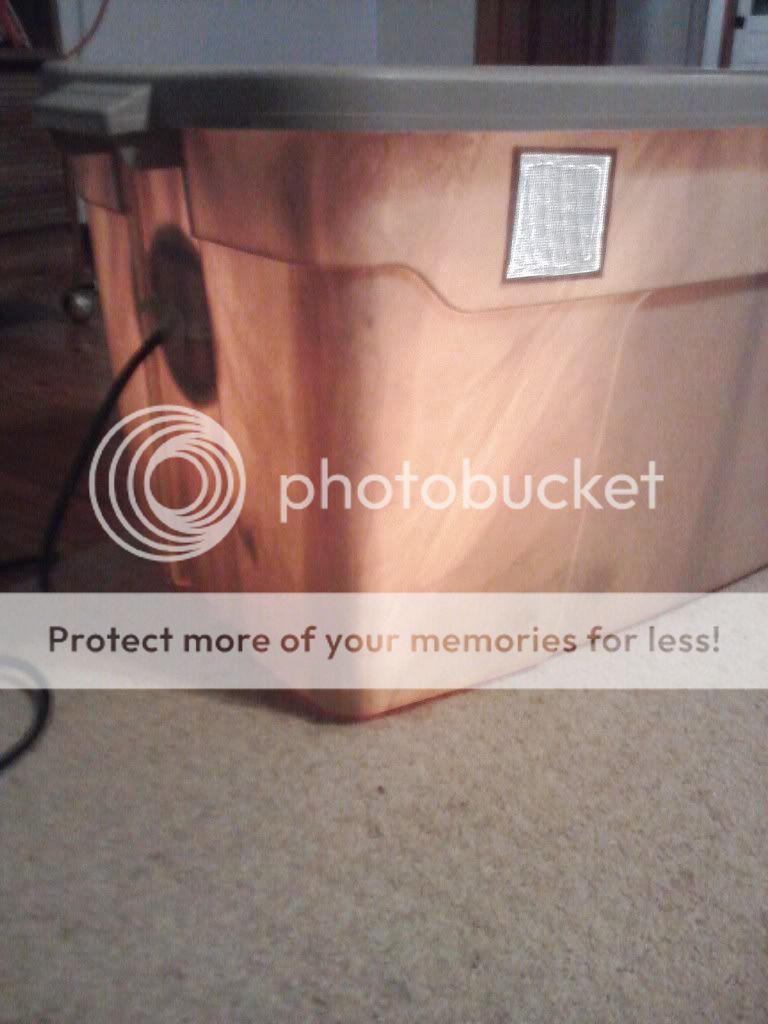
Then I cut the holes for vents. I made the mistake of cutting the vents on the same side as the light fixture, so I will have to seal this back up and cut some on the opposite side.
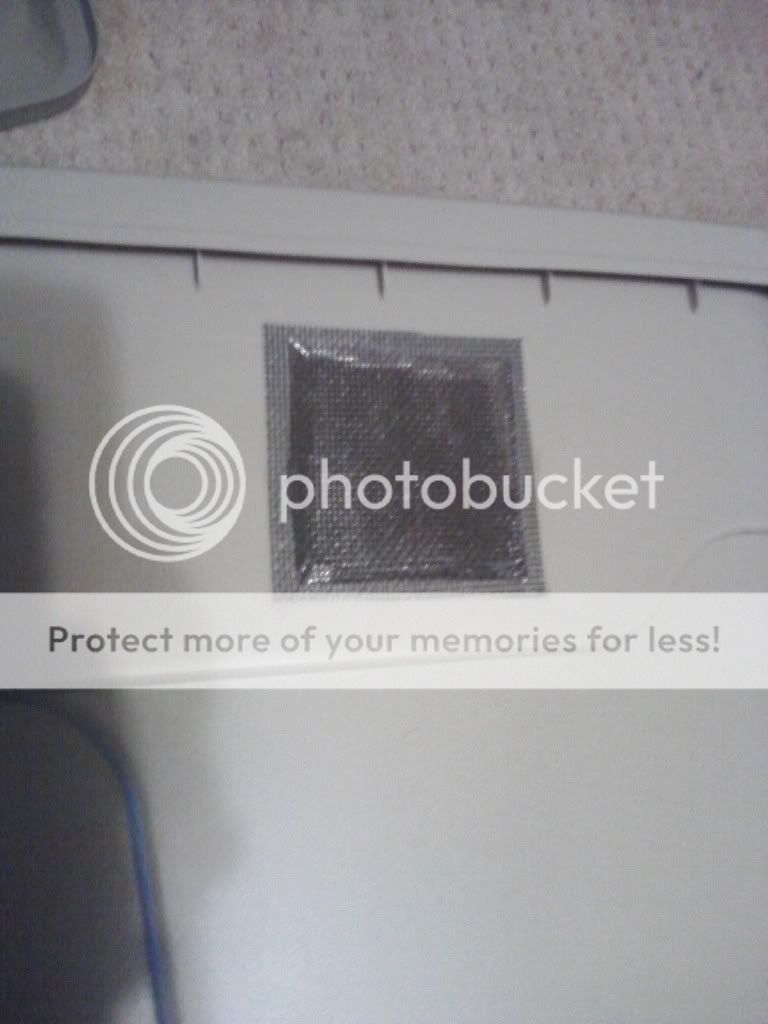
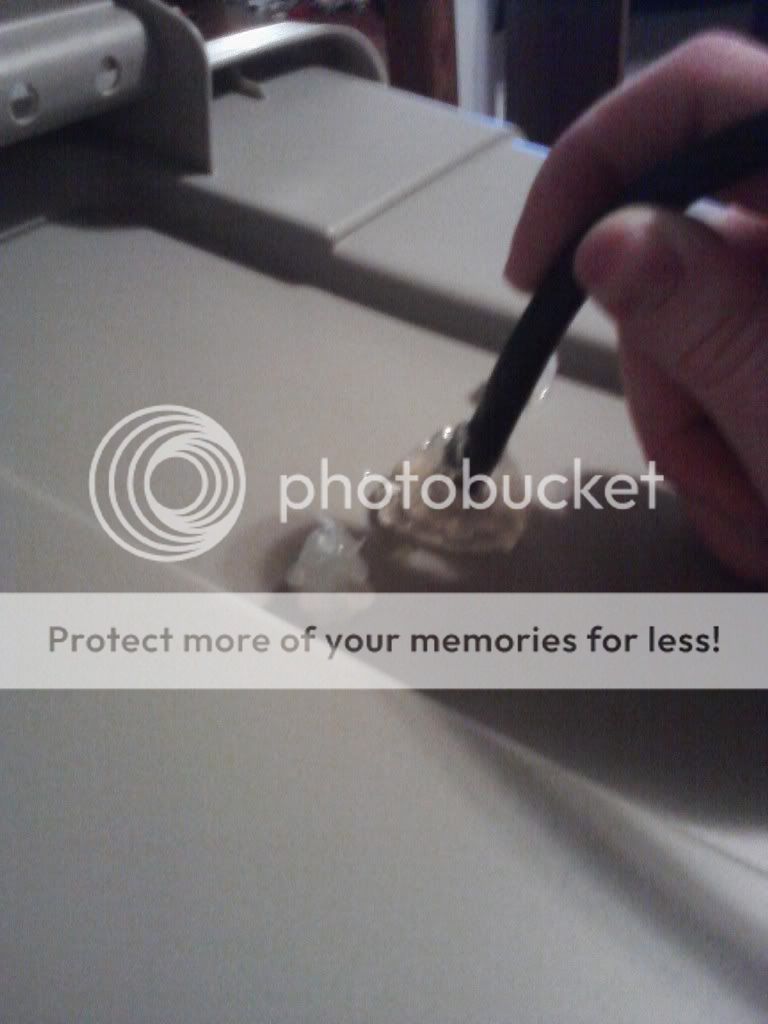
I then put the "screen patches" over the vents I cut.
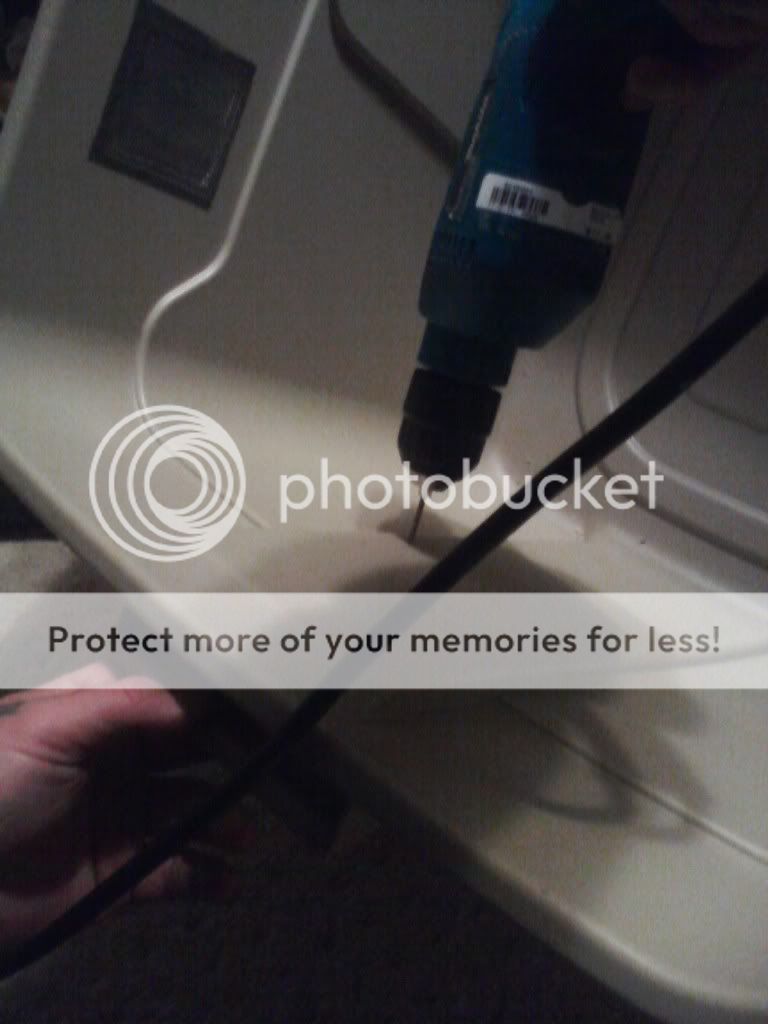
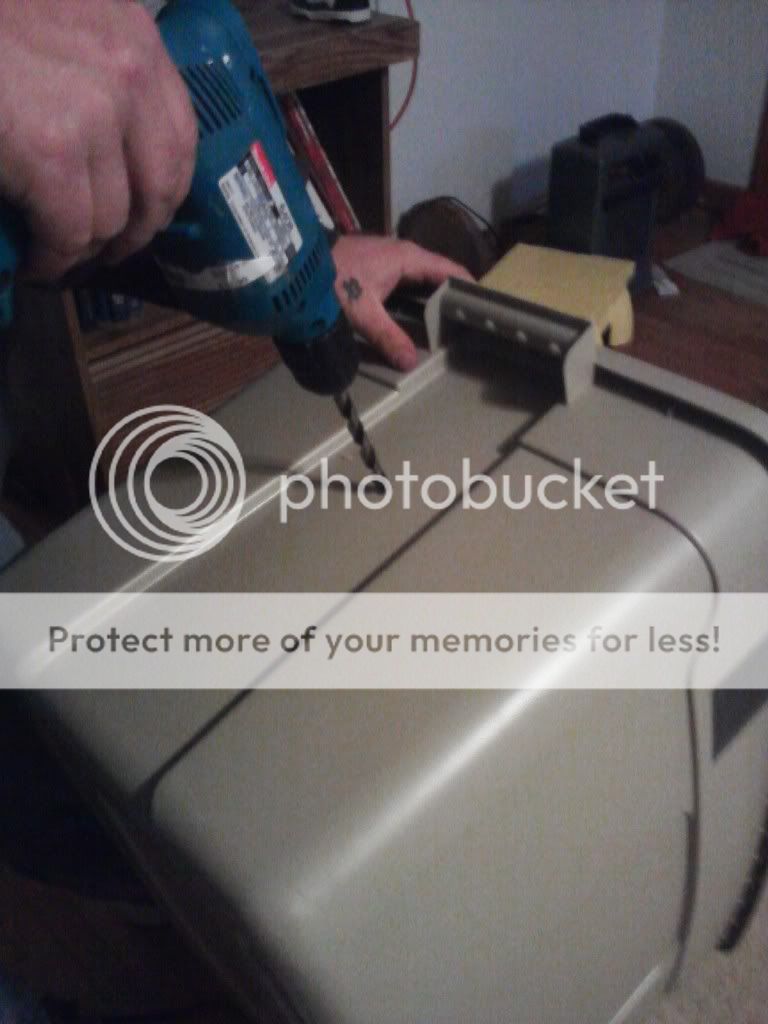
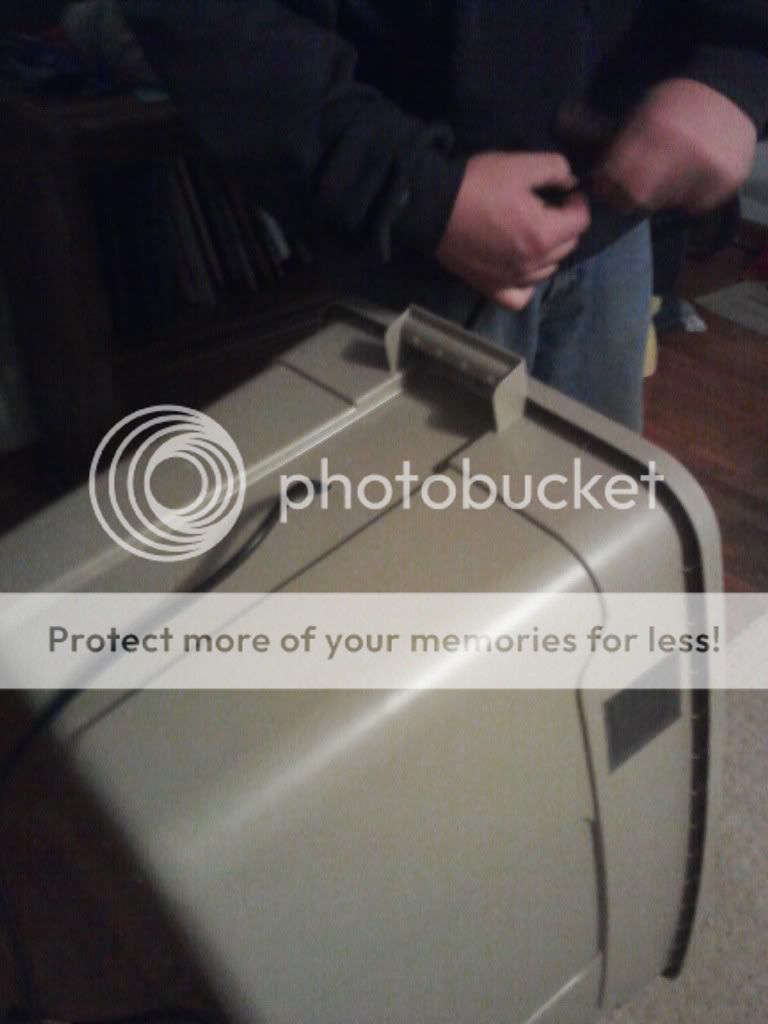
I then drilled holes for the light fixture. I decided to do this on the side because I didn't have enough room on the long side of the bin to put a light fixture to where the light wouldn't be too close to the lid, or allow any roaches to climb up the light. I also chose the short side of the bin because it was more sturdy.
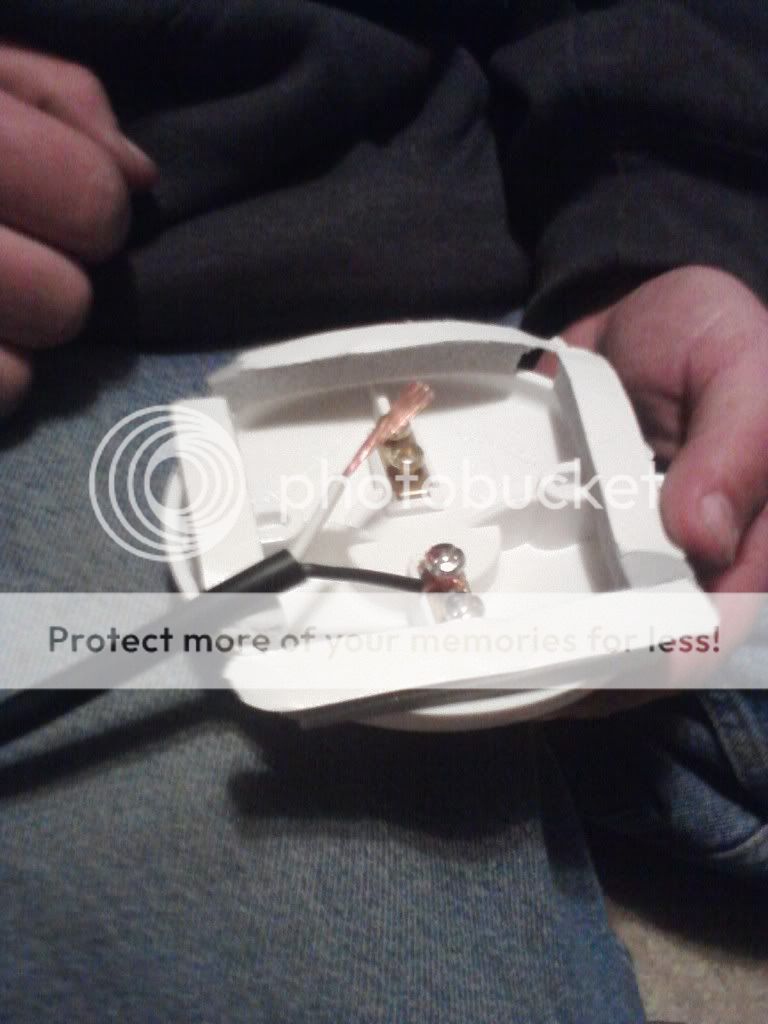
I then applied the insulation tape to the inside of the light fixture.
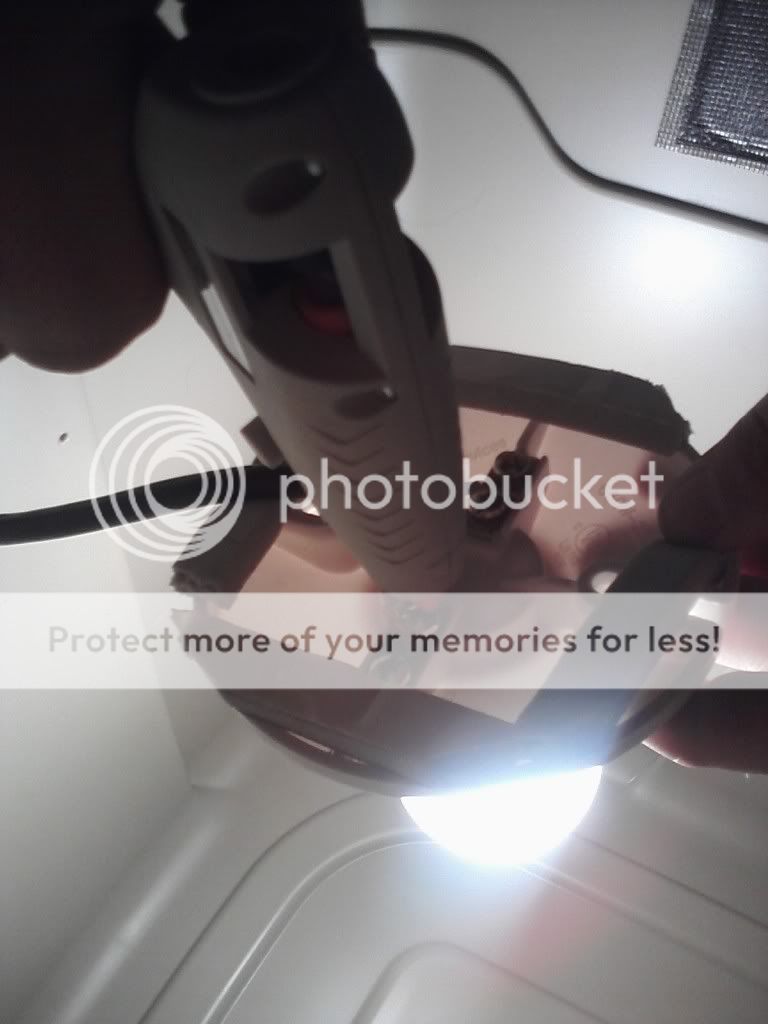
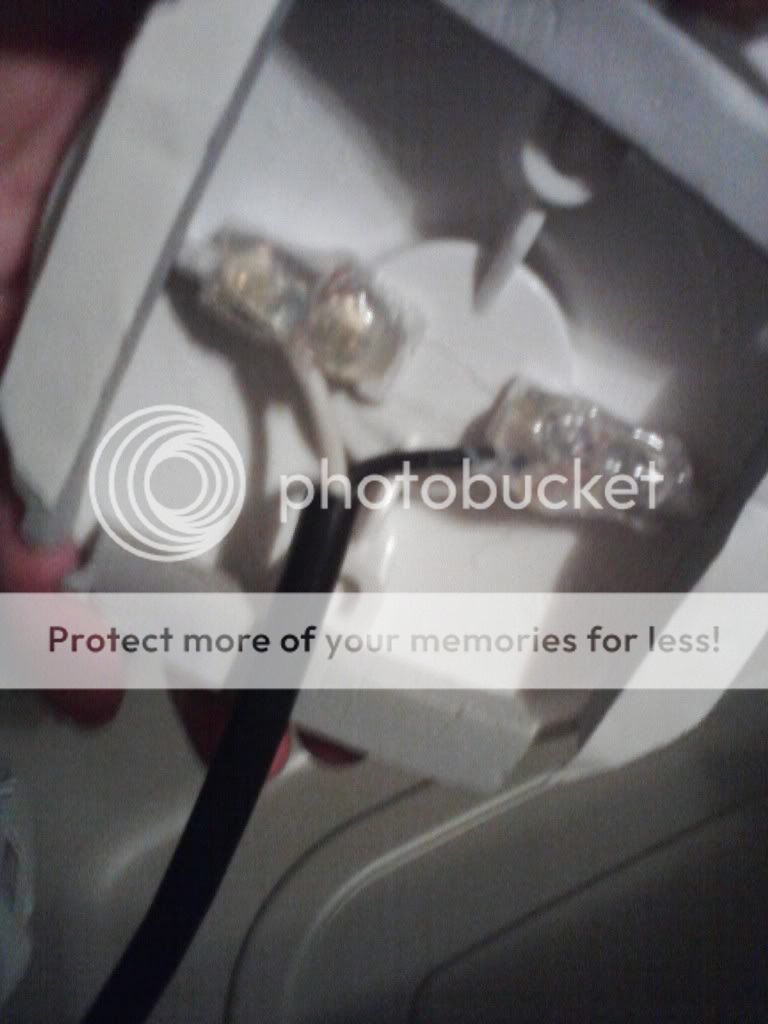
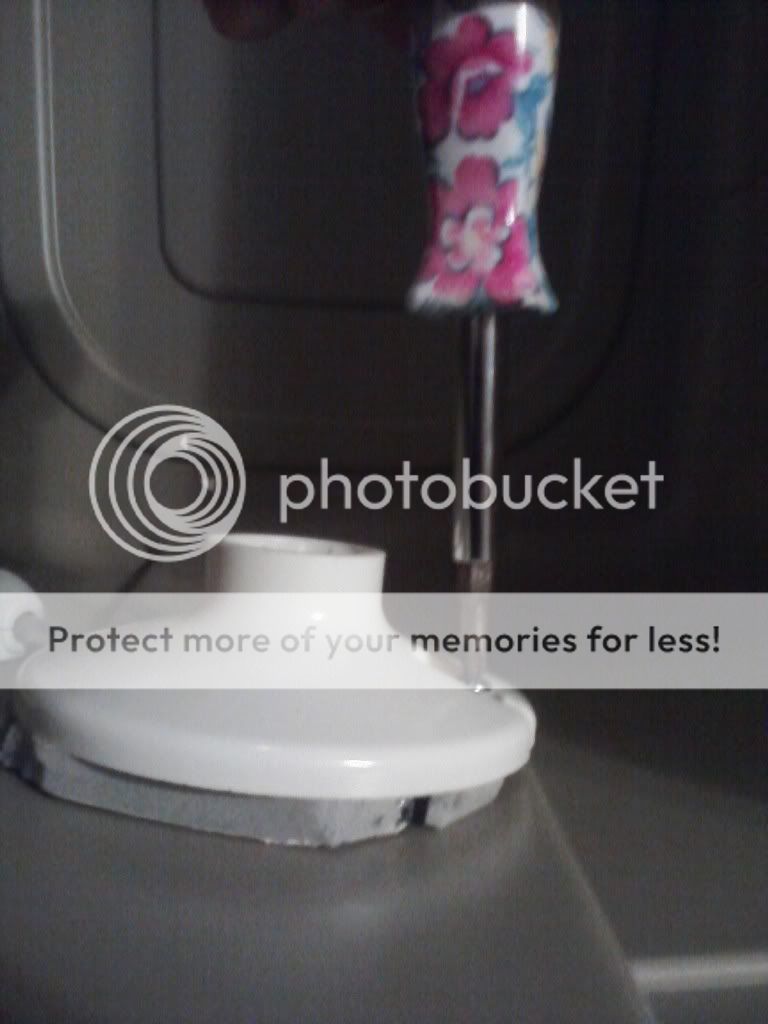
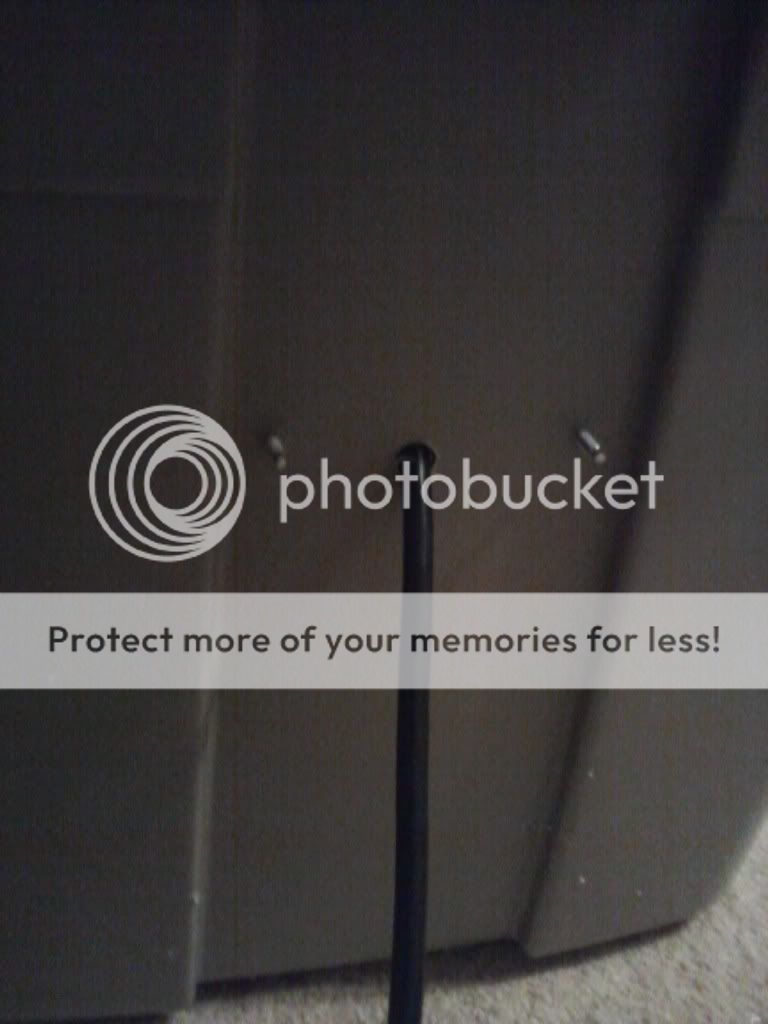
We then drilled a hole for the wire to fit through. Ran the wire through then hooked up the fixture to the wiring.
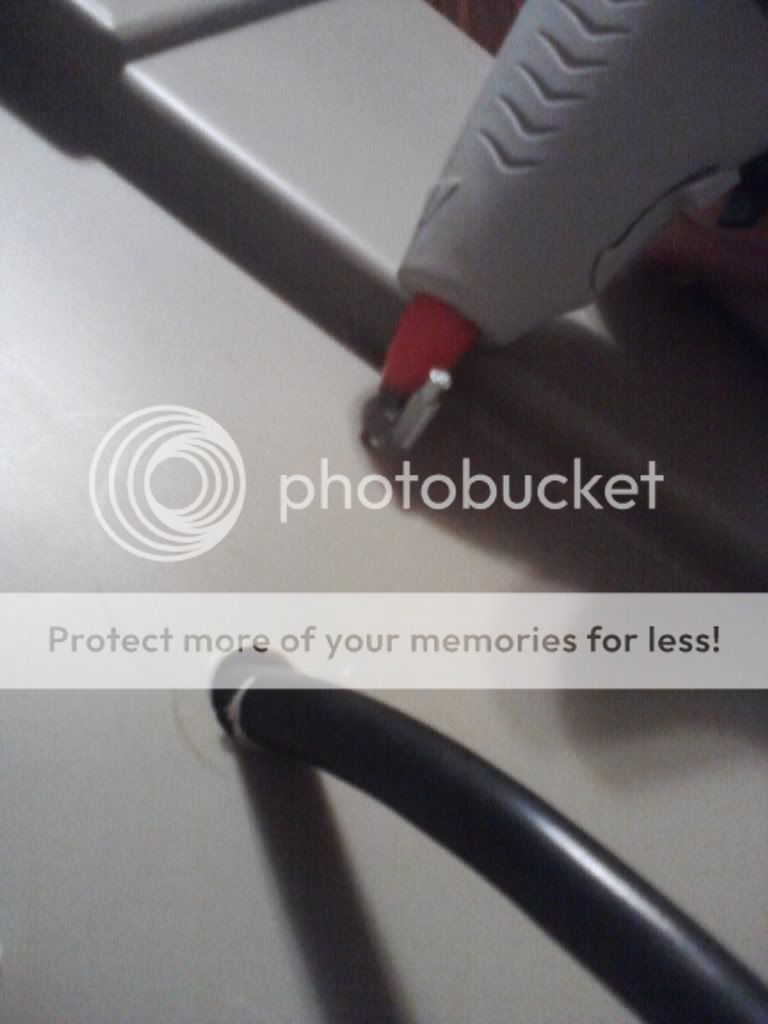
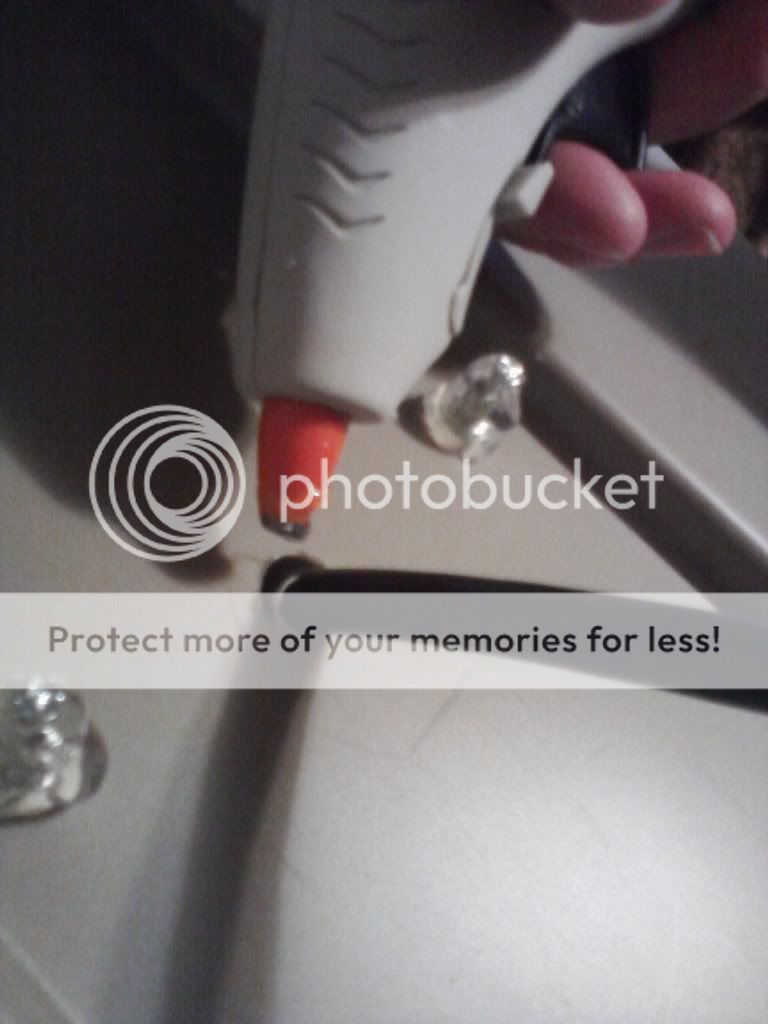
We then hot glued over the wire connections and allowed the light to sit while on to be sure that there were no electrical issues. The sticky "insulating tape" allowed the light to sit in the proper place while we put the lid on and let it sit for 30 mintues.
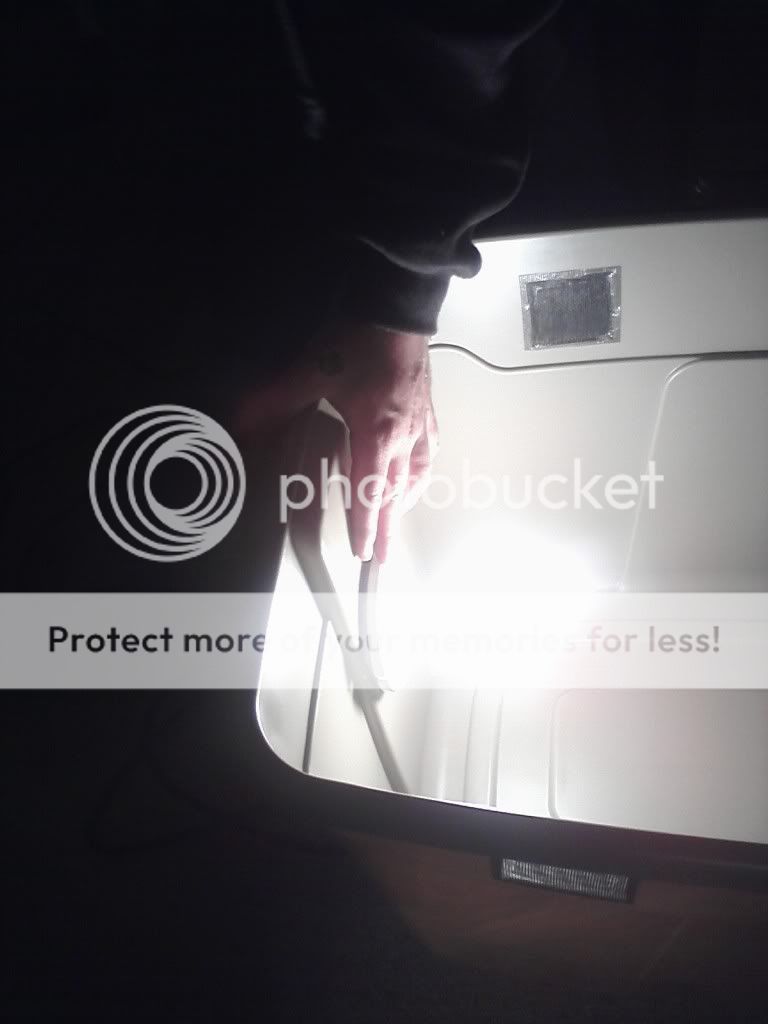
Then we attached the light to the bin by screwing in the holes we drilled earlier. Then we sealed the light fixture from the inside with hot glue.
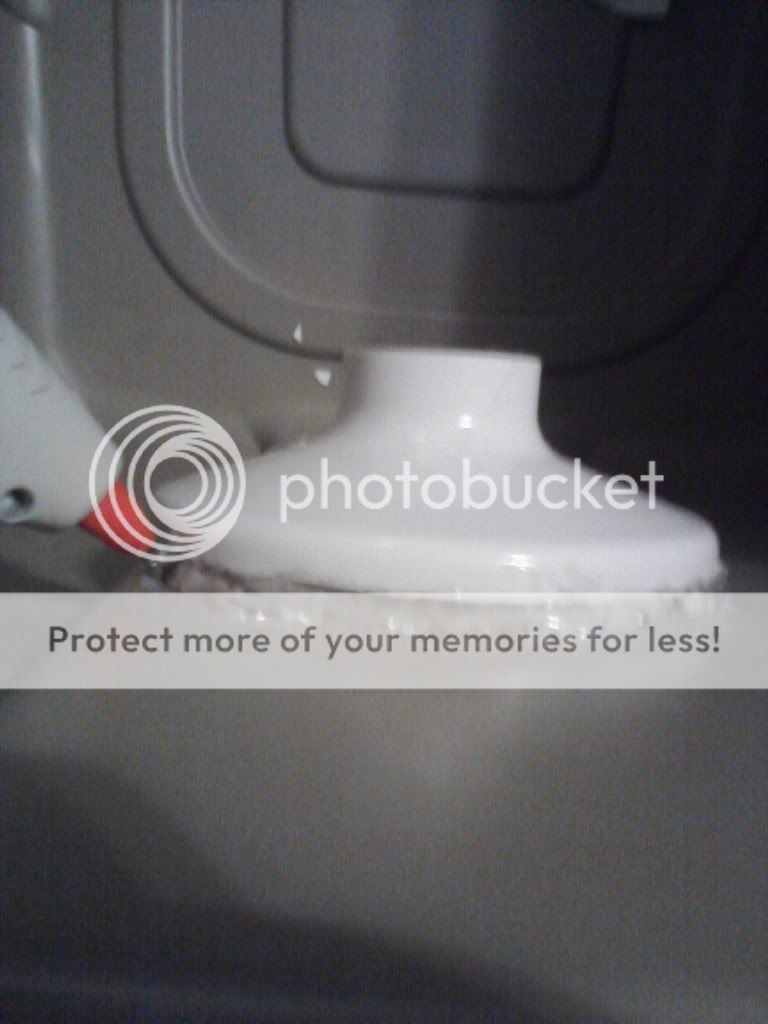
We glued around the screws and wire on the outside of the bin, and held the wire in place for it to dry for several mintues or until cool.
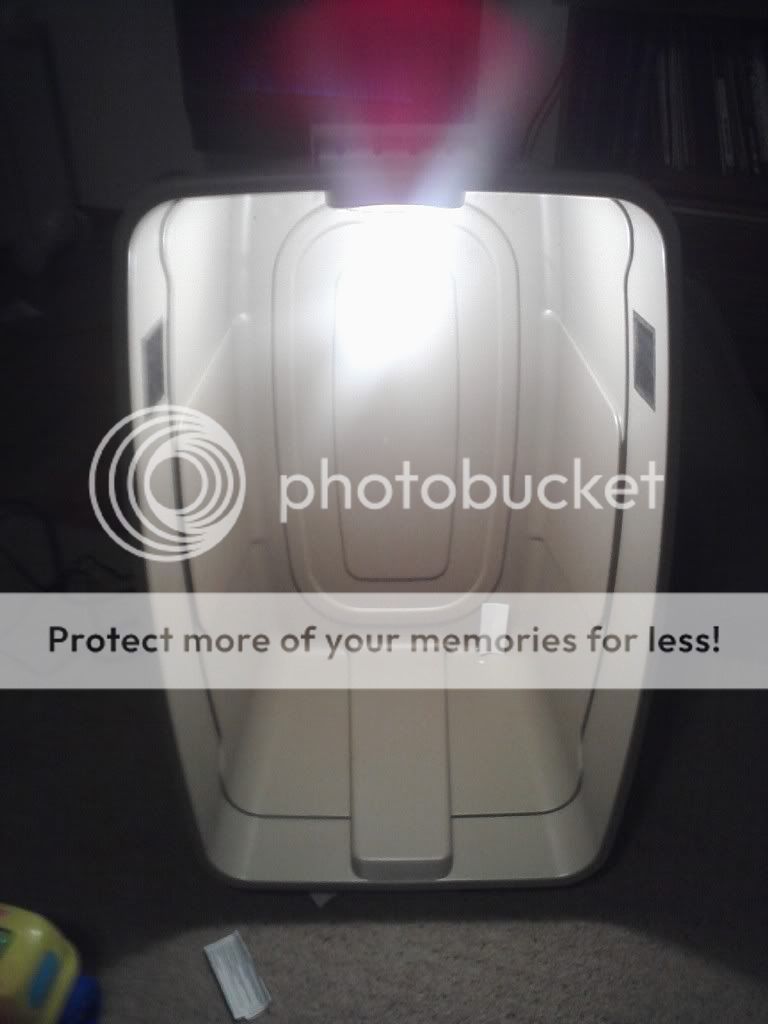
Then we let the bin sit with the light on and monitored it to be sure there were no issues. AGAIN.
I plan on getting a higher watt black light for the bin because our house is very cold; making new vents on the opposite side; insulating the bin with styrafoam from the outside to keep heat in; may end up getting heat pad as well to keep temps up.I plan on putting the food and water gel under the light and putting egg crates on the opposite side to prevent a fire should the crates hit the bulb.
All suggestions and comments are welcome!
Items used:
31 gallon bin $14
light fixture $2
wire for light $7
screen mesh $3
hot glue gun $5
hot glue sticks $6
utility knife $5
rubber insulating tape (had it at home)
I started with a 31 gallon rubber bin. I was sure to choose one that neither my 2 year old nor cat could break into.
I marked where my wire mesh would fit.
Then I cut the holes for vents. I made the mistake of cutting the vents on the same side as the light fixture, so I will have to seal this back up and cut some on the opposite side.
I then put the "screen patches" over the vents I cut.
I then drilled holes for the light fixture. I decided to do this on the side because I didn't have enough room on the long side of the bin to put a light fixture to where the light wouldn't be too close to the lid, or allow any roaches to climb up the light. I also chose the short side of the bin because it was more sturdy.
I then applied the insulation tape to the inside of the light fixture.
We then drilled a hole for the wire to fit through. Ran the wire through then hooked up the fixture to the wiring.
We then hot glued over the wire connections and allowed the light to sit while on to be sure that there were no electrical issues. The sticky "insulating tape" allowed the light to sit in the proper place while we put the lid on and let it sit for 30 mintues.
Then we attached the light to the bin by screwing in the holes we drilled earlier. Then we sealed the light fixture from the inside with hot glue.
We glued around the screws and wire on the outside of the bin, and held the wire in place for it to dry for several mintues or until cool.
Then we let the bin sit with the light on and monitored it to be sure there were no issues. AGAIN.
I plan on getting a higher watt black light for the bin because our house is very cold; making new vents on the opposite side; insulating the bin with styrafoam from the outside to keep heat in; may end up getting heat pad as well to keep temps up.I plan on putting the food and water gel under the light and putting egg crates on the opposite side to prevent a fire should the crates hit the bulb.
All suggestions and comments are welcome!
