spyder79
Extreme Poster
So I have seen quite a few folks asking about cooler incubators. So I found this online and figured it would be nice to post. Info found here >>> http://www.eyehit.com/degei/supportfiles/howto/inc/index.htm
Building an incubator from a cooler.
This was my first incubator build. I used it for a clutch of ball python eggs. It worked well and I hatched 9 out of 9 eggs with very few issues.
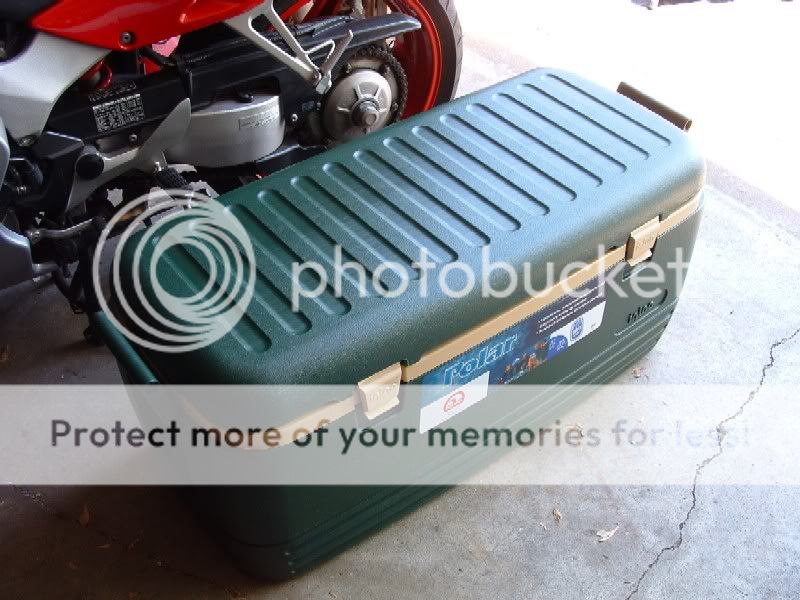
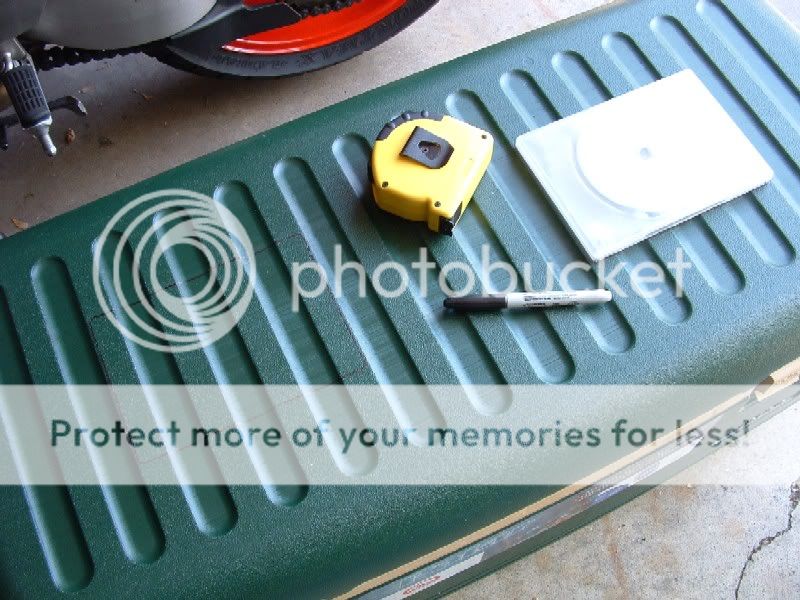
Start with your regular camping model extra large cooler.
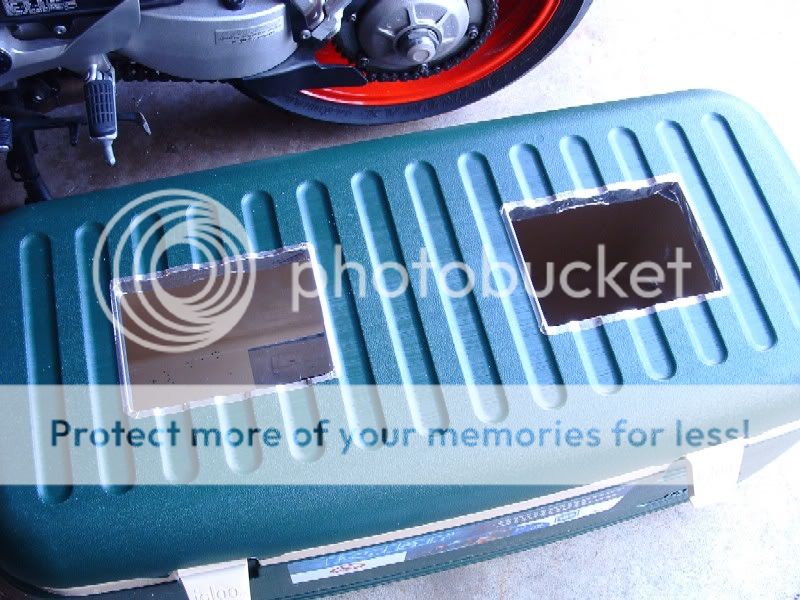
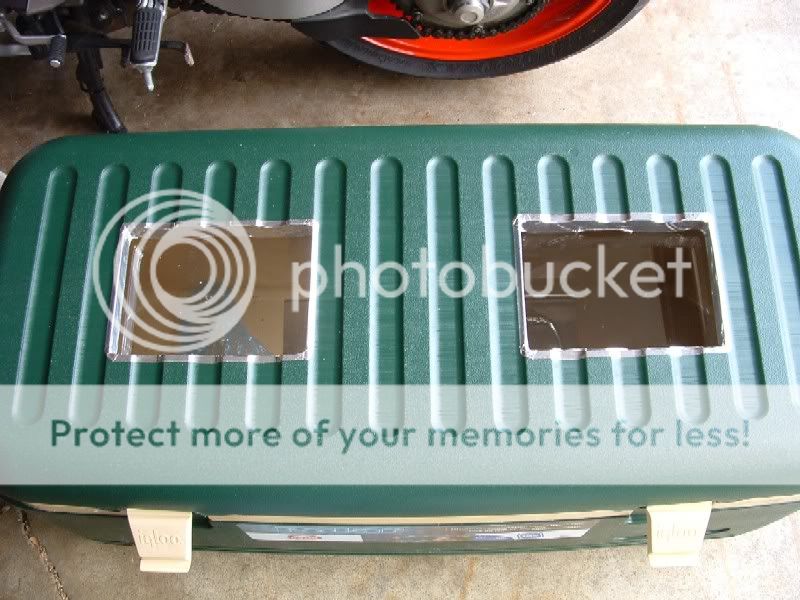
I like to see what's going on, so I opted to start by making some viewing windows in the lid. Scientific person that I am, I just used a DVD case as the template for the window cut outs and counted in an equal amount of "grooves" in the lid from the outside edge for each window, leaving a good amount of space between the 2 windows. I did measure the front to back distance so it wouldn't look like a child did it.
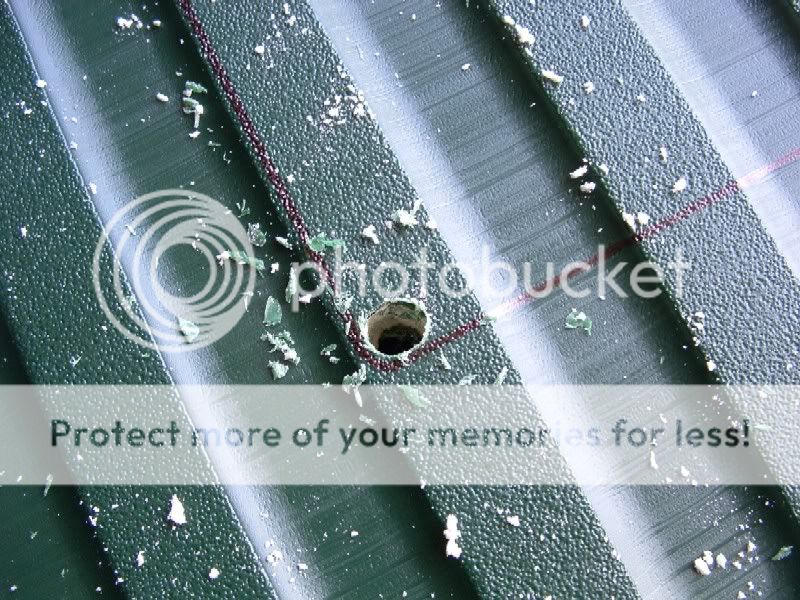
With the stencil drawn in sharpie, I drilled a 3/8 pilot hole in a corner for the jig saw blade to go into and began the cutting process. Gently, I might also add. Coolers are just plastic and styra-foam so go slow and easy.
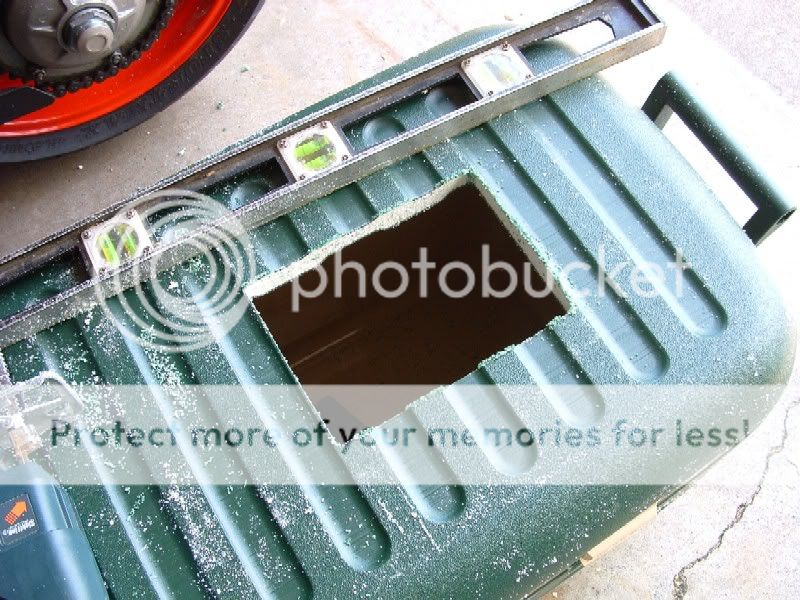
One window cut complete. It's messy. Not only does the plastic shaving fly everywhere, but the foam does also. The level was used as a straight edge saw guide.
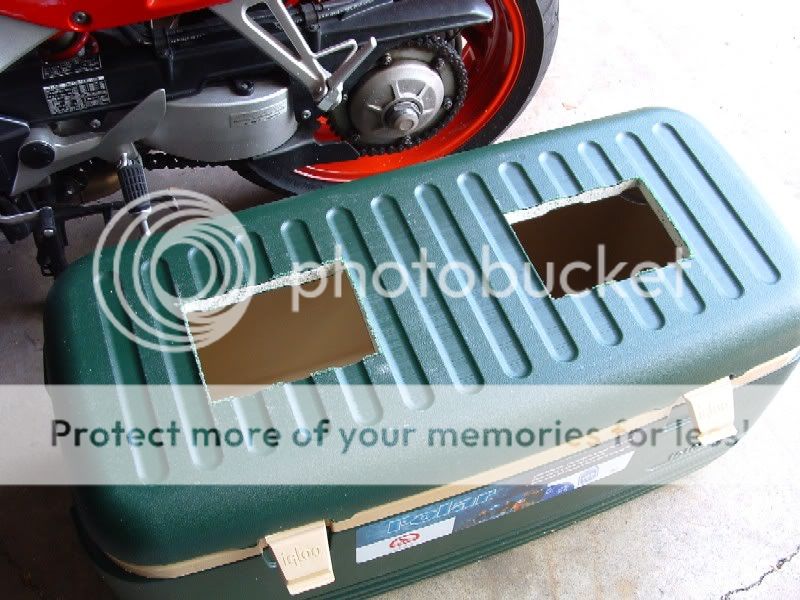
Both windows cut and the mess vacuumed up.
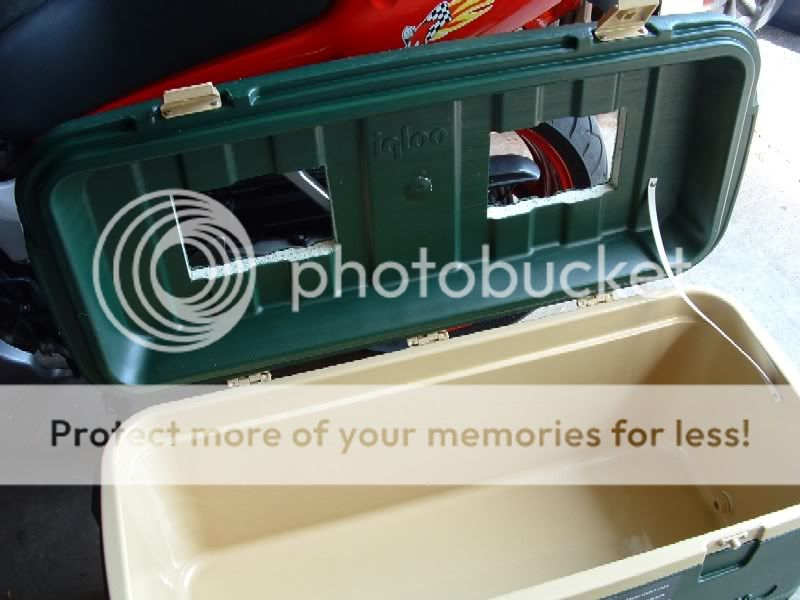
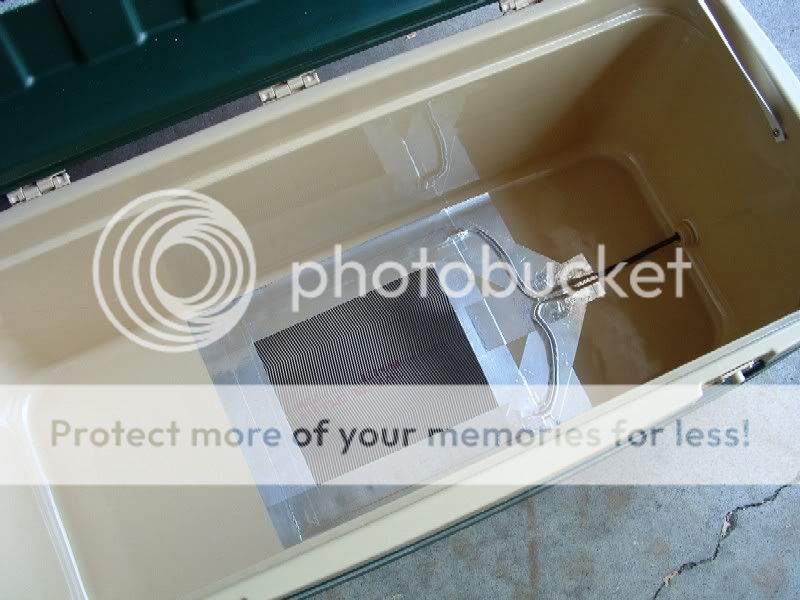
Interior view of cuts.
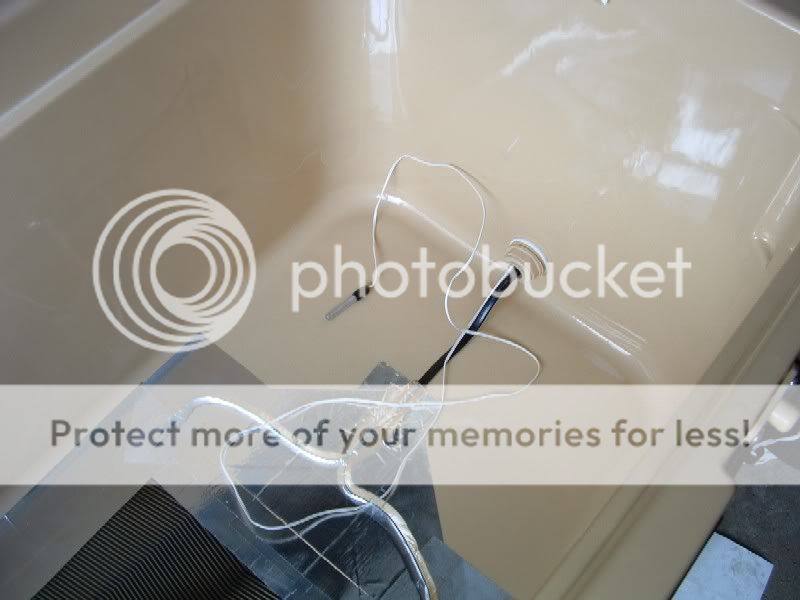
Since I just can't wait, I'm going to put the heat in there now. I placed one foot of 11 inch flex at the center bottom and ran the wire out the drain hole. Everything was secured with foil tape.
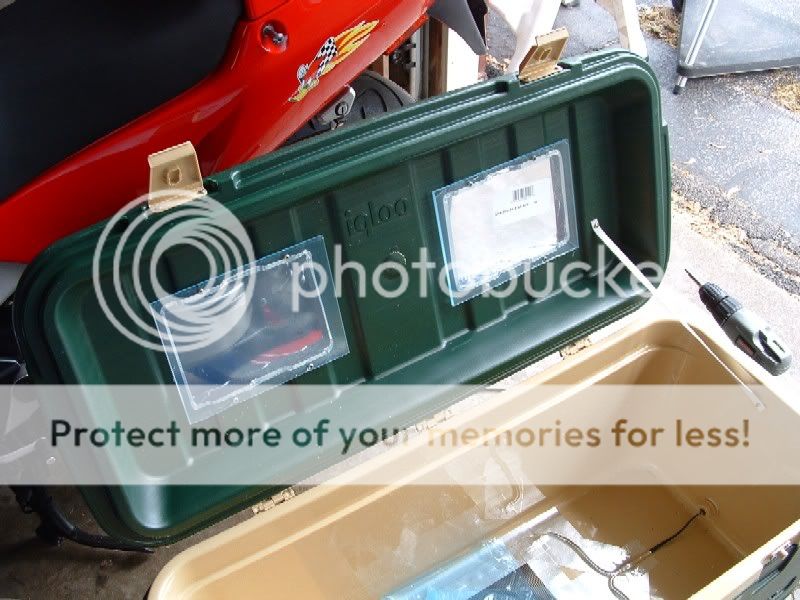
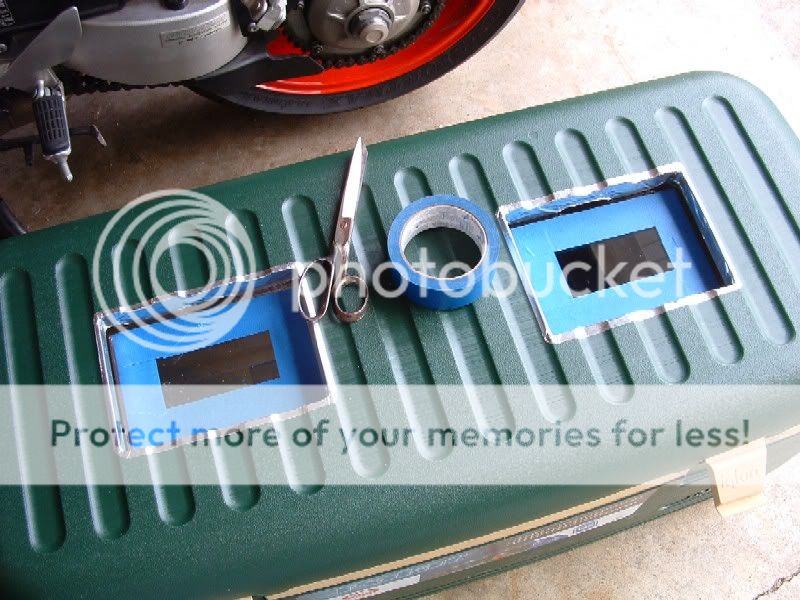
Back to these windows. While I had the foil tape out I use it to "finish" the cut edges of the windows. This took bit of time and some fancy cutting to minimize wrinkling, but it turned out well.
I cut 2 pieces of 1/4 inch plexi to use for the actual windows. Hold in place, then mark holes for drilling in plexi to mount. Drill out the holes and mount with small wood screws. Do NOT over tighten. This is plastic you are screwing into. Remove the top side of the protective sheet before mounting.
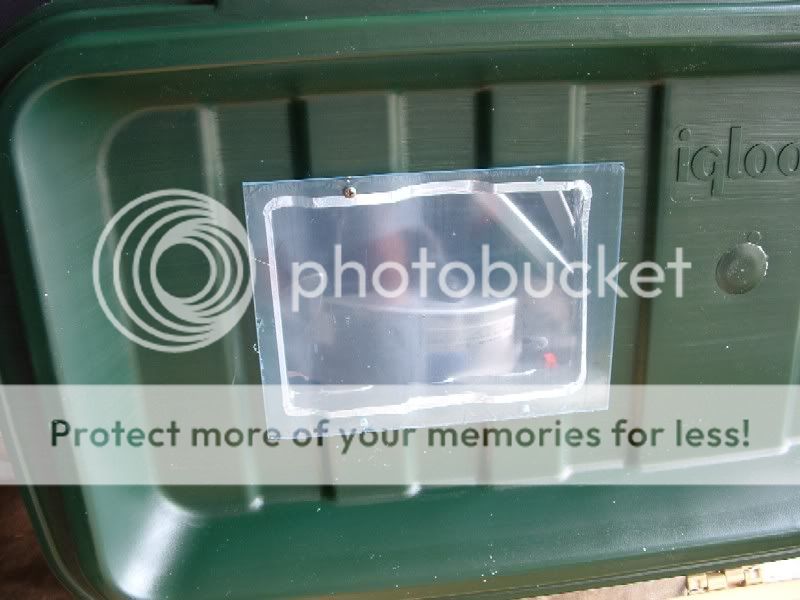
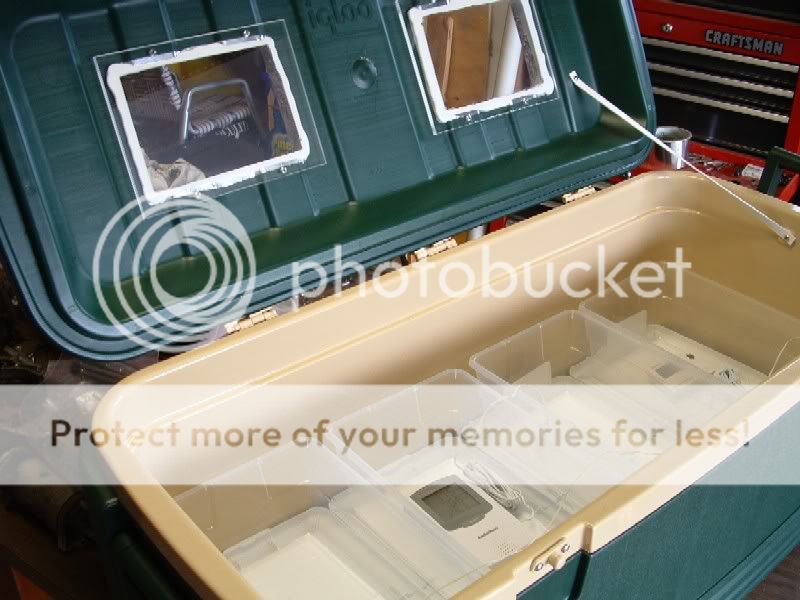
Interior view with both windows mounted. Protective film is still on this side of the plexi.
Top view of mounted windows with film off.
Tape off top side of windows with painters tape to make a clean seal with silicone. I applied silicone to the seams liberally and then removed the tape. I allowed it to cure in the sun off and on for about a week with the lid open to dissipate the silicone fumes.
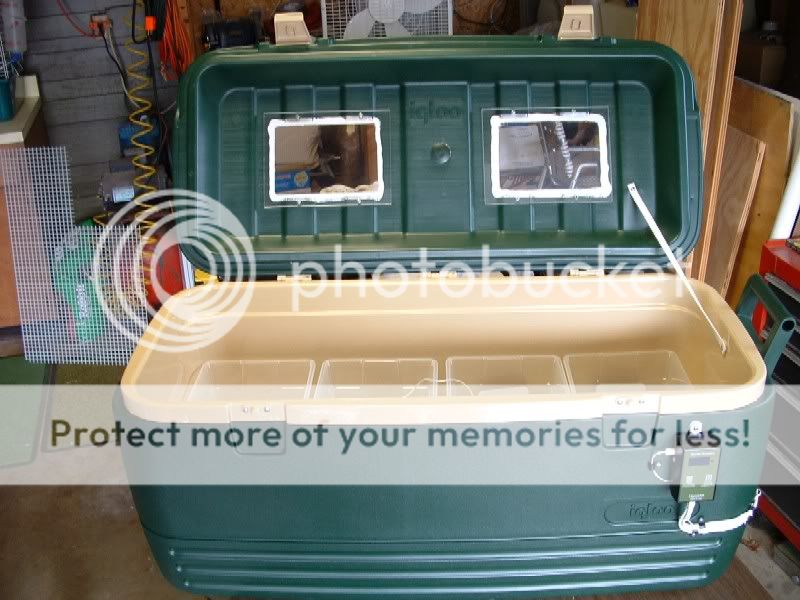
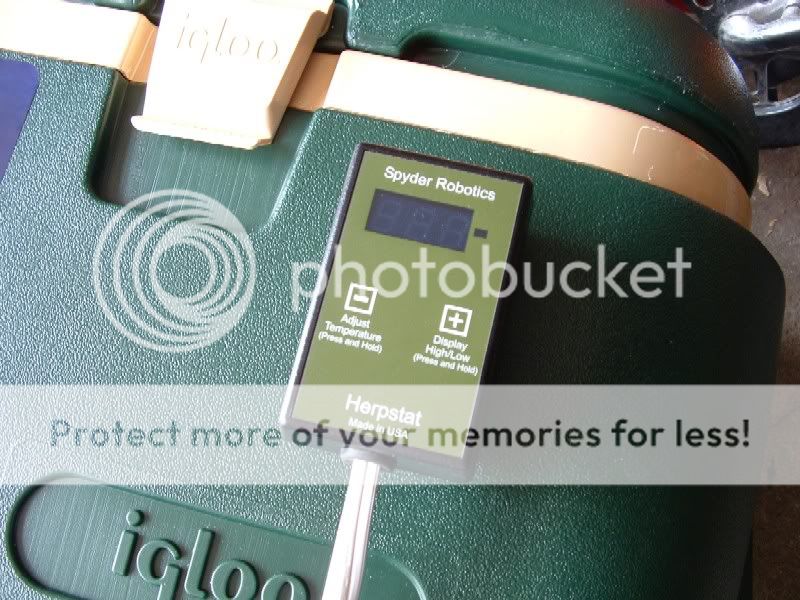
A Spyder Robotics Herpstat I was purchased for this project. I attached it to the front right of the cooler, err... incubator.
Wires were bundled and attached. I ran them around the right side to meet up with the drain hole where the flex power was coming out and where the thermostat sensor would be going in.
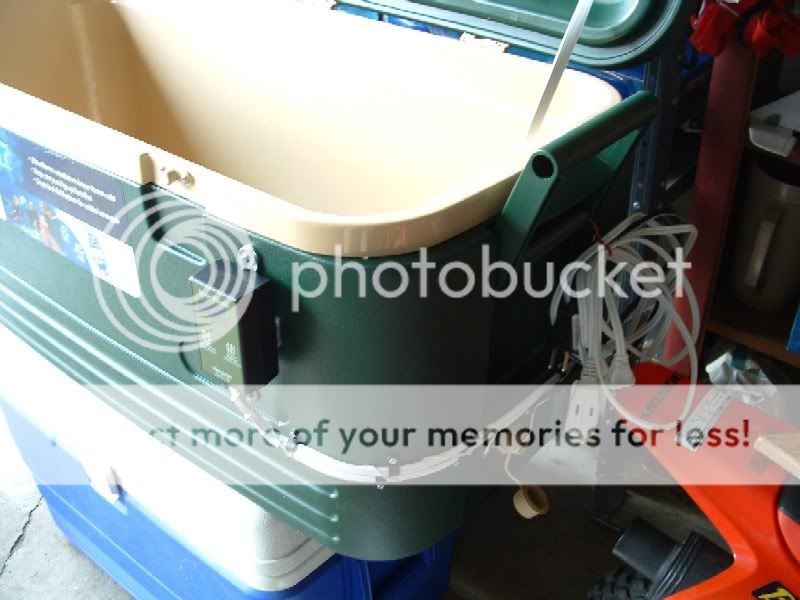
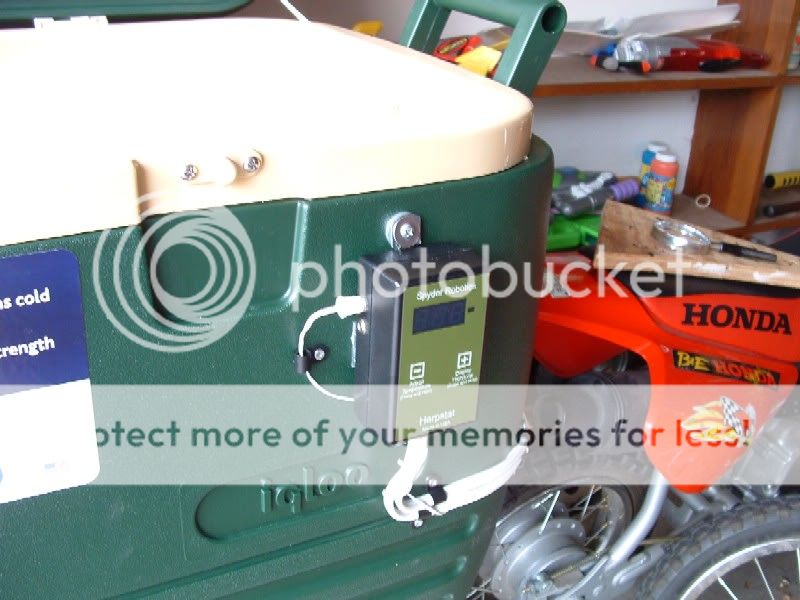
Probe run inside through drain hole.
I purchased a fan at Radio Shack to mount inside the incubator and keep the air circulating and the temps constant throughout the inside. This was mounted to a piece of 1/4 inch plexi on spacers. The picture shows the setup upside down.
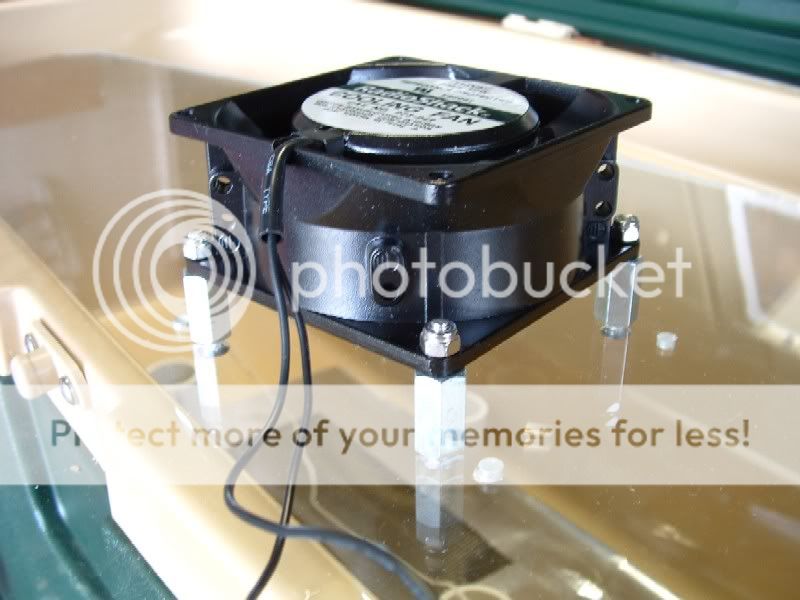
I cut pvc to the rough depth of a water bottle on its side and used them as spacers to get this set up and keep everything visible.
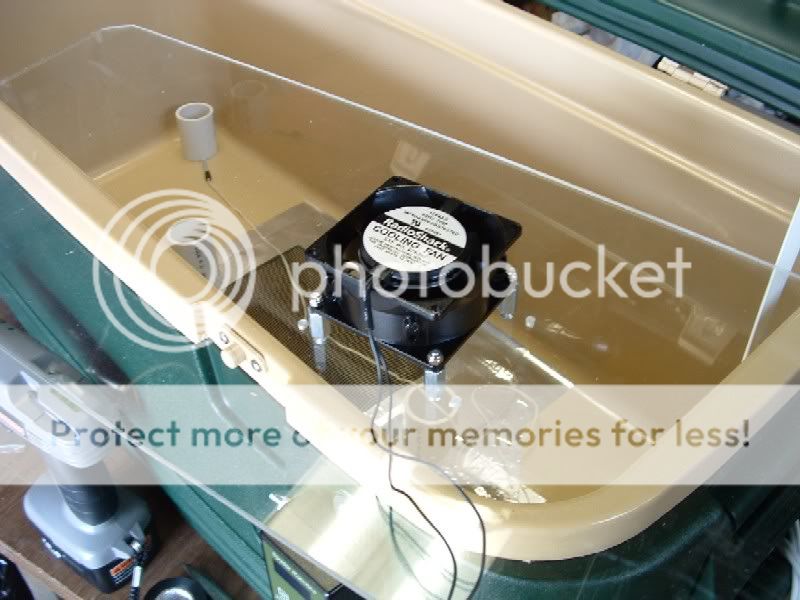
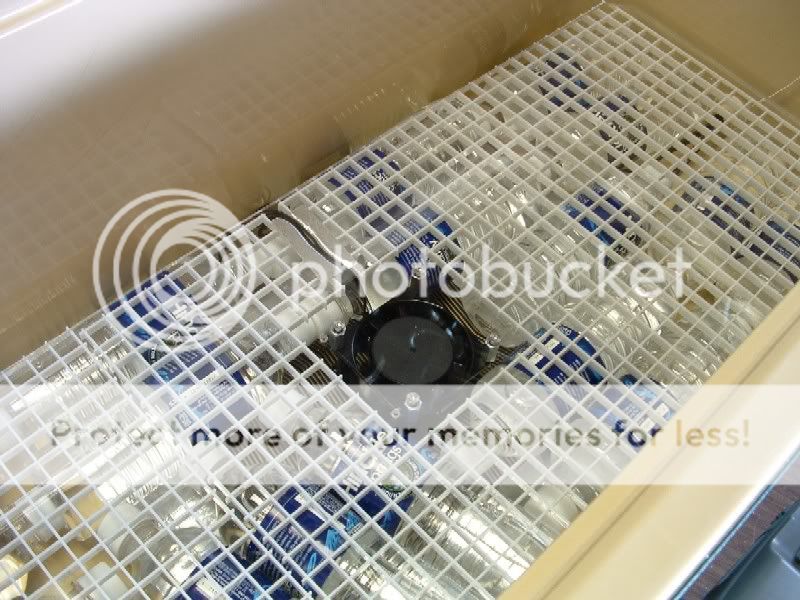
With the fan to plexi mounting complete, I placed the water bottles in the bottom and cover them with lighting "egg crate." Note the cut out for the fan and wire. Water bottles were arranged around the fan.
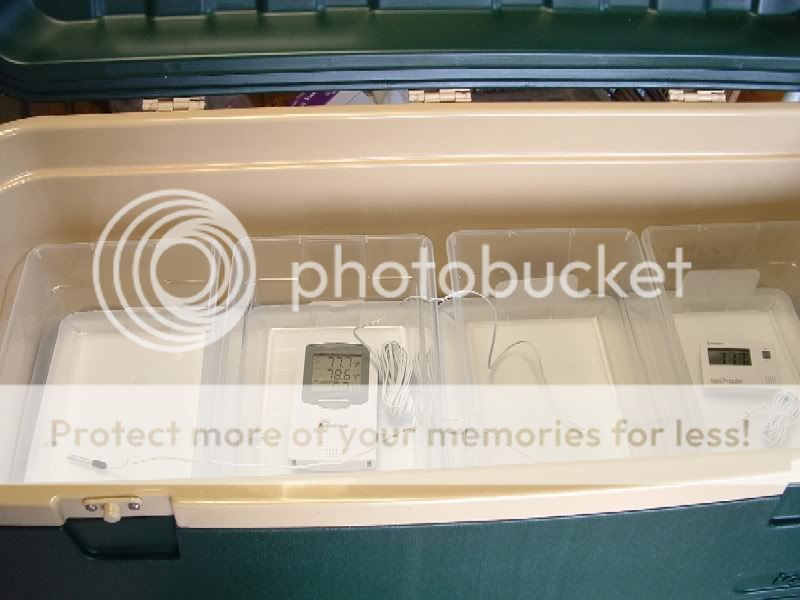
Testing of the incubator. For size reference, those are 4 shoe box tubs. I did find a 1 degree variance from left to right in this setup. Far left being one degree cooler than far right. Since I left the drain hole open the entire time and it is on the right (hotter side) I found this very strange. Rearrangement of the water bottles to change air flow did not alter the difference either. For my purposes, I was incubating a single clutch of 9 eggs in a single 9 inch by 13 inch covered egg container and I did not feel this was a problem. Half way through the incubation period I did reverse the position of the egg container in the incubator just for giggles. I do not feel this made any difference in the clutch nor would it have if I did not reverse the position. 9 of 9 eggs hatched for me yielding 2.7 healthy ball pythons.
Finished