7UpBeardie
New member
Hello!! I wanted to share our custom cage and background we made for our bearded dragon. We wanted something different from the usual glass tank so we decided to make a custom enclosure instead. Below are some pictures of the cage and my process for the fake rock background. I hope everyone enjoys this and i'll definitely be positing more of my DIY backgrounds as I make them.
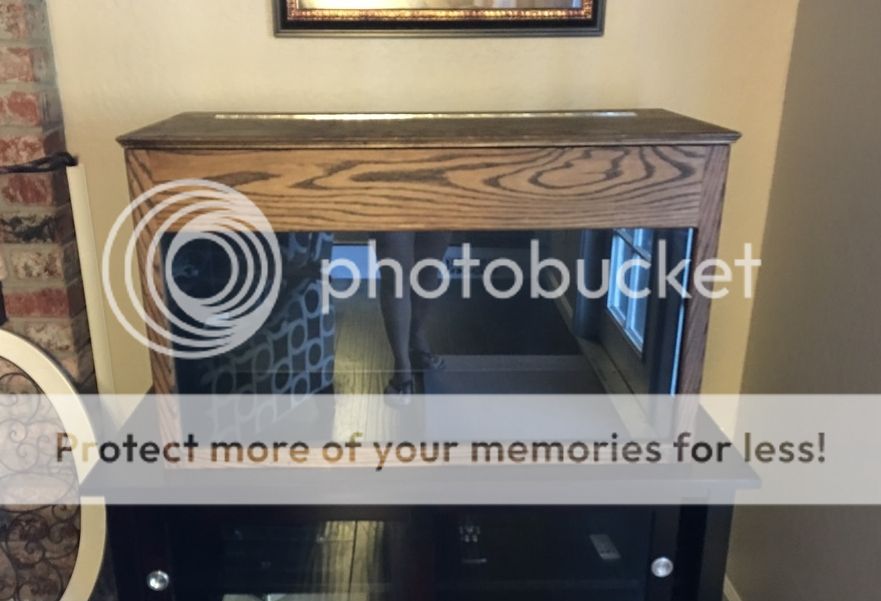
This is the cage fully built. The cage size is 36x16x22. We decided to make a custom cage to match the decor of our home since we're displaying this in our living room. We didn't want the cage doors to be the sliding glass door type since we have a 3 year old toddler so we decided to make the door open from the top. We also didn't want the lights to show through the window so we made the top of the cage a bit larger to hide the lights. This is the cage after it was completed and we wanted to see how it would look inside. We loved it but wanted the stain to be a bit darker to match the stand it was on so we added a few more coats. This is before we added more coats.
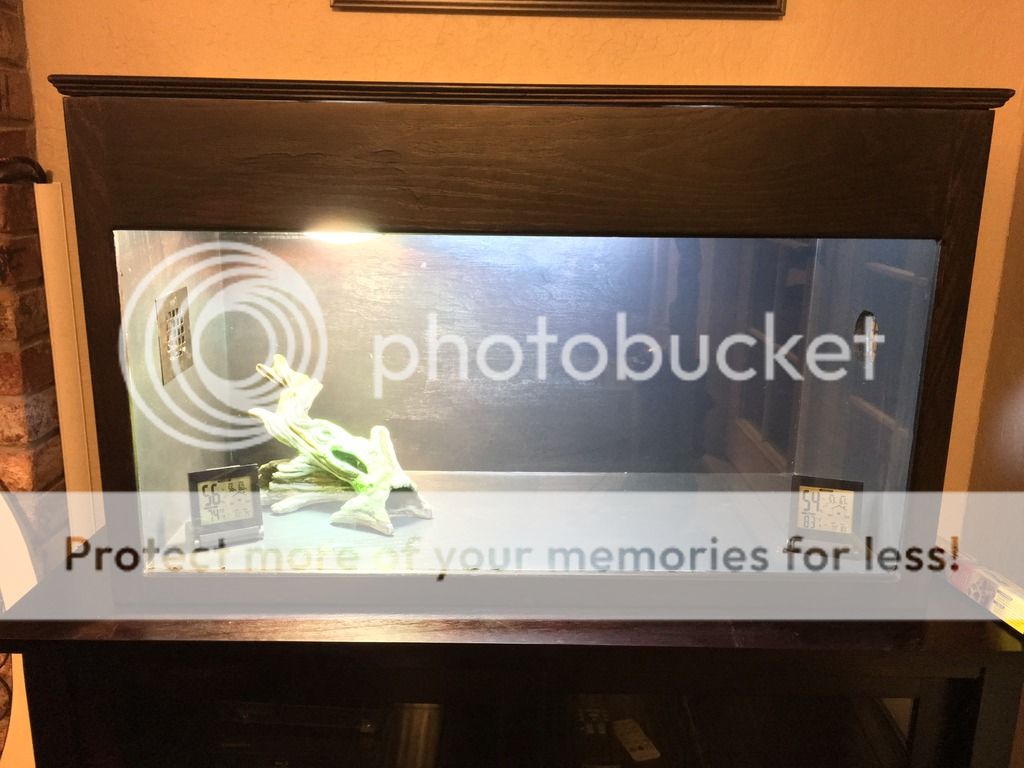
This is after we added the other coats and loved the darker look. Sorry for the horrible lighting as I took this pic late at night and don't mind the branch and thermometers inside. I just set up the lights to test them out and placed them in there to check on the temperatures later on that night.
 [/
[/
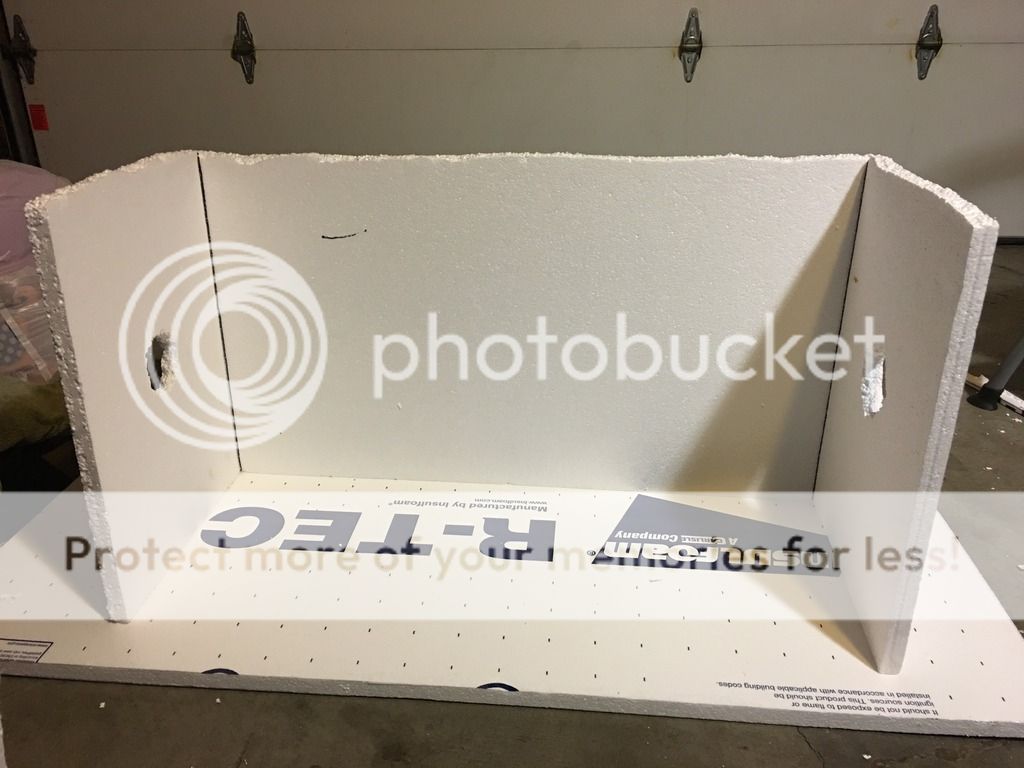
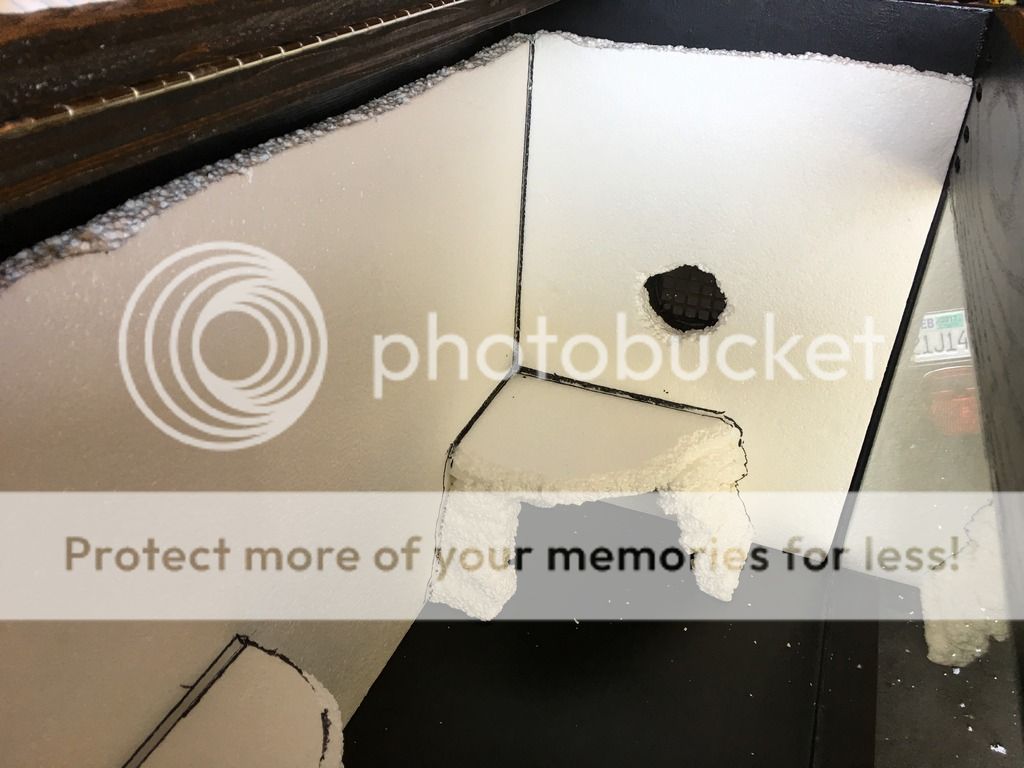
After the cage was complete, I started our custom fake rock wall. the walls and holes for the vents so I knew what I could work with. This is after I cut the foam to the cage wall sizes.
 [/URL]
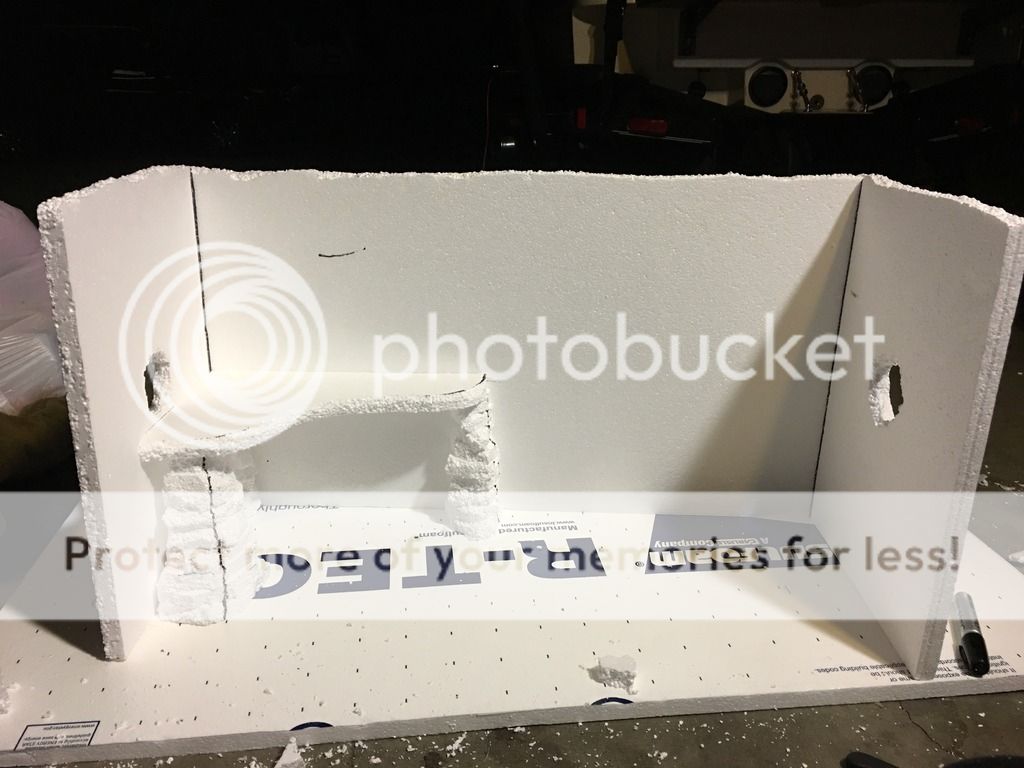
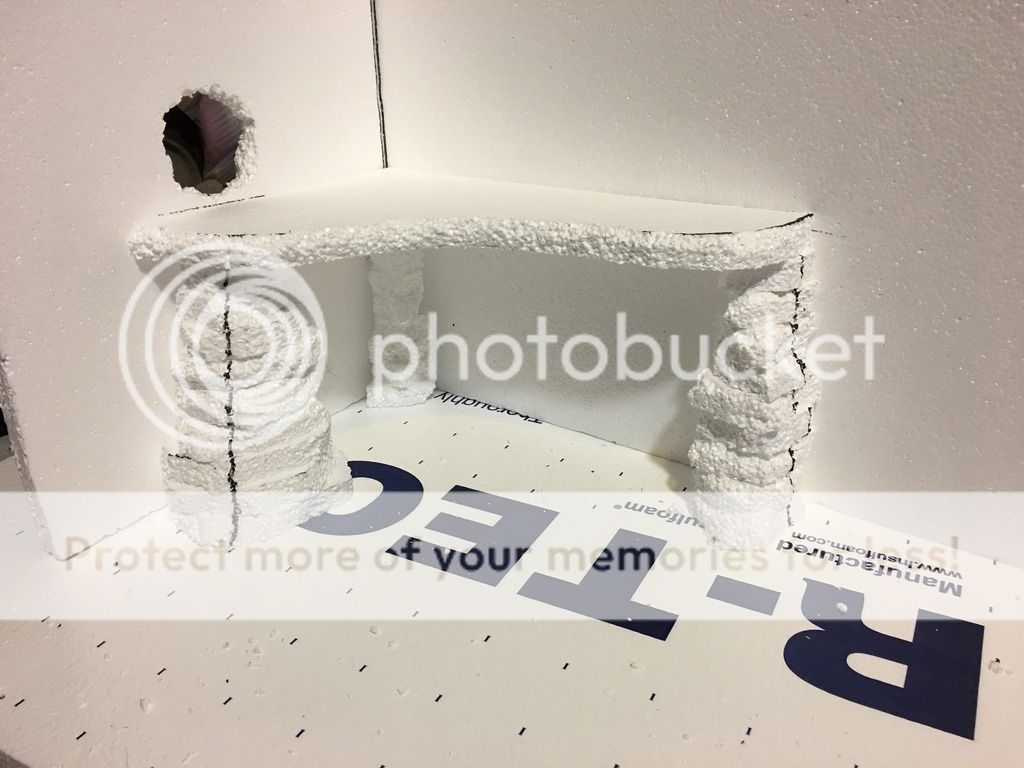
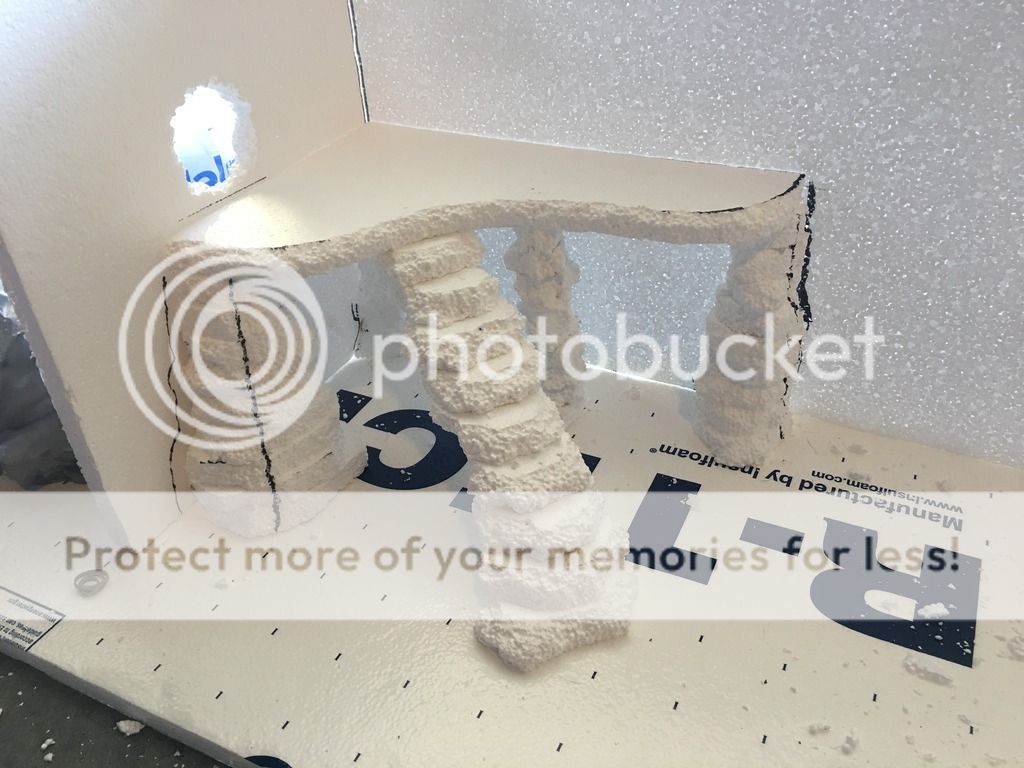
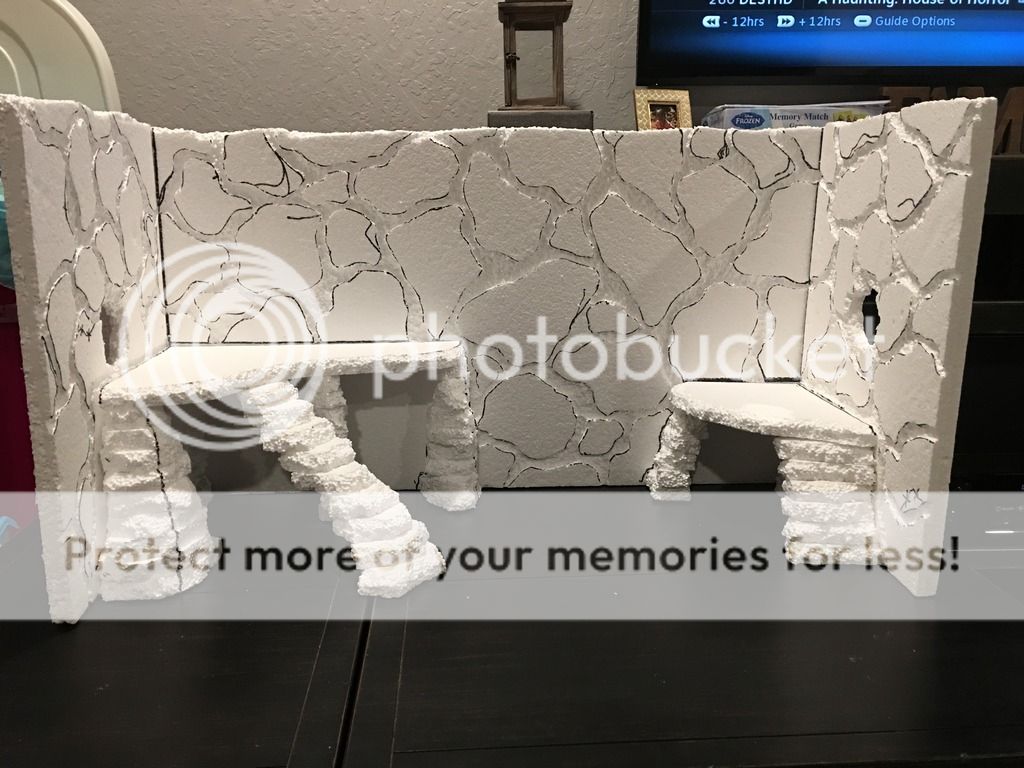
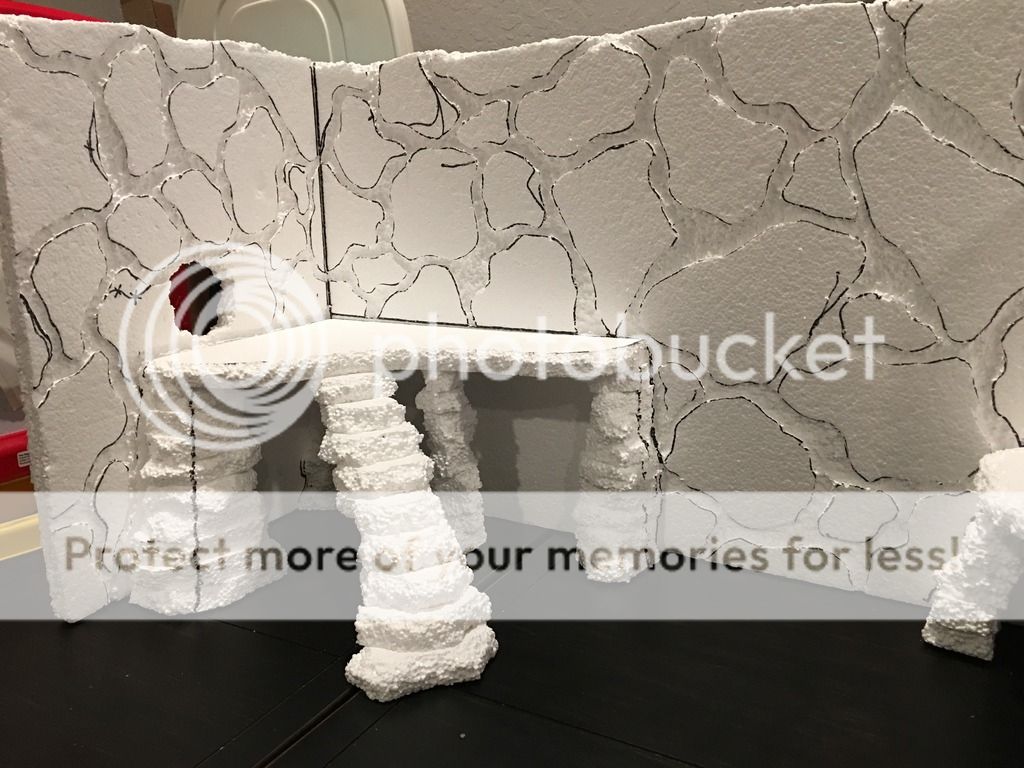
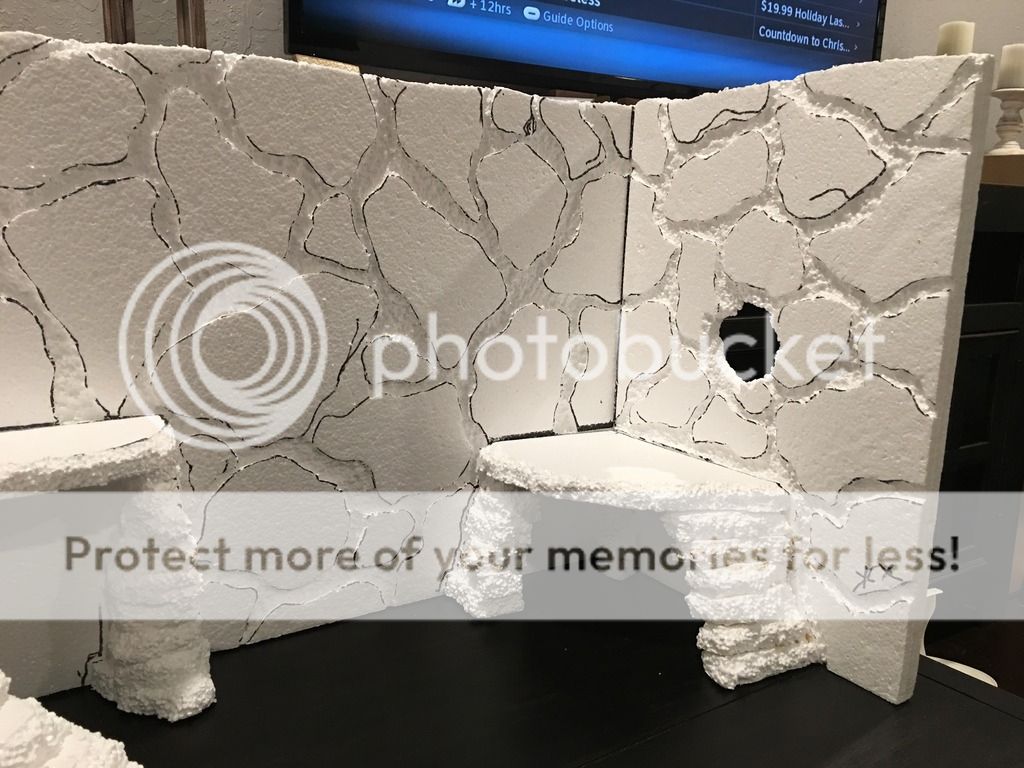
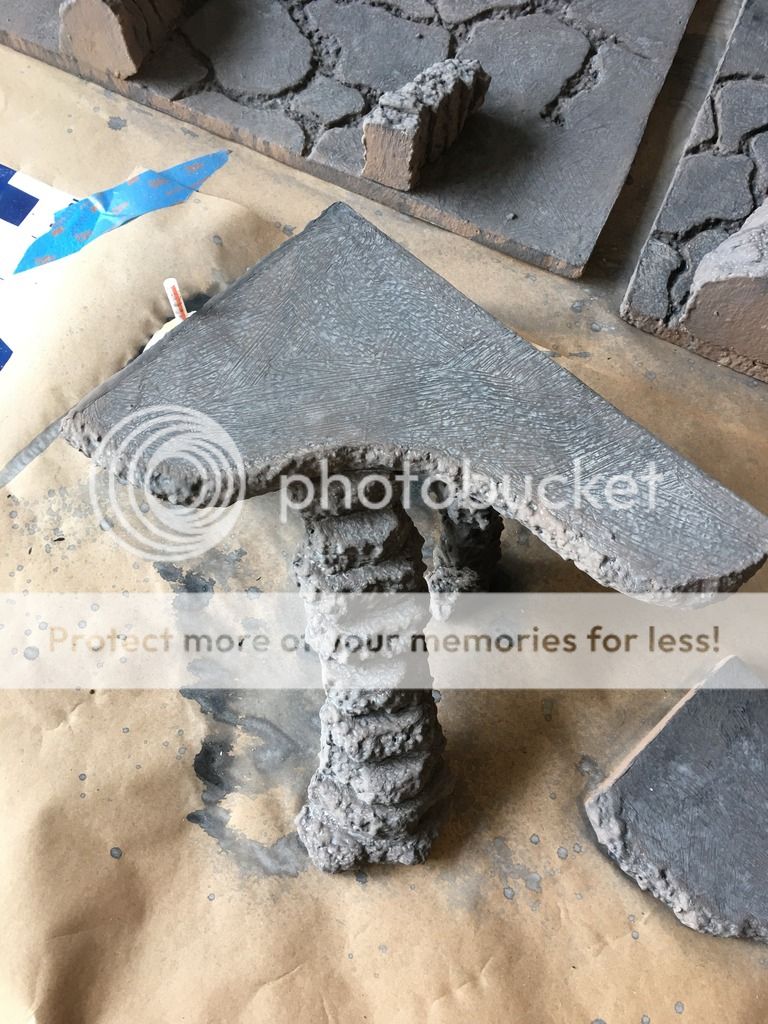
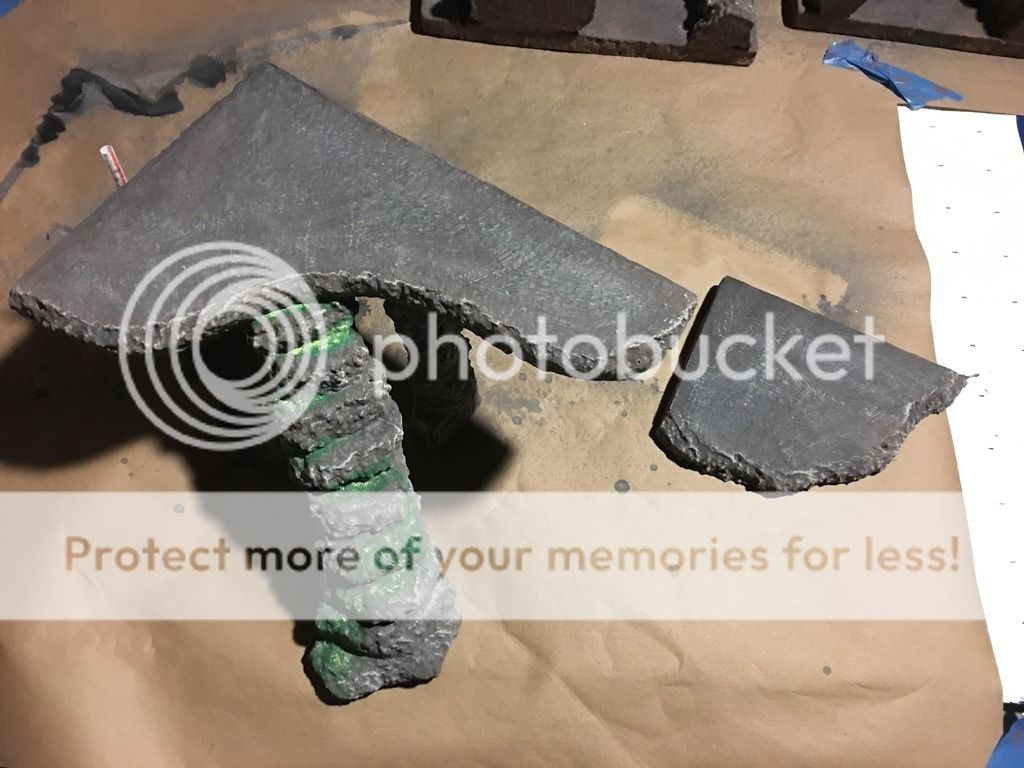
The next few pictures is the process of creating the basking and hide areas. I didn't really have a theme but I knew I wanted everything to look like rocks. I started cutting and adding pieces until I liked the look of it.
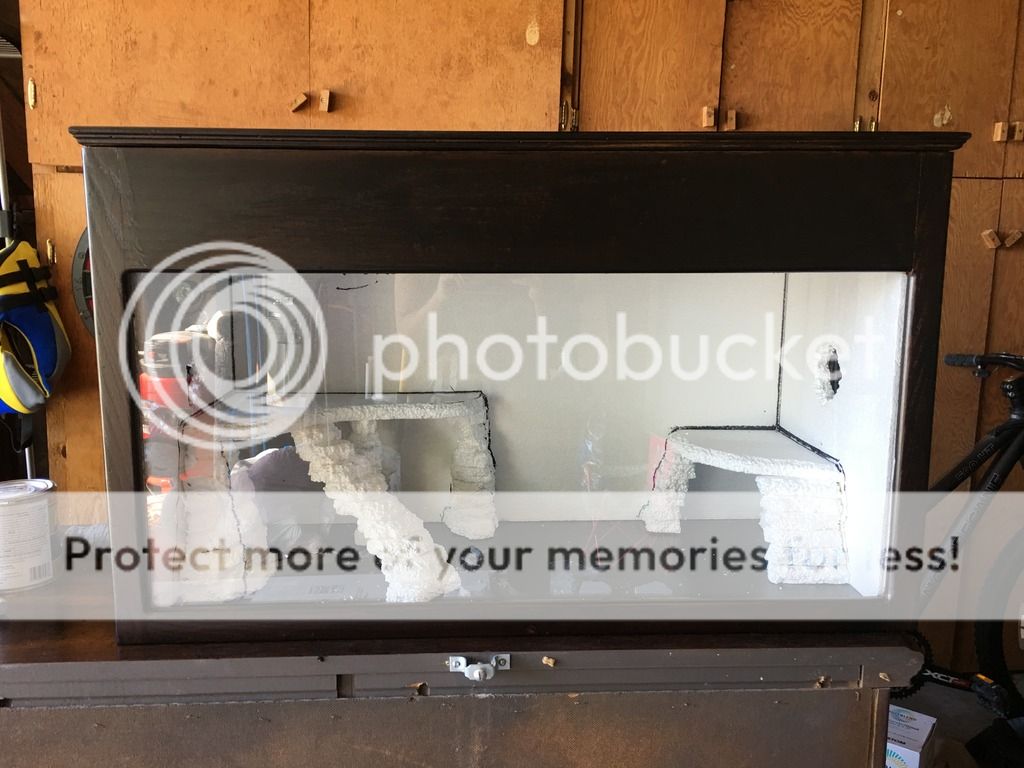
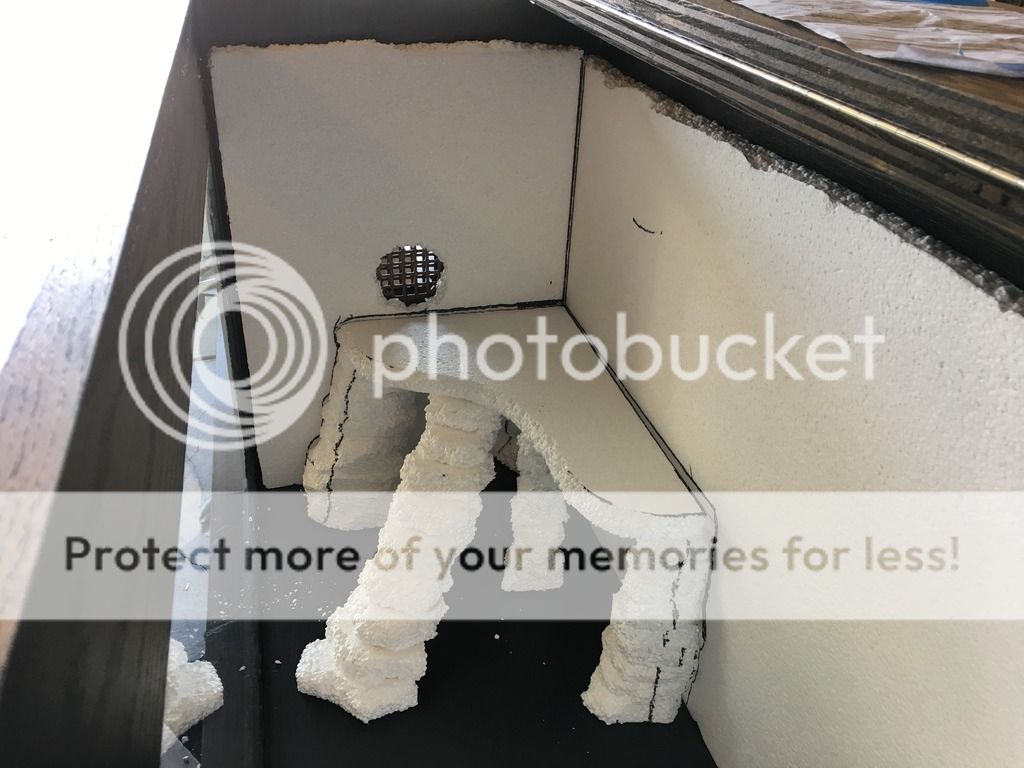
After I created the basking and hide area's where I wanted, I placed the background in the cage to see how it was looking so far.
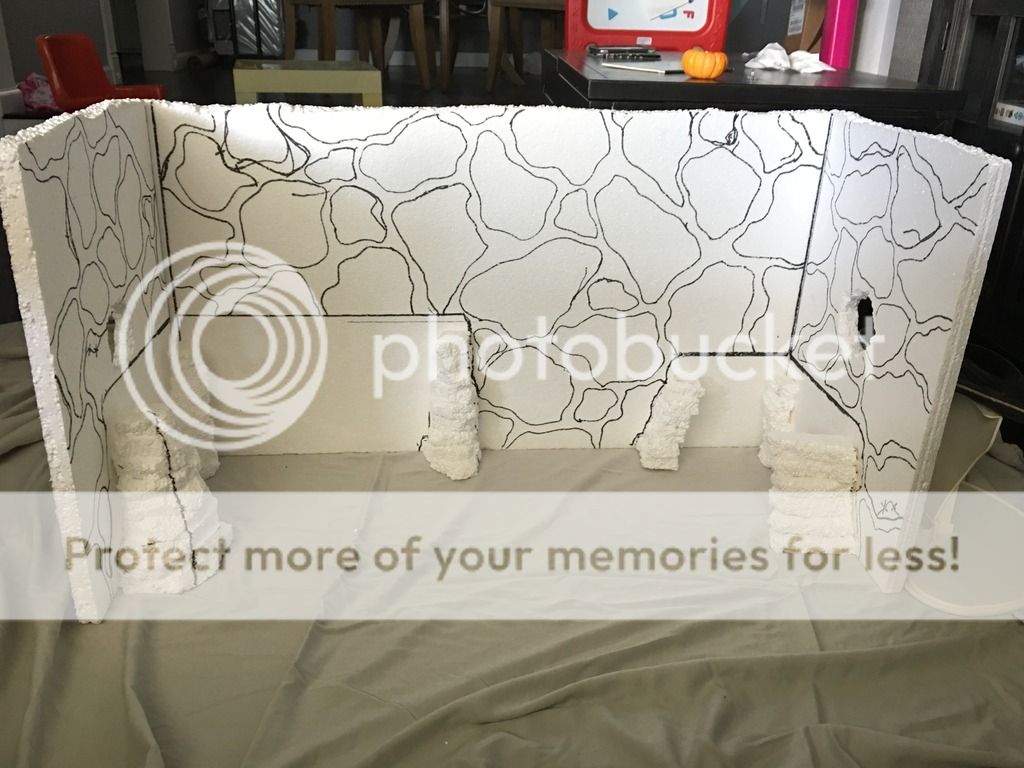
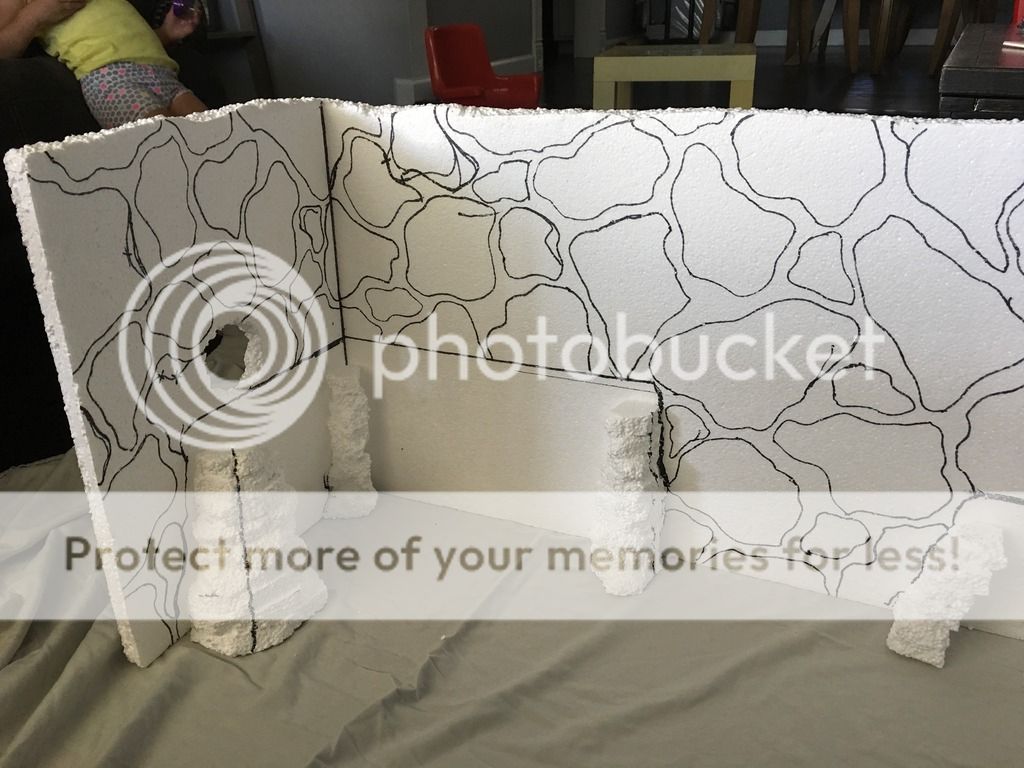
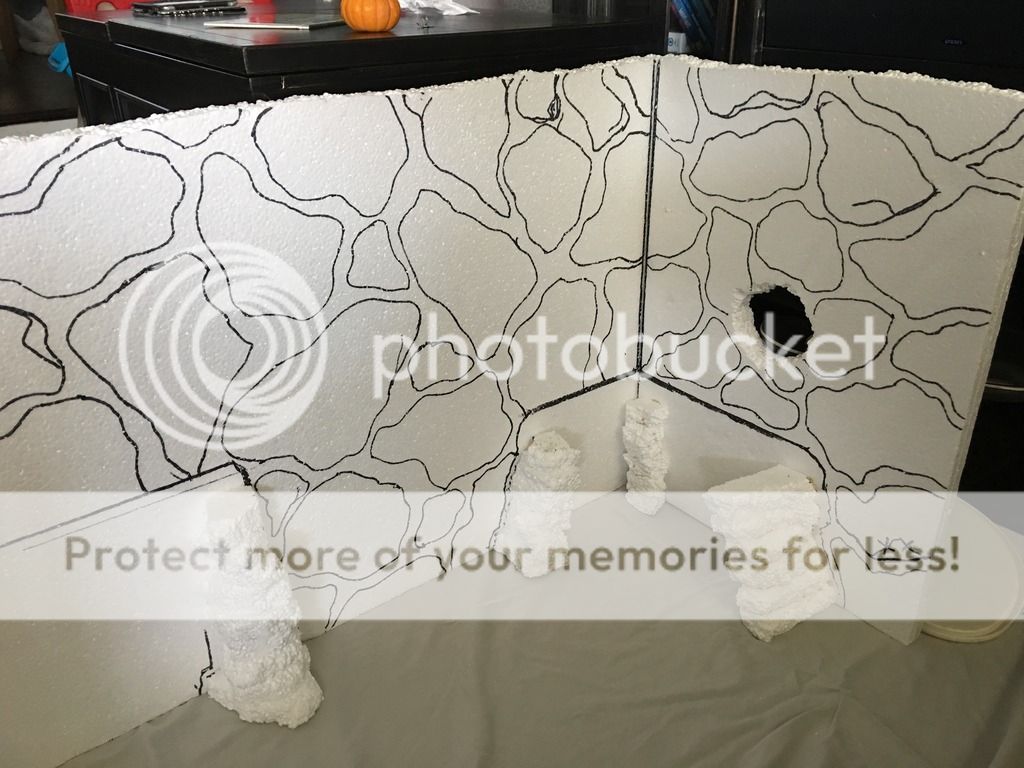
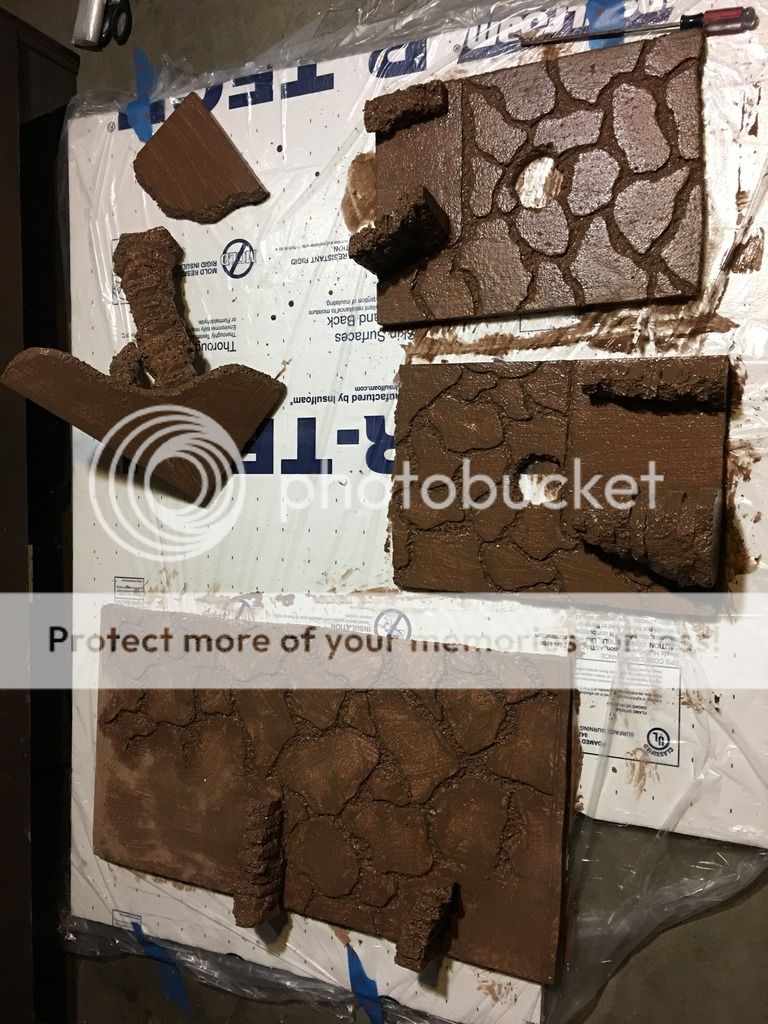
Next, I drew out the rocks. I didn't have an actual plan for this and just started drawing "rock like" shapes. After the shapes were all drawn, I started carving out the rock shapes.
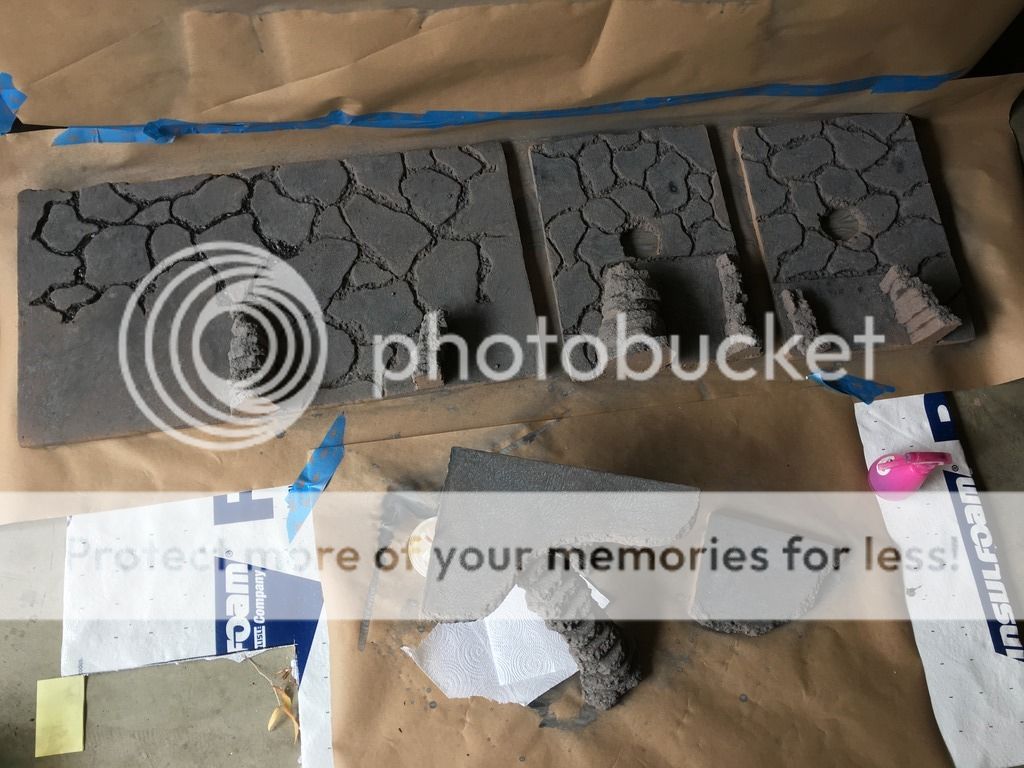
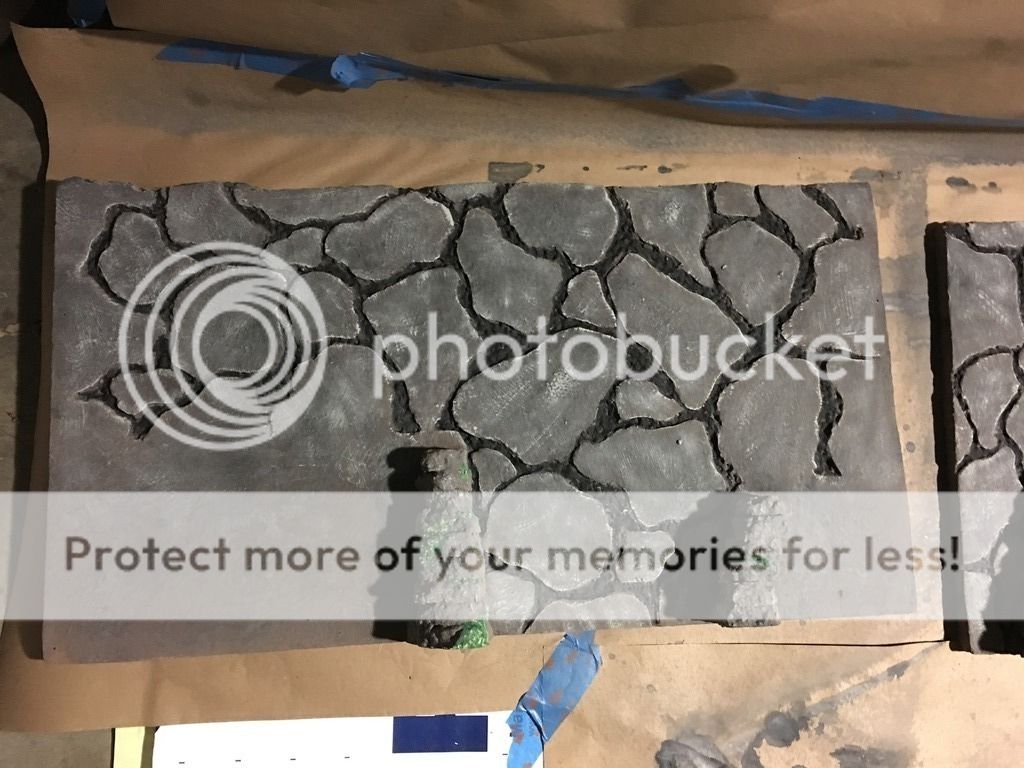
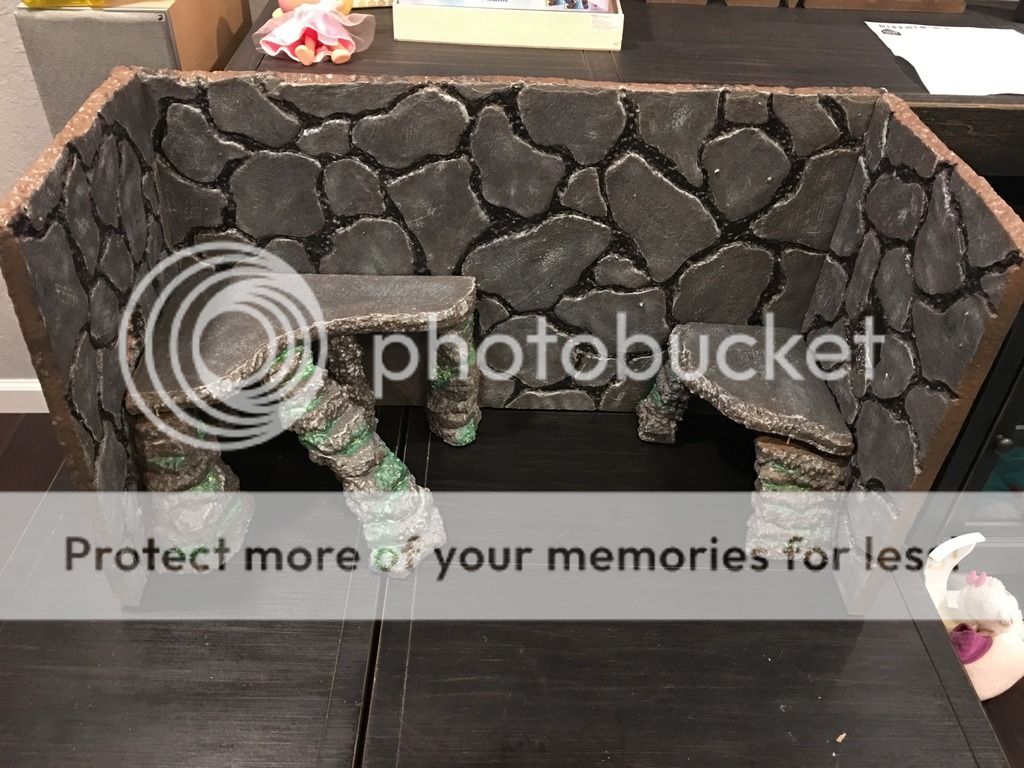
Now that the rock shapes were all cut, it was time to grout! This was a process because I added about 4 coats of grout so that everything was nice and strong.
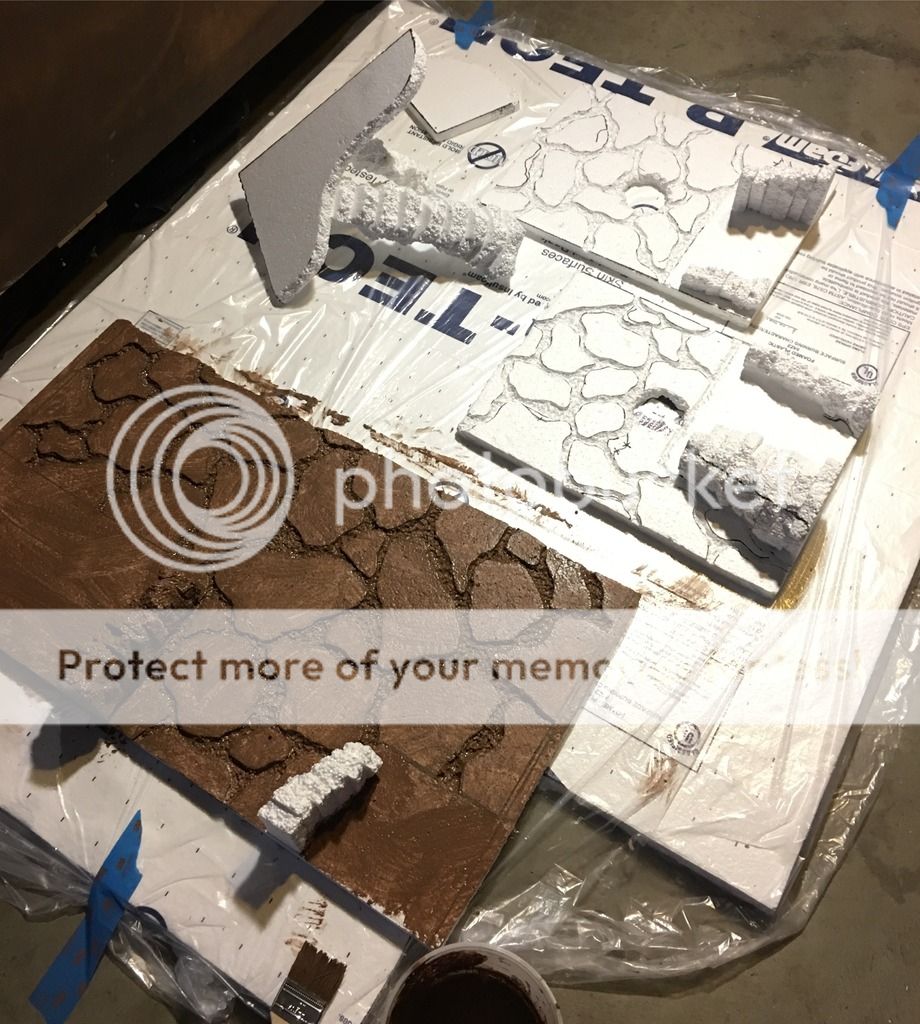
After the grout fully dried, it was time to paint!!


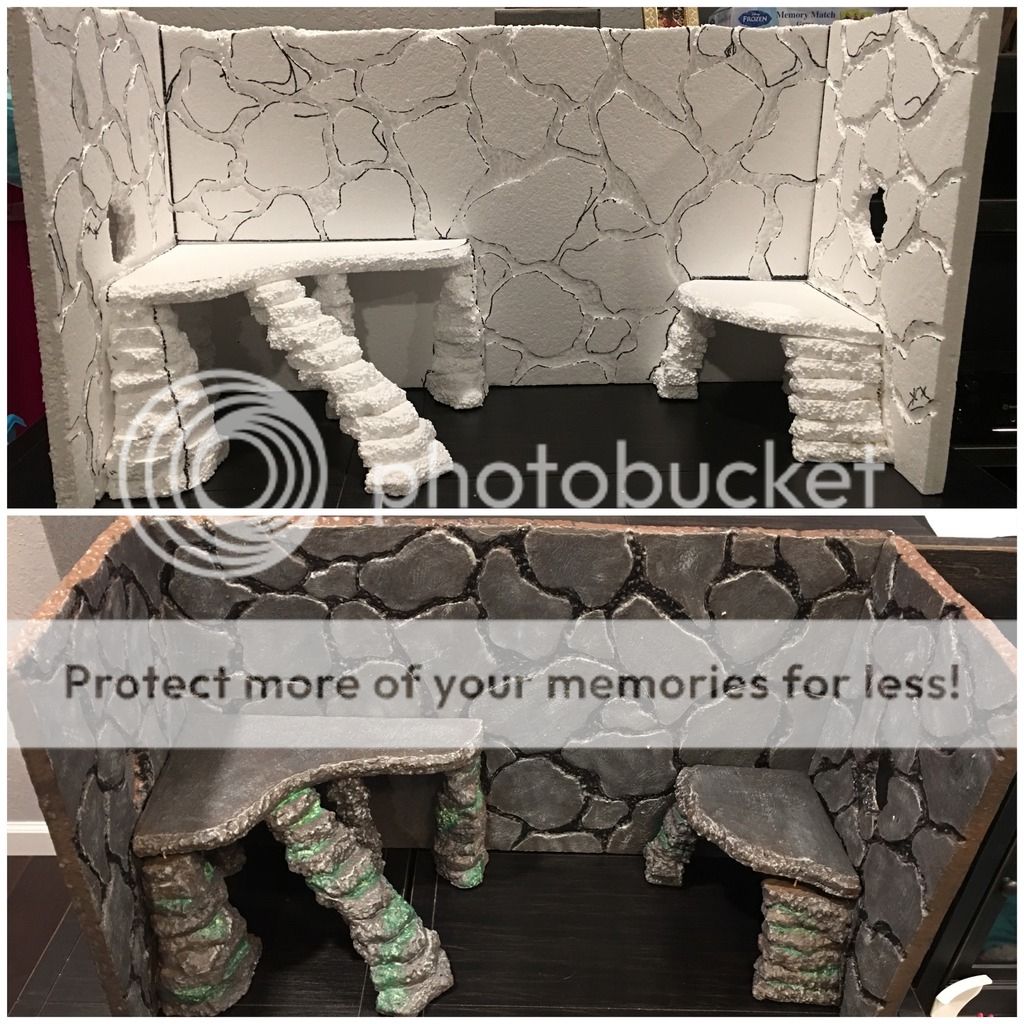
Side by side of the before and after grout, paint and mod podge.
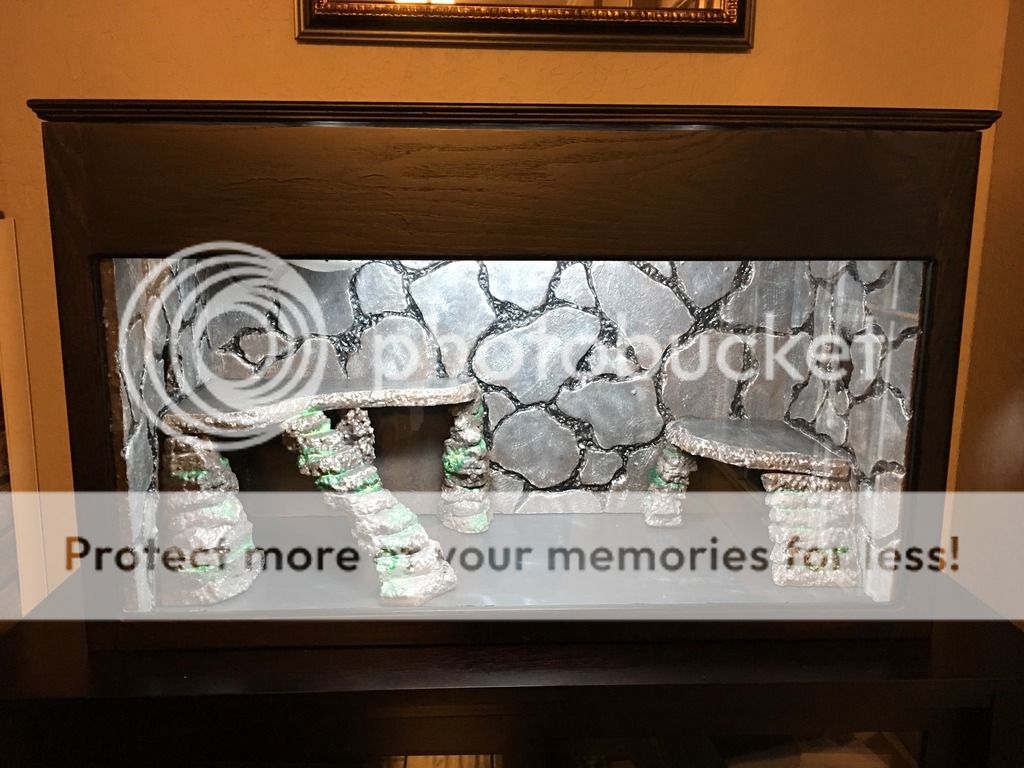
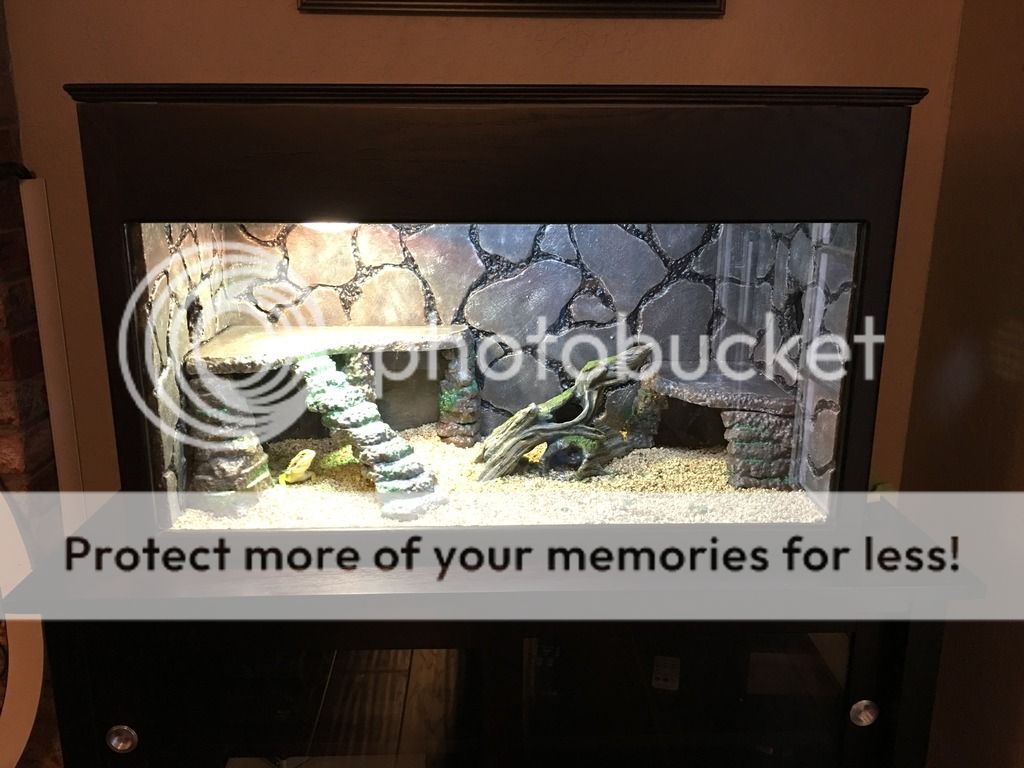
Completed background inside the cage.
Fully complete!! My dragon loves it! You can see him on the bottom left.
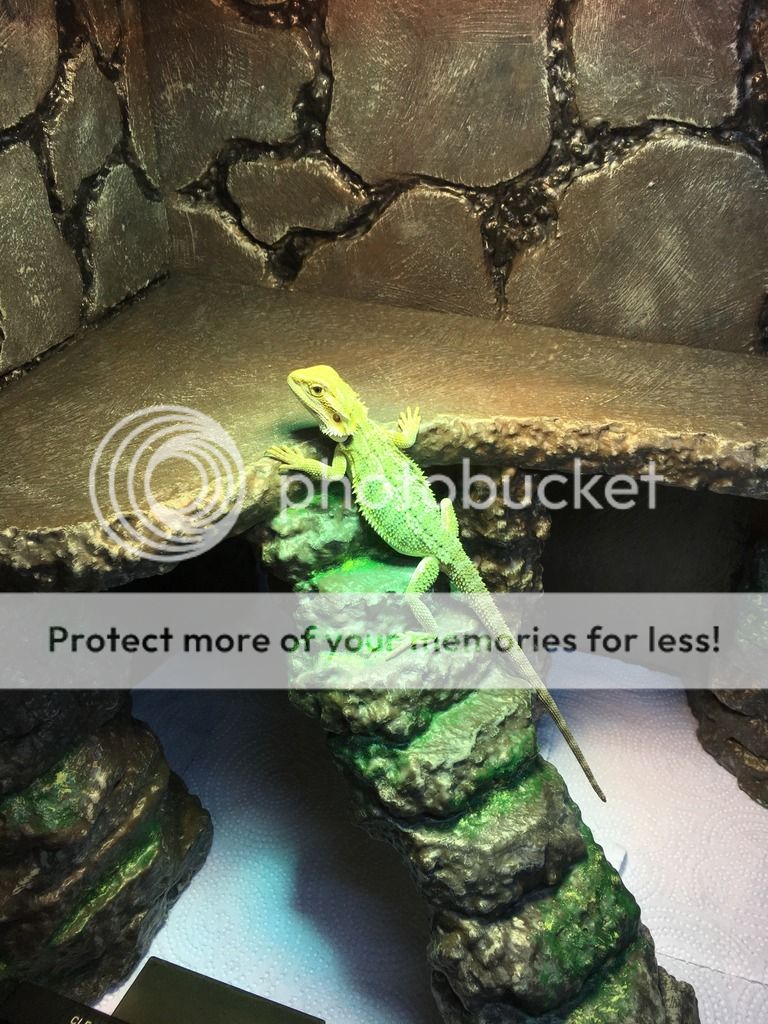
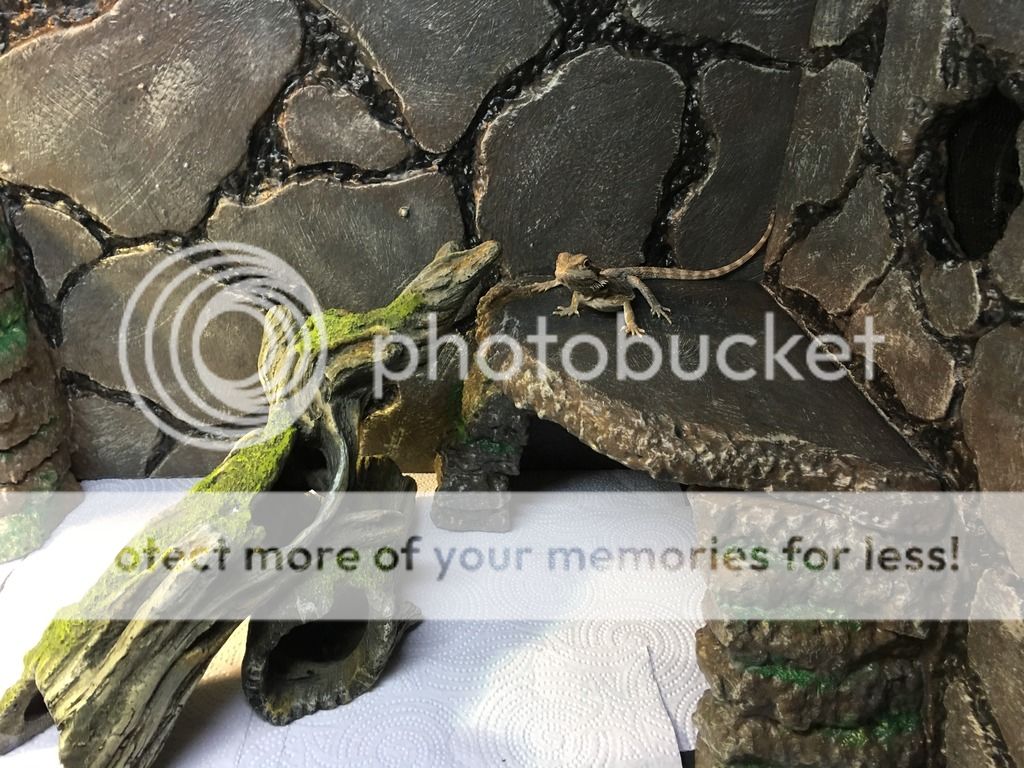
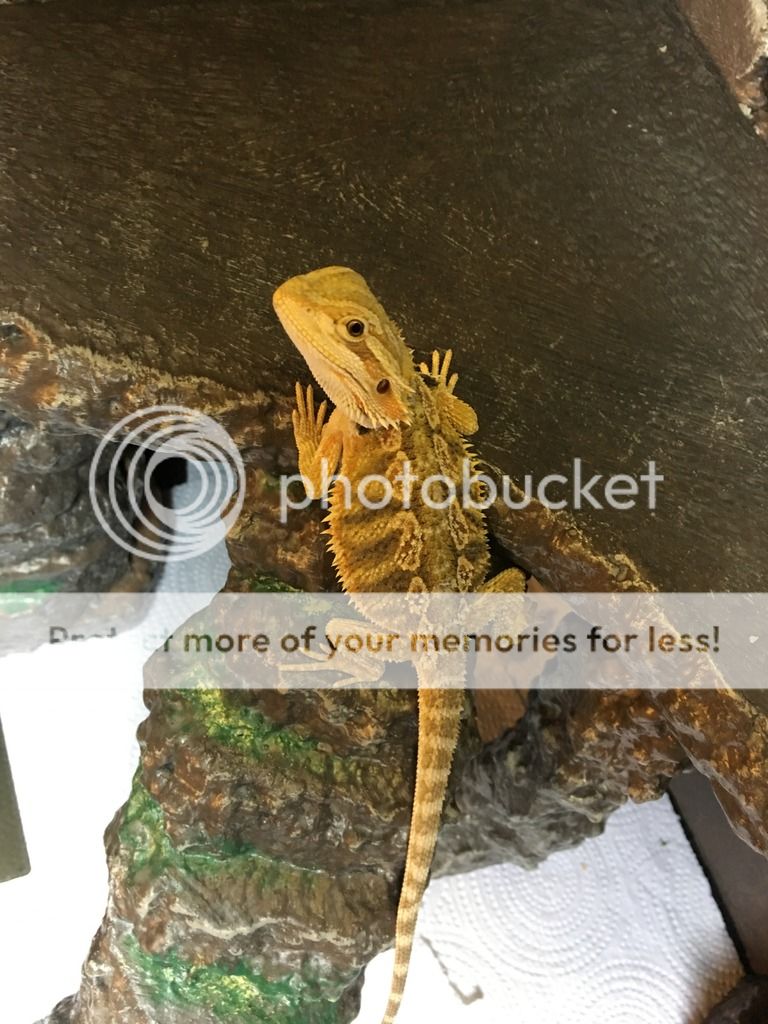
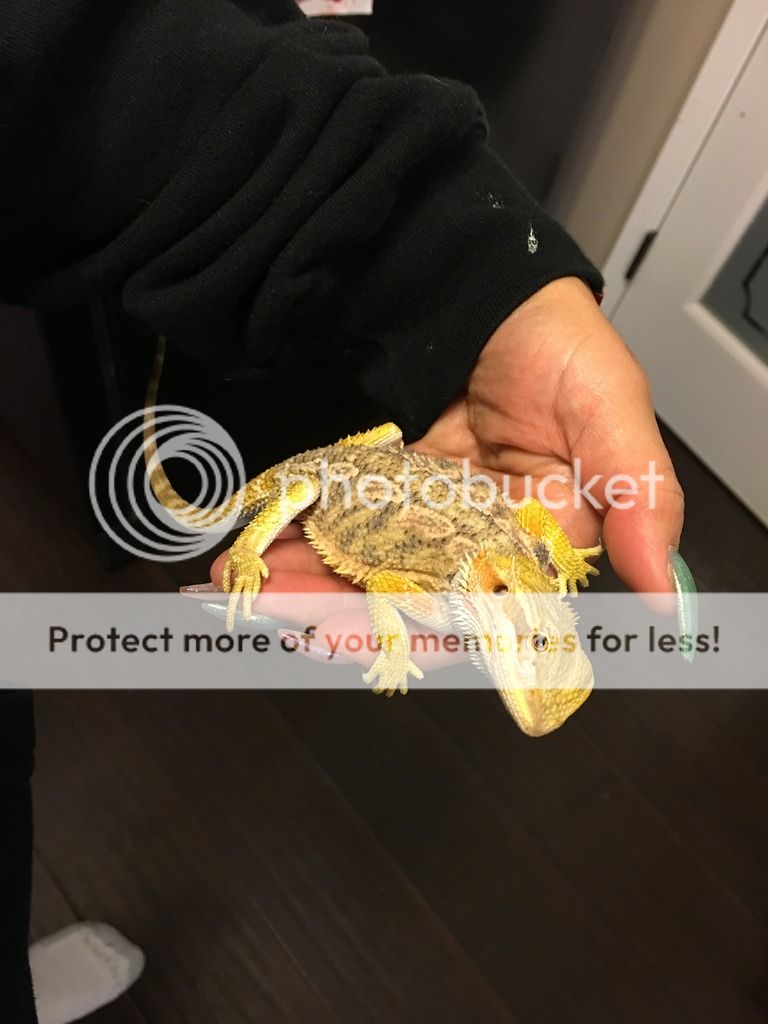
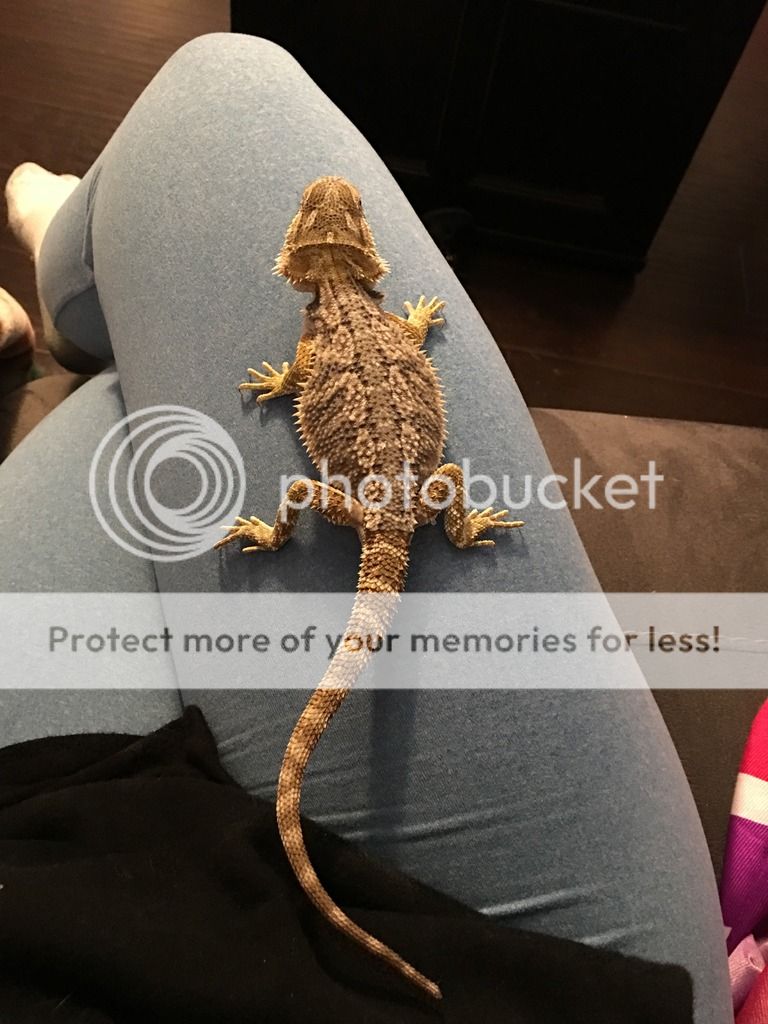
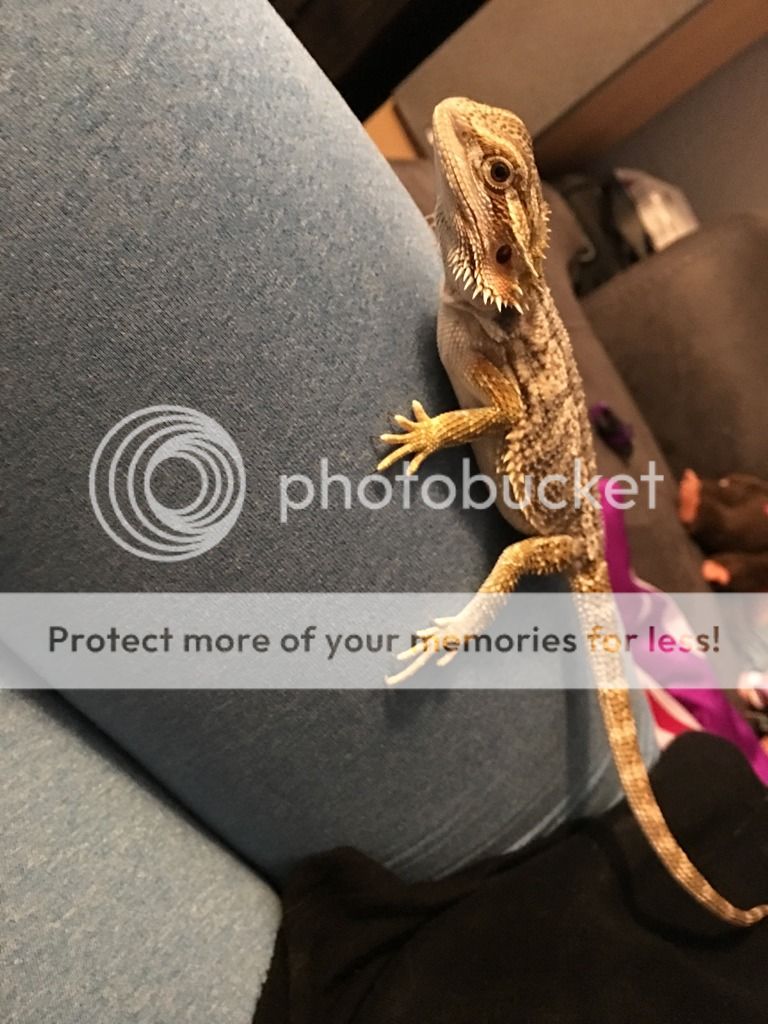
More pictures of my dragon, 7-Up, just cause.
I hope everyone enjoyed the pictures and let me know what you think. Thanks!!
This is the cage fully built. The cage size is 36x16x22. We decided to make a custom cage to match the decor of our home since we're displaying this in our living room. We didn't want the cage doors to be the sliding glass door type since we have a 3 year old toddler so we decided to make the door open from the top. We also didn't want the lights to show through the window so we made the top of the cage a bit larger to hide the lights. This is the cage after it was completed and we wanted to see how it would look inside. We loved it but wanted the stain to be a bit darker to match the stand it was on so we added a few more coats. This is before we added more coats.

This is after we added the other coats and loved the darker look. Sorry for the horrible lighting as I took this pic late at night and don't mind the branch and thermometers inside. I just set up the lights to test them out and placed them in there to check on the temperatures later on that night.
After the cage was complete, I started our custom fake rock wall. the walls and holes for the vents so I knew what I could work with. This is after I cut the foam to the cage wall sizes.
The next few pictures is the process of creating the basking and hide areas. I didn't really have a theme but I knew I wanted everything to look like rocks. I started cutting and adding pieces until I liked the look of it.
After I created the basking and hide area's where I wanted, I placed the background in the cage to see how it was looking so far.
Next, I drew out the rocks. I didn't have an actual plan for this and just started drawing "rock like" shapes. After the shapes were all drawn, I started carving out the rock shapes.
Now that the rock shapes were all cut, it was time to grout! This was a process because I added about 4 coats of grout so that everything was nice and strong.
After the grout fully dried, it was time to paint!!
Side by side of the before and after grout, paint and mod podge.
Completed background inside the cage.
Fully complete!! My dragon loves it! You can see him on the bottom left.
More pictures of my dragon, 7-Up, just cause.
I hope everyone enjoyed the pictures and let me know what you think. Thanks!!

