Building the First Beds
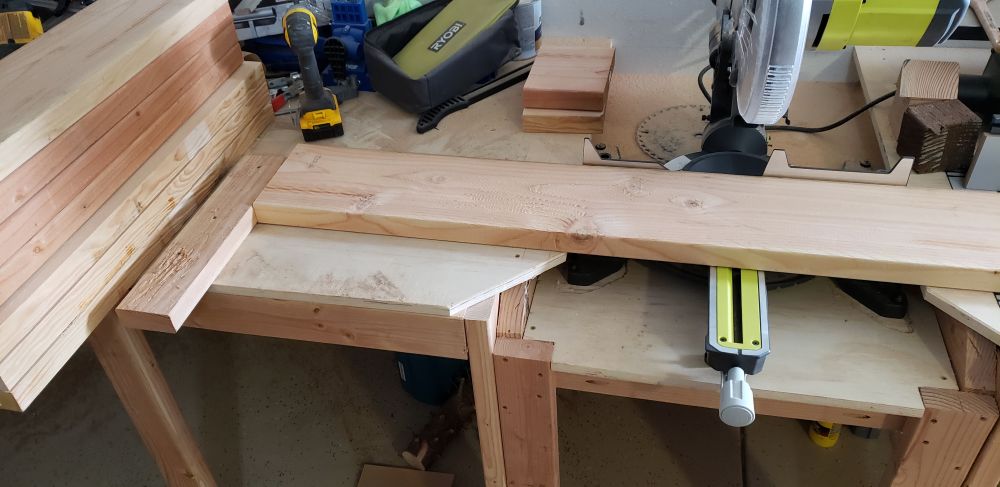
So, to make my garden boxes the plan is to make the box 3 boards high. The bottom board will be a 2x10. The top 2 boards will be 2x8. This gets me boxes that are just about 2 feet tall.
Since my boards come in 8 foot pieces, the beds will be 8 feet long. Originally I planned to make the beds only 2 feet wide also, since that would make the most sense for cutting my 8 foot boards. I'd get 4 side pieces from 1 board. But in reality, the beds looked weird, and it didn't seem like enough growing space. So I went with 3 foot wide instead, which unfortunately left me 2 feet of wasted board as I could only get 3 side pieces from 1 8 foot board.
I set up a stop on my Miter Saw station so that all of my boards would be cut to exactly the same length.
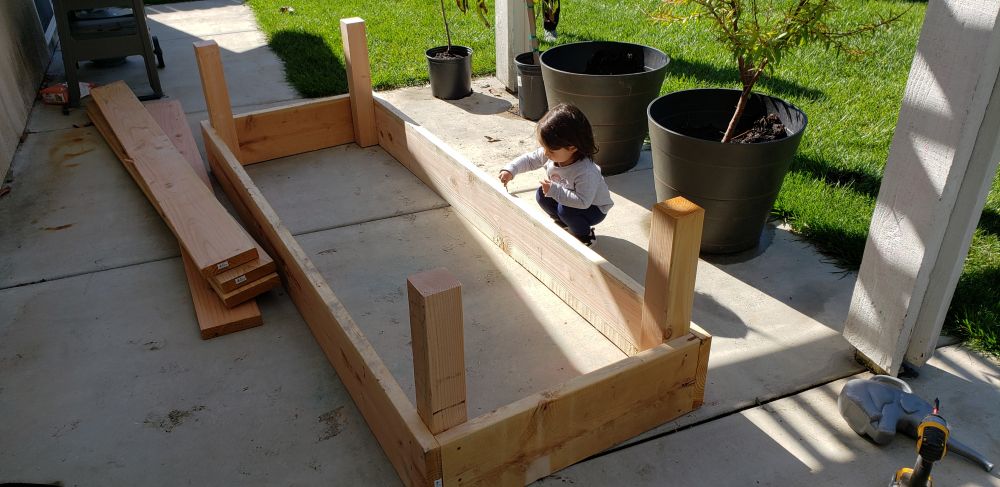
Anyways, to start, I built the bottom row on a flat surface - our patio.
That is my daughter helping her dada. She was the official screw holder. And she would only let me have 1 at a time. And I had to ask nicely each time for one.
You can see, it's just a simple frame with 4x4 posts. So the first row of boards is simply 2 2x10s that are 8 feet long and 2 2x10s that are cut to 3 feet long. They are attached with Torx outdoor screws into the 4x4 and into eachother. At first I was pre-drilling the holes, but In the end I stopped doing that. The screws themselves are self drilling, and I very very rarely created a split in the wood. Saved a ton of time to not drill.
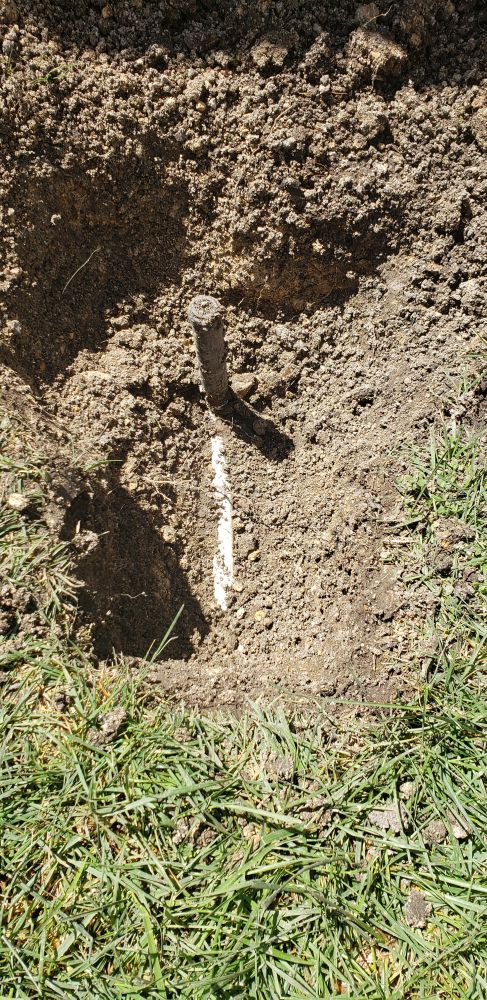
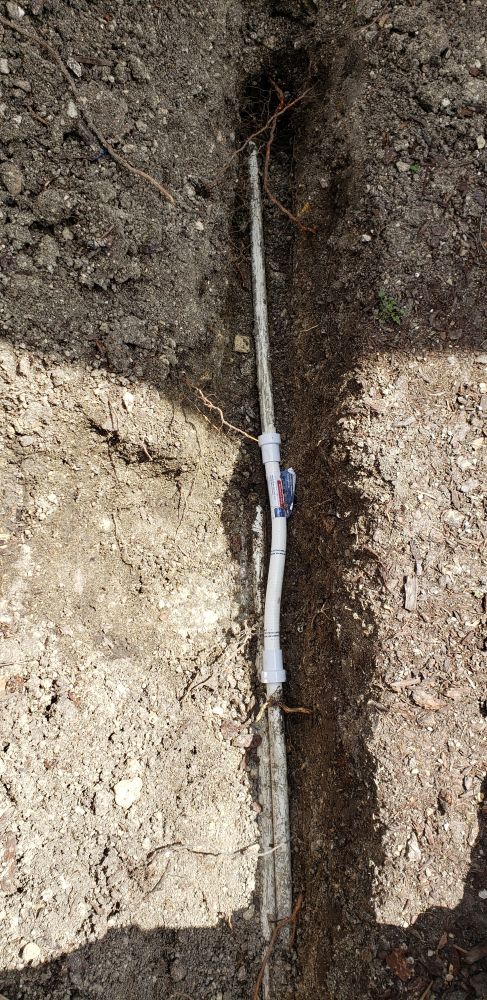
After that first layer was built, I put it in place, up against our fence.A few things. I quickly realized I better attach the back panels first, otherwise it will be too heavy to move and too awkward (impossible) to do once it's backed against the fence. And, (As will become a reoccuring theme with this whole entire process) the box was placed right on top of a sprinkler head that I'd need to dig up, and move.
Unfortunately after a lot of digging, I discovered the sprinkler head wasn't ran with flex pipe, but just regular PVC, so I'd have to cut and reglue to move it.
So here is that picture
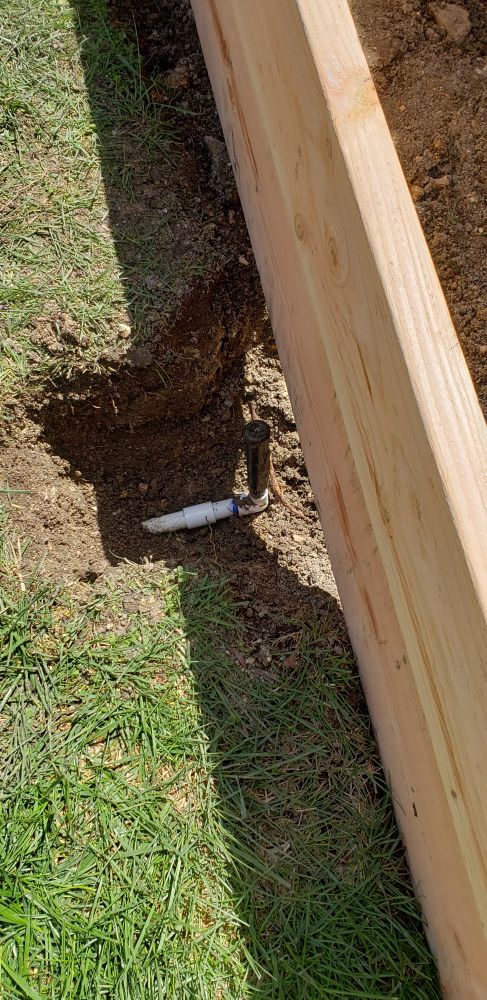
Luckily, the pipe was already running in the direction I wanted to move it in, so all I needed to do is cut the pipe, cut another piece off to make it shorter, and then reglue the whole thing.
You can see what I'm talking about better hopefully with that picture. That shows the fix, and now it's out of the way of the bed!
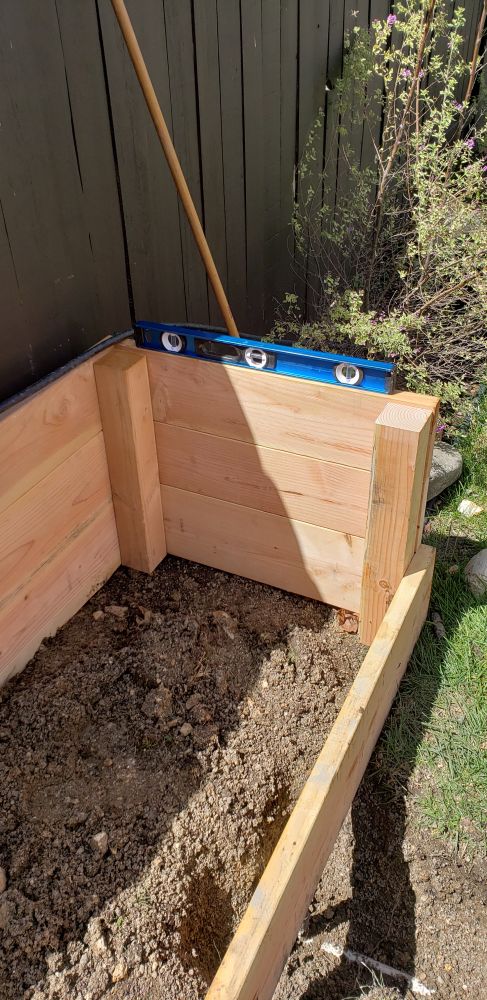
In this next picture, you can see I put the back and side panels on, and put it back into position.
Getting it level was important, and quite a challenge as we had to remove the box to level the ground. At this point, the structure was already extremely heavy. So me and the wife just tipped it onto its side to get it out of the way.
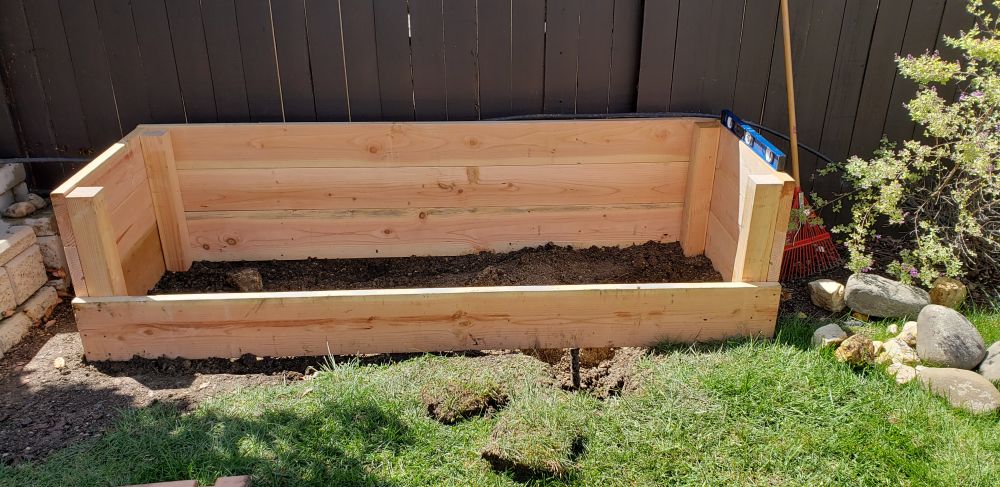
Once it was all level, all that needed to be done was the front boards put into place, and the box would be completed.
But boy, was the work not over. Everything up until here has been the easy part. Little did we know, the real work was about to begin.
Filling the Box
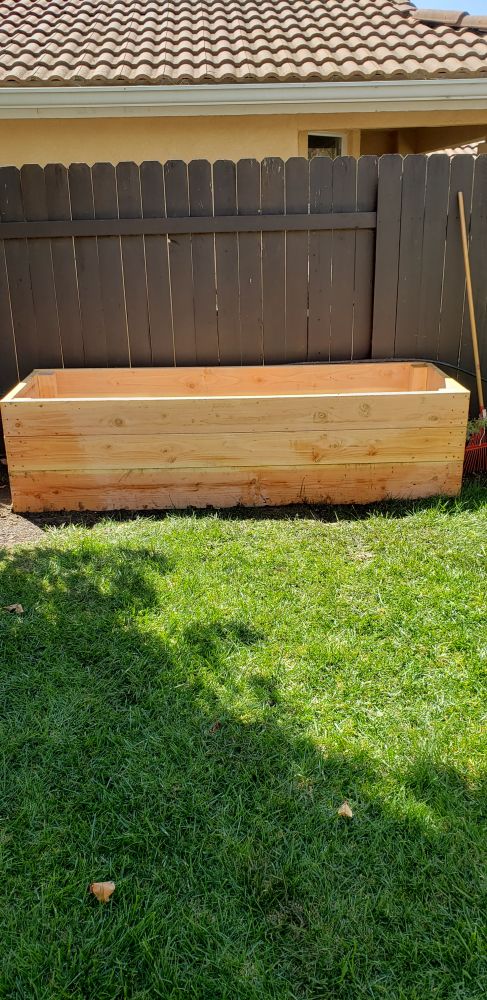
Now that the box was built, it was time to fill it. Lets go over some quick math here. The box is 8 foot long by about 3 foot wide. It's 2 foot deep. That is 48 cubic feet of space in there that needs to be filled. Or, 1.7 yards (1.3Cu M)
My local landscape supply company had potting soil for 65 bucks a yard. So to fill 1 bed (and if you didn't know at this point, I am building 2 of these beds) you are looking at about 130 bucks 260 to fill both. Still quite cheap when compared to buying it in bags at a home improvement store, I think I did the math and came up with around $470 buying the miracle gro bags from home depot. But still, not the plan!
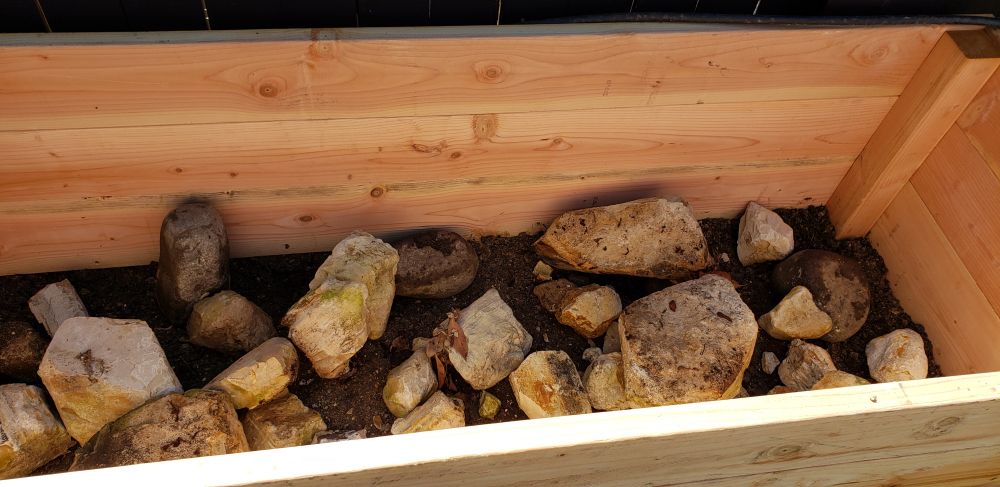
With my grandparents boxes in particular, we built a false bottom in the box. So while their box is about 3 feet tall, the box is only about 1 foot deep or so. Maybe a foot and a half. Since I didn't want to spend more money on wood to do that same thing, I decided to do something that I have heard of a long time ago. It's called
Hügelkultur
Basically, you fill the bottom half of your beds with a bunch of organics - logs, branches, stones, grass clippings, bark, etc. And then you cover over it with your soil mix. The stuff at the bottom will eventually break down and add more nutrients to your bed, and you save a whole heap of money not filling up your tall beds with expensive soil.
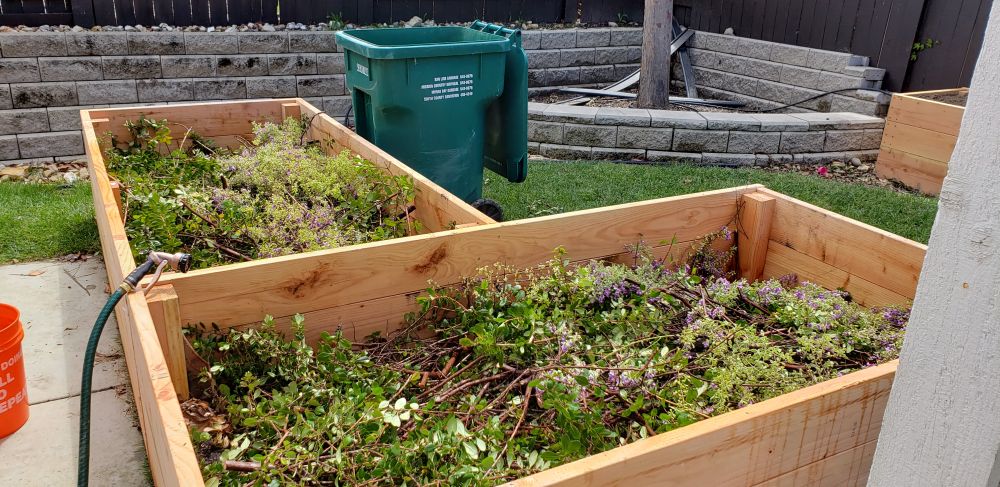
Not to mention, we had a lot of landscape material we could put in there. Lots of tree trimming and bush trimming that has been put off for a year since it would quickly have overfilled our green waste bins.
So we started filling the beds.
We had a lot of large stones that the old owners put around the flower beds for decoration..?
In the bins they went!
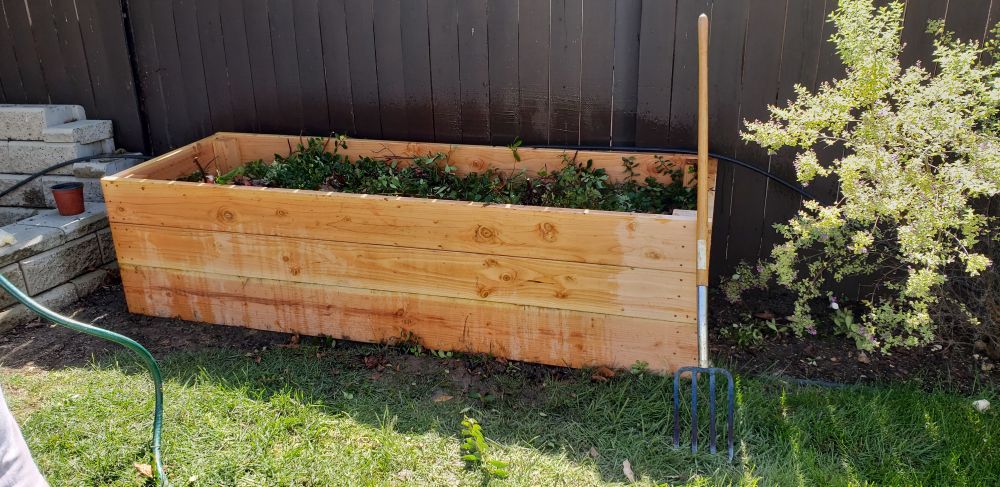
And then on top of that went a whole bunch of plant matter. Mainly bush trimmings, tree trimmings, and then eventually I mowed the yards and placed all my grass clippings on top of it.
It is a bit over filled in this pic. We did end up taking some of it out and putting it into the second bed. But you do want it a bit more fuller than you'd think, as your soil will push it down further.
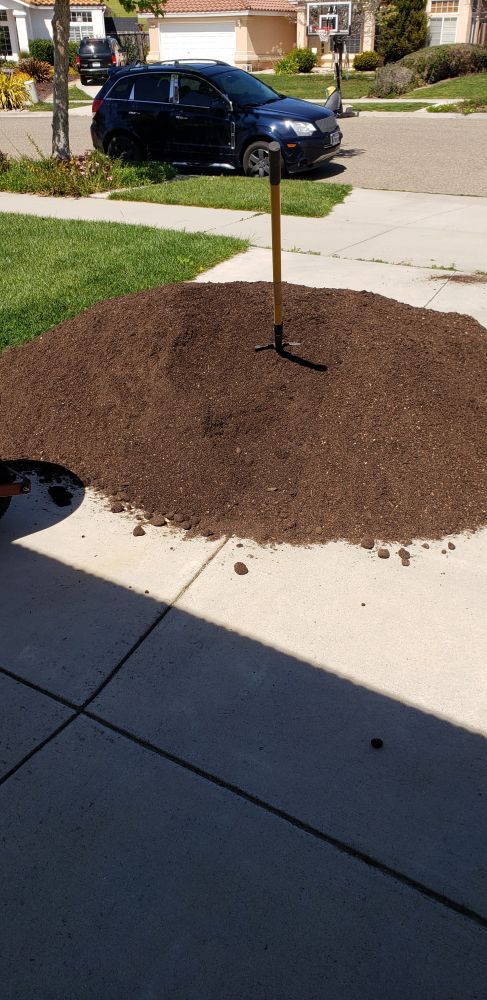
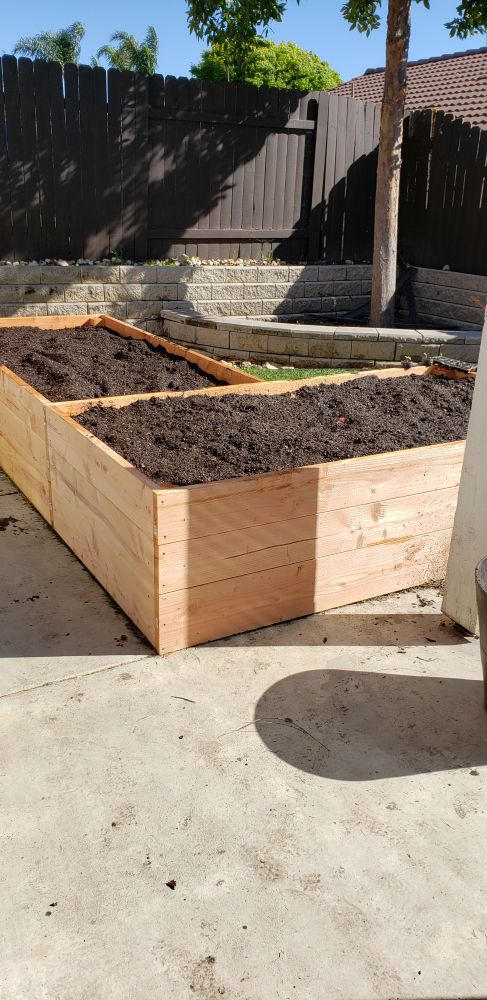
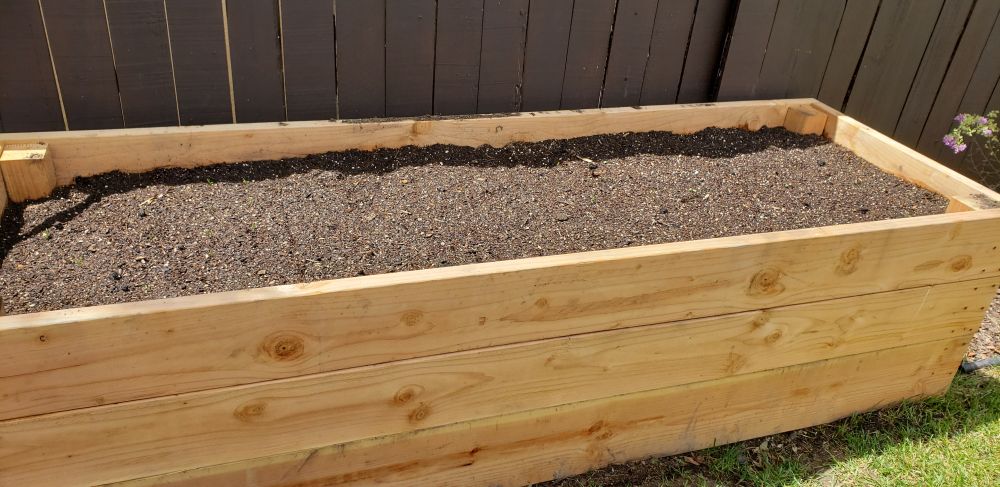
So the beds are filled with all the organic waste we had, and now our 2 yards of potting mix (1 yard per box) was delivered.
MMhmm! I love the smell of some good fertile soil mix!
This was hard work moving though! It was fairly moist, so it was much heavier.
After what felt like an eternity, the boxes were both filled.
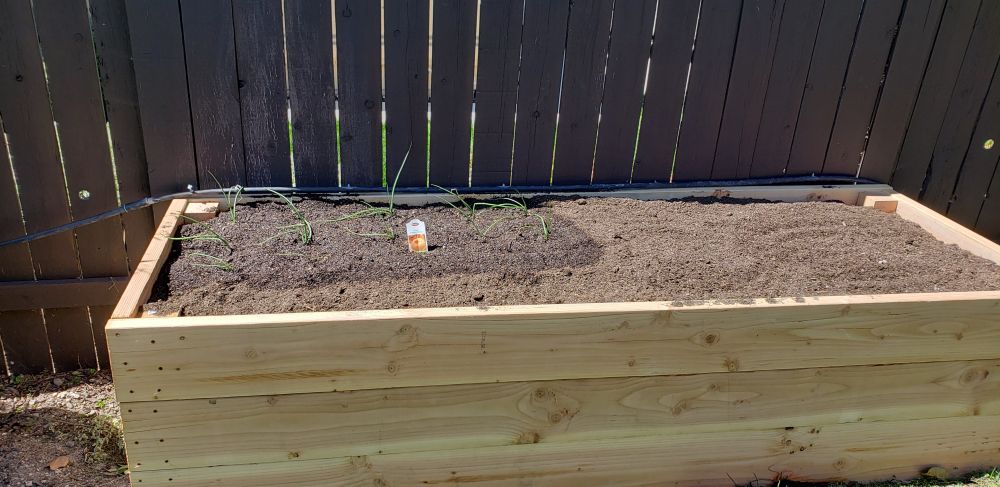
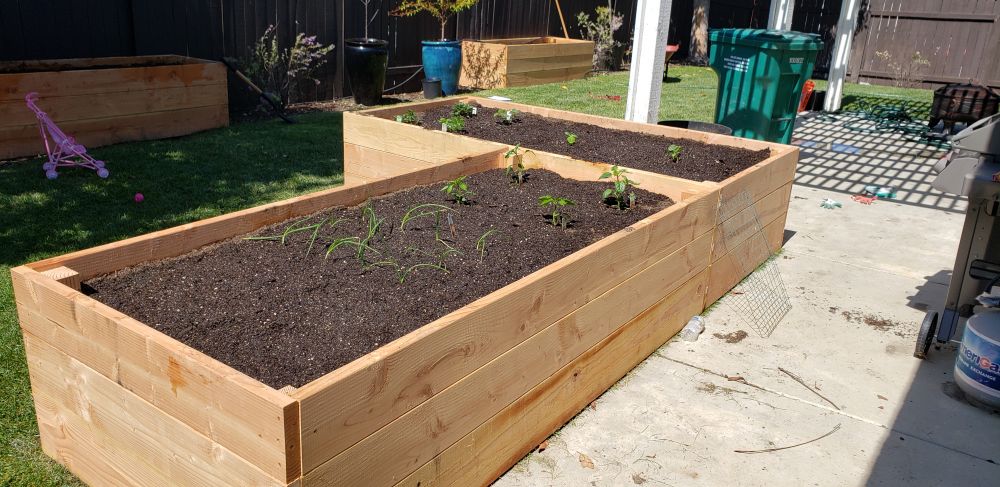
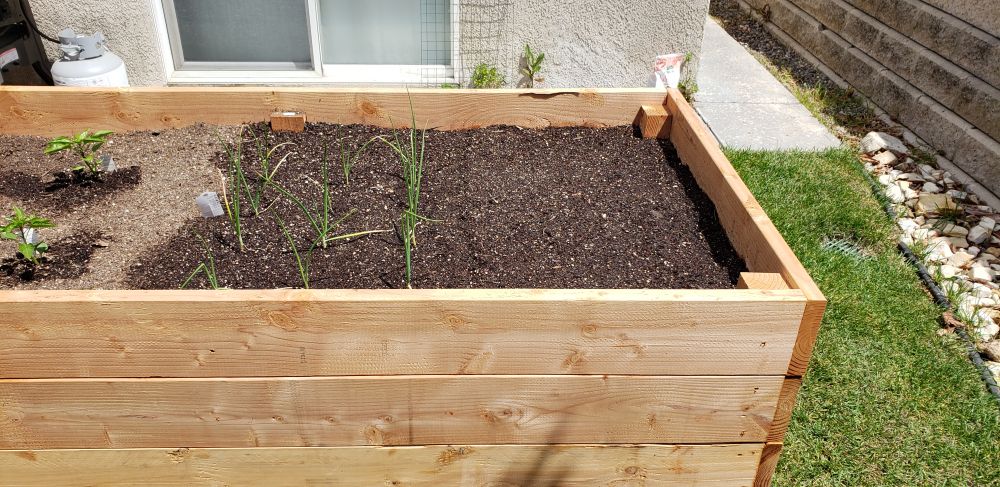
Here is a picture of the second box I made filled with the soil, and some sweet onions planted that I picked up at the store!
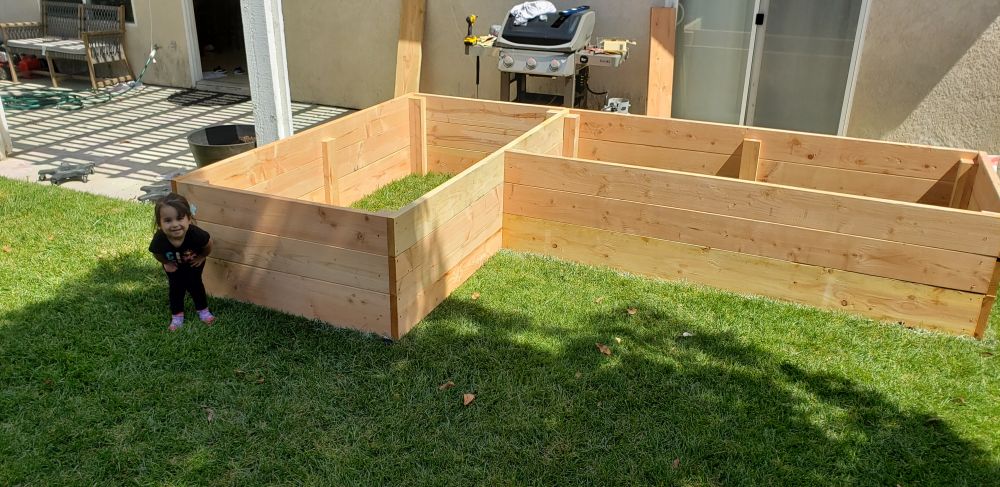
Unfortunately, we soon realized our mistake. These two beds we placed along the fenceline, don't get full sun. We measured only about 4 hours of sunlight a day in them. This might be good enough for greens and lettuces that we want to grow, but it wouldn't cut it for many other plants.
So the only solution, lets do this all over again!
-Brandon