PhillyStang92
Member
Hey everyone! So whoever saw my introduction thread showing off my enclosure when I first picked up Dexter, knew that it was a simple 20G tank with some accessories etc…Well being how big he has been getting I figured it would be time to make a nice upgrade.
I was going to post a “build” thread but didn’t want to keep anybody waiting throughout the process as I didn’t know how long it would take. So Ive been taking pictures as I went along and just tonight I finally finished and am ready to show it off!!
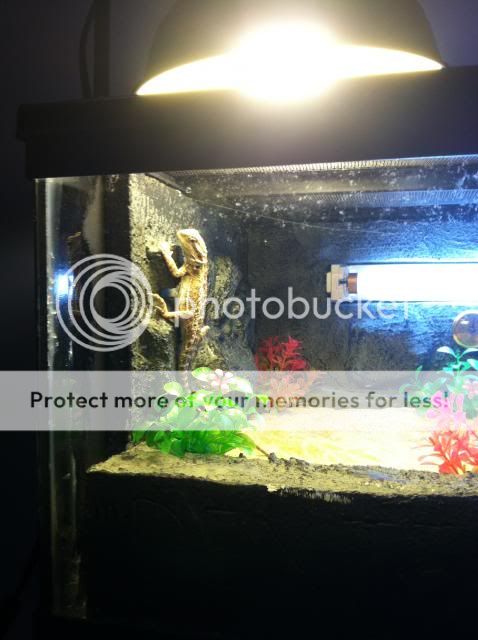
Here was his original setup…Basic 20”x10” 20G Tank, with ReptiSun 18” UVB, Basking, thermomoter setups and so on and so on…
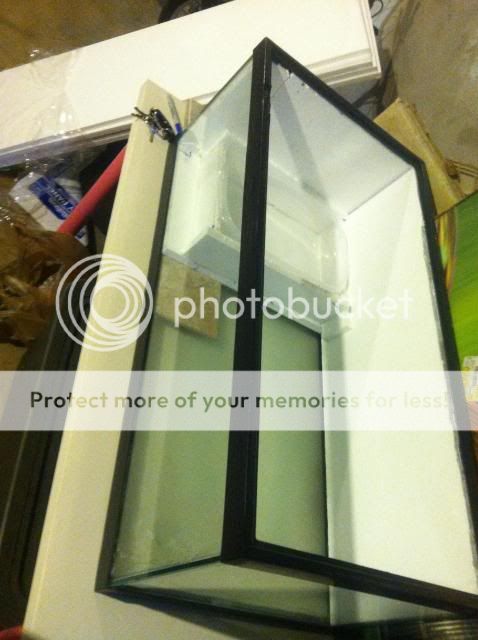
The new enclosure is a 40G Breeder measuring 36”L x 18”W x 12”T. Very simple. Well I decided to make a project out of it by following some tips from Lizard Landscapes. I went out and picked myself up a pack of styrofoam board and 6x6 porcelain tiles and began constructing…
After a lot of measuring and cutting I ended up with a “rough mock up” I guess you could say…
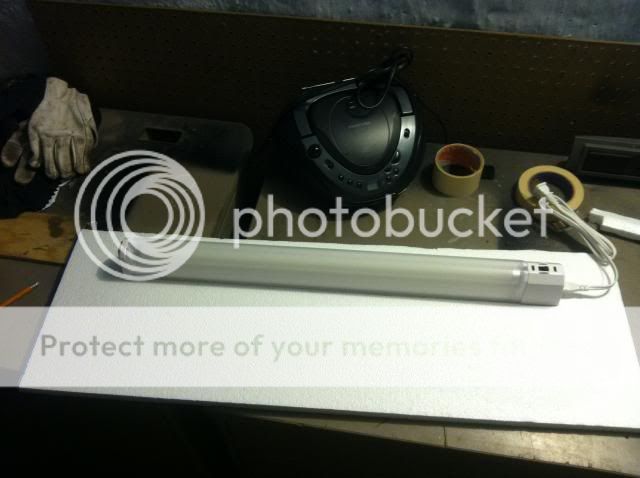
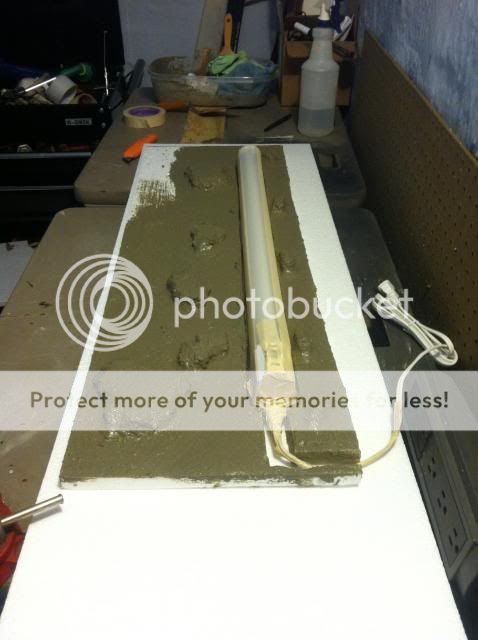
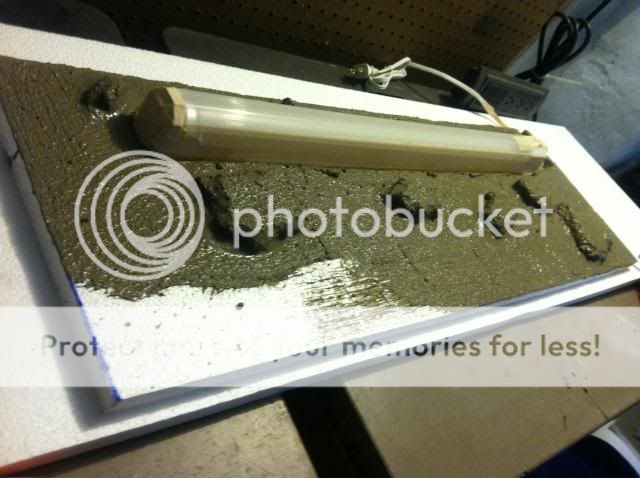
Traced and cut out a spot for a 24” flourescent fixture…

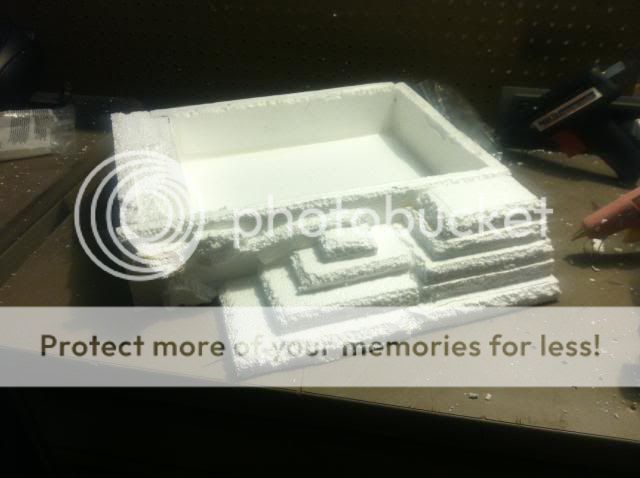
Built a dig box which would later be filled with a substrate…
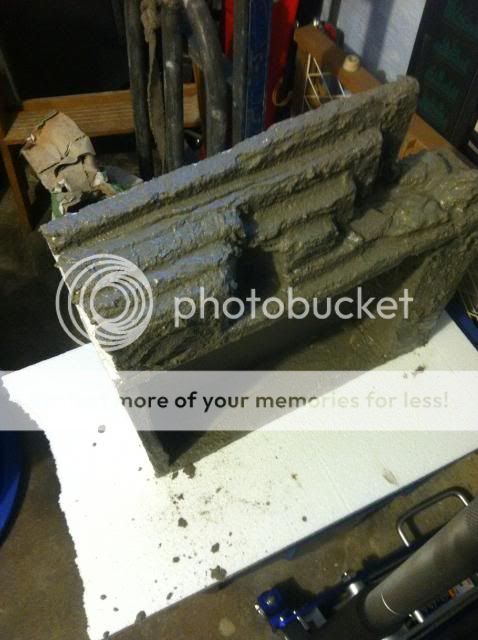
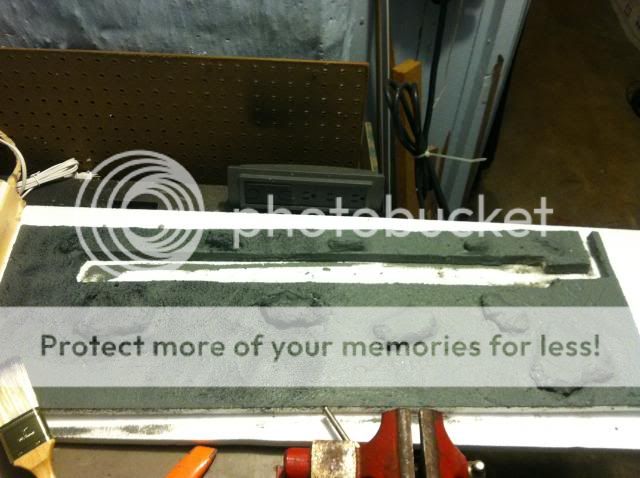
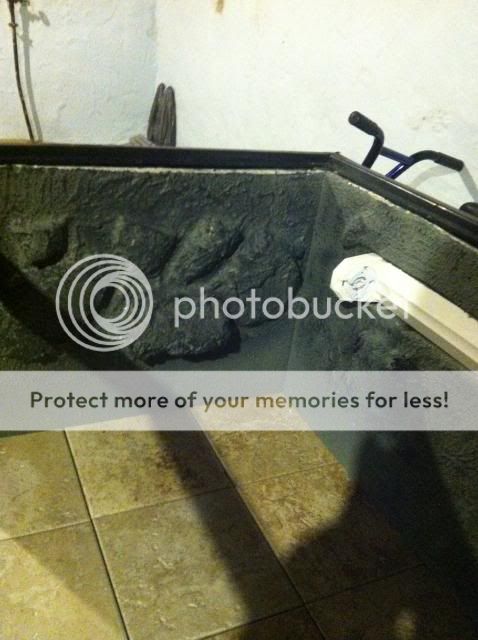
Now the fun part begins! I mixed myself up a tub of concrete mix, making it a little more watery than usual to make sure I get in every little space possible.
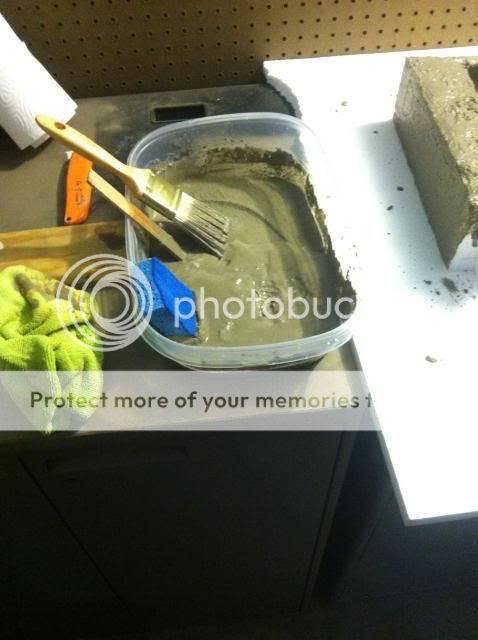
The following pictures are just progress of “cementing” the back board, side panel, and dig box…

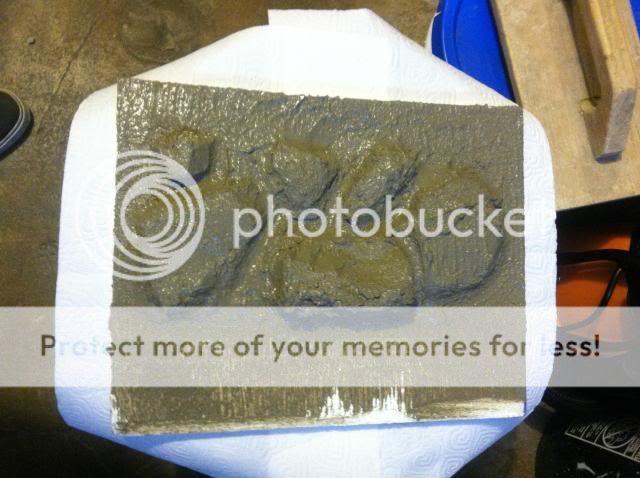
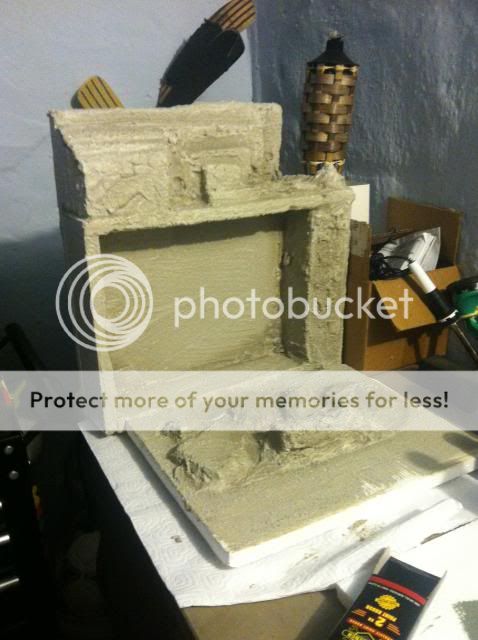
The “DRY” product!
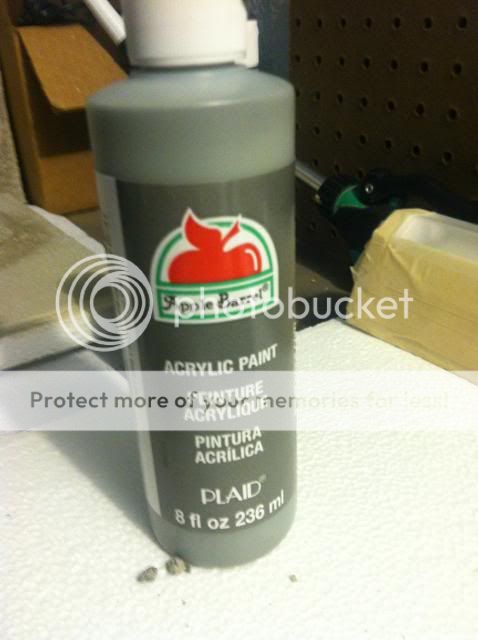
Notice how once dry it turns a lighter tanish color, well I wanted something a little darker so I picked up some Gray acrylic paints from WalMart ($2) and a small $0.50 bottle of black for accents.
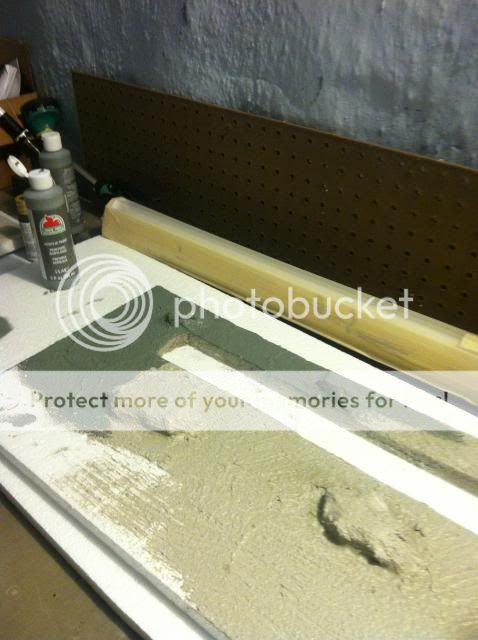
Once everything was fully painted and dried in the gray, I took a little black and brushed most of it off and then lightly went over everything again. Light brushing and dabbing.
Left is with the black and the right side is only the gray.
Mocked up the tiles while everything was drying. Finished up cutting and making them fit perfectly. The only pic I have of this was the “unaligned” crappy cuts before I fixed it all! LOL
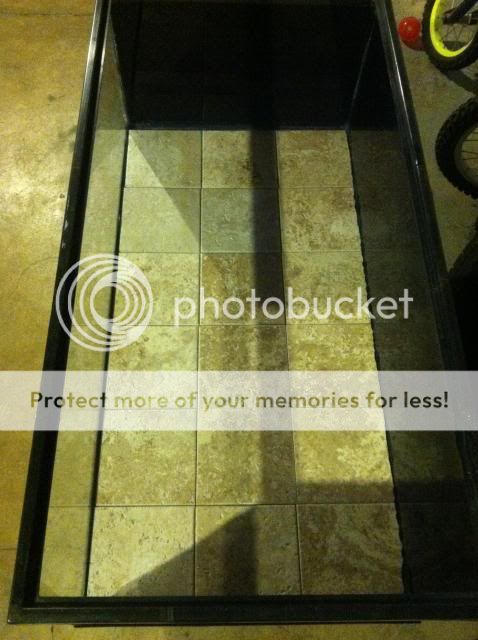
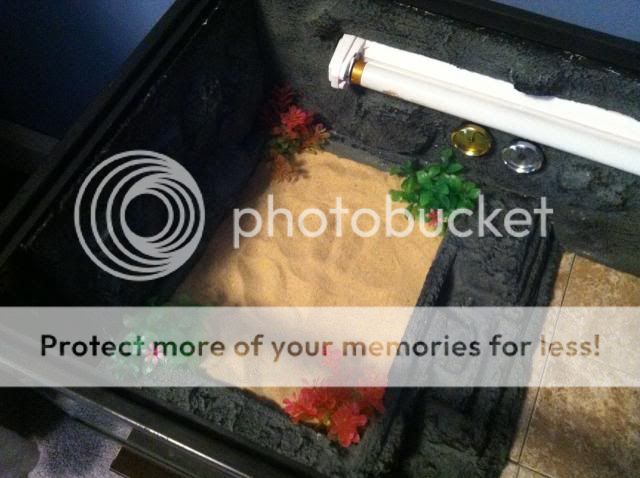
Finally after everything was dry, I went for it and got everything mounted in. Tiles are all siliconed to the bottom, backgrounds are also siliconed into place including the light fixture. Also added some foliage I had laying around to the dig box!

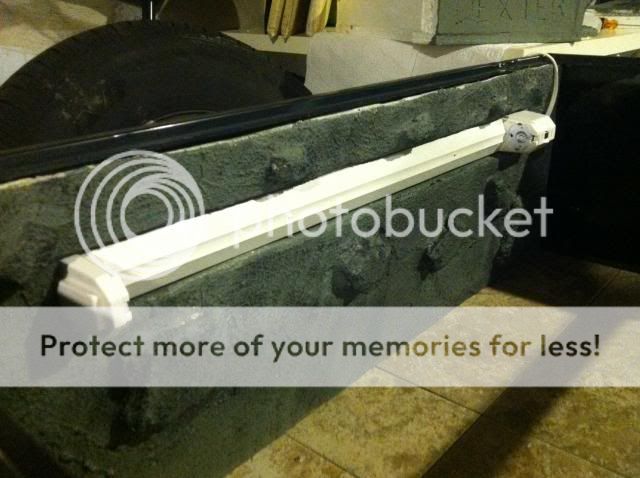
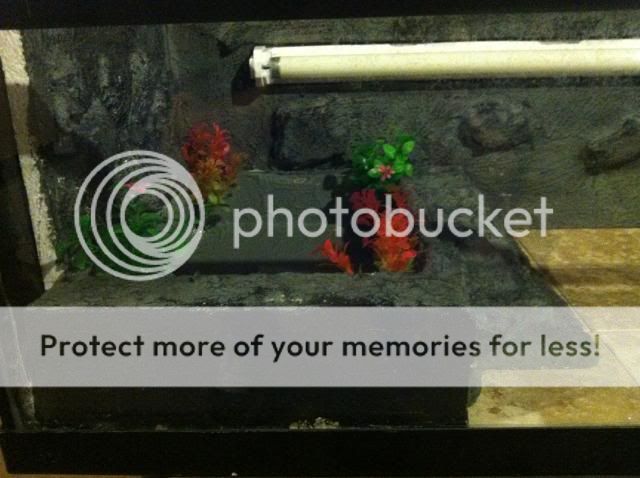
Today was my final day. I went out and picked myself up a 24” ReptiSun, Folding Screen Lid, an extra Exo Terra light mount, more foliage, and a huge bag of play sand for the dig box. Moved everything from his old enclosure to the new one such as his basking rock, and all thermometers.

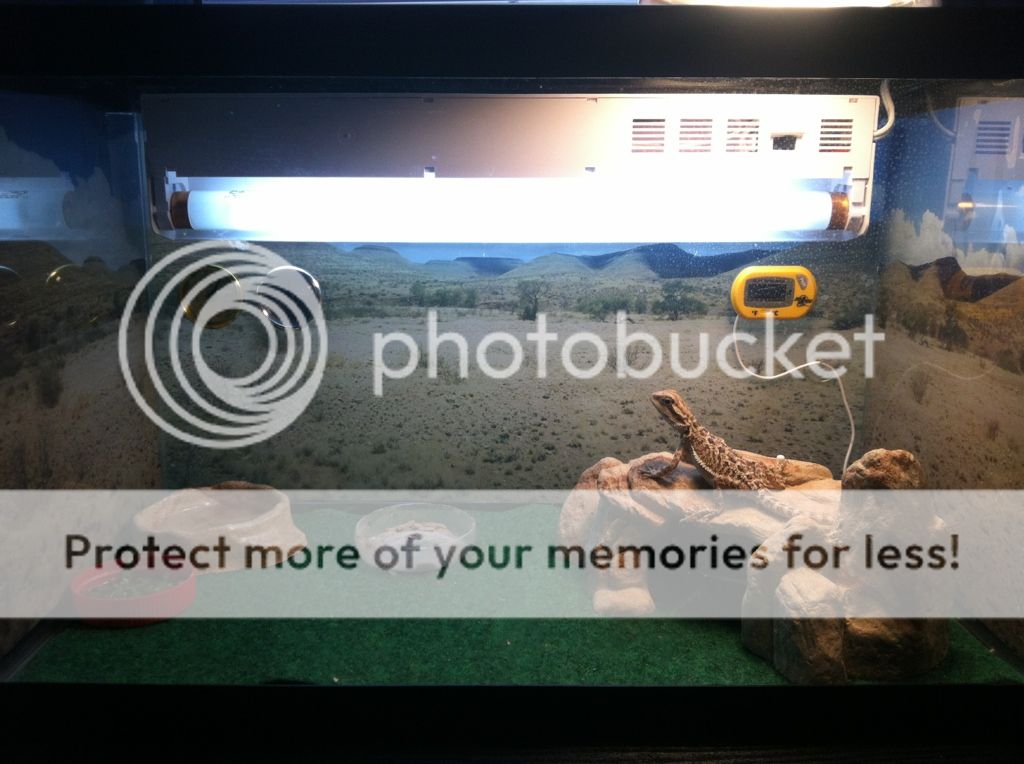
And of course the final product with Dexter scoping out his new home!! He spent at least an hour licking EVERY single thing in the setup lmao.
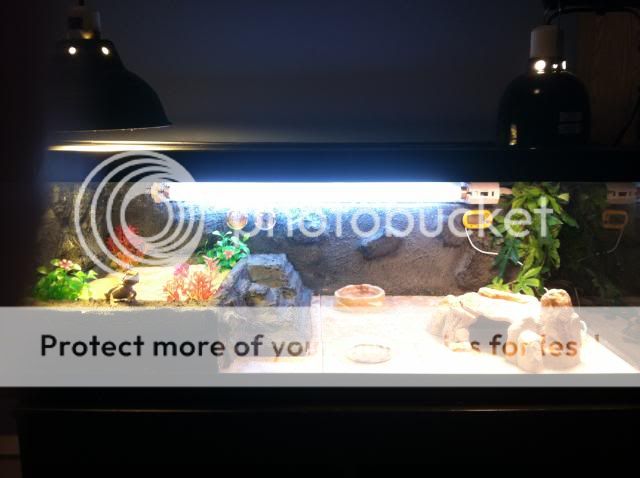
I know its not PERFECT, but I spent a lot of time working on this being that this is my first “custom rock wall” build using styrofoam. I tried not to cut any corners, although I kind of rushed through the cuts in the foam which is why you can notice at the top of the wall the roughness…
I followed most steps from LizardLandscapes and some YouTube videos. This 40G Breeder should last him a pretty long time before I decide later down the road to possibly build an enclosure from scratch, but in the mean time he’ll enjoy this setup.
Like I said its nothing extravagant but I couldn’t believe how nice it turned out and couldn’t wait to share with everyone on here!
Let me know what you all think!
I was going to post a “build” thread but didn’t want to keep anybody waiting throughout the process as I didn’t know how long it would take. So Ive been taking pictures as I went along and just tonight I finally finished and am ready to show it off!!
Here was his original setup…Basic 20”x10” 20G Tank, with ReptiSun 18” UVB, Basking, thermomoter setups and so on and so on…

The new enclosure is a 40G Breeder measuring 36”L x 18”W x 12”T. Very simple. Well I decided to make a project out of it by following some tips from Lizard Landscapes. I went out and picked myself up a pack of styrofoam board and 6x6 porcelain tiles and began constructing…
After a lot of measuring and cutting I ended up with a “rough mock up” I guess you could say…

Traced and cut out a spot for a 24” flourescent fixture…


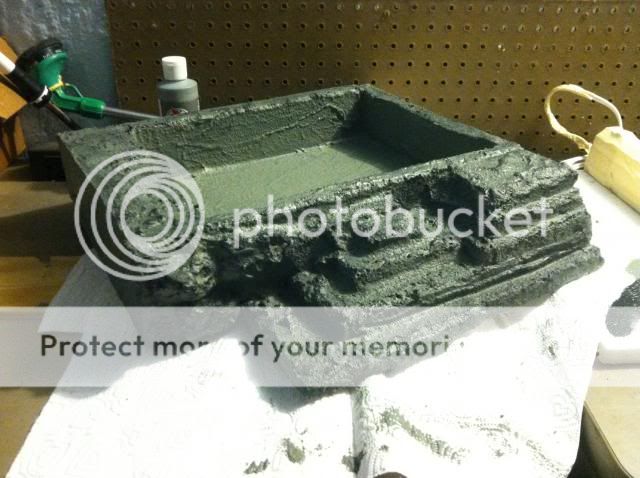
Built a dig box which would later be filled with a substrate…

Now the fun part begins! I mixed myself up a tub of concrete mix, making it a little more watery than usual to make sure I get in every little space possible.

The following pictures are just progress of “cementing” the back board, side panel, and dig box…


The “DRY” product!

Notice how once dry it turns a lighter tanish color, well I wanted something a little darker so I picked up some Gray acrylic paints from WalMart ($2) and a small $0.50 bottle of black for accents.


Once everything was fully painted and dried in the gray, I took a little black and brushed most of it off and then lightly went over everything again. Light brushing and dabbing.
Left is with the black and the right side is only the gray.


Mocked up the tiles while everything was drying. Finished up cutting and making them fit perfectly. The only pic I have of this was the “unaligned” crappy cuts before I fixed it all! LOL

Finally after everything was dry, I went for it and got everything mounted in. Tiles are all siliconed to the bottom, backgrounds are also siliconed into place including the light fixture. Also added some foliage I had laying around to the dig box!


Today was my final day. I went out and picked myself up a 24” ReptiSun, Folding Screen Lid, an extra Exo Terra light mount, more foliage, and a huge bag of play sand for the dig box. Moved everything from his old enclosure to the new one such as his basking rock, and all thermometers.


And of course the final product with Dexter scoping out his new home!! He spent at least an hour licking EVERY single thing in the setup lmao.


I know its not PERFECT, but I spent a lot of time working on this being that this is my first “custom rock wall” build using styrofoam. I tried not to cut any corners, although I kind of rushed through the cuts in the foam which is why you can notice at the top of the wall the roughness…
I followed most steps from LizardLandscapes and some YouTube videos. This 40G Breeder should last him a pretty long time before I decide later down the road to possibly build an enclosure from scratch, but in the mean time he’ll enjoy this setup.
Like I said its nothing extravagant but I couldn’t believe how nice it turned out and couldn’t wait to share with everyone on here!
Let me know what you all think!


