So everyone knows that Phoenix worms are one of the healthiest and best feeders for your beardie. You can feed them straight out of the cup if you like. But you can also grow and fatten them yourself! With proper care and feeding, you can grow those skinny little larva into big, fat, juicy, delectable worms! I also wanted to note that they are called Reptiworms as well and are the larvae of the Soldier Fly. Added by moderator
Here's a medium Phoenix worm straight out of the cup:

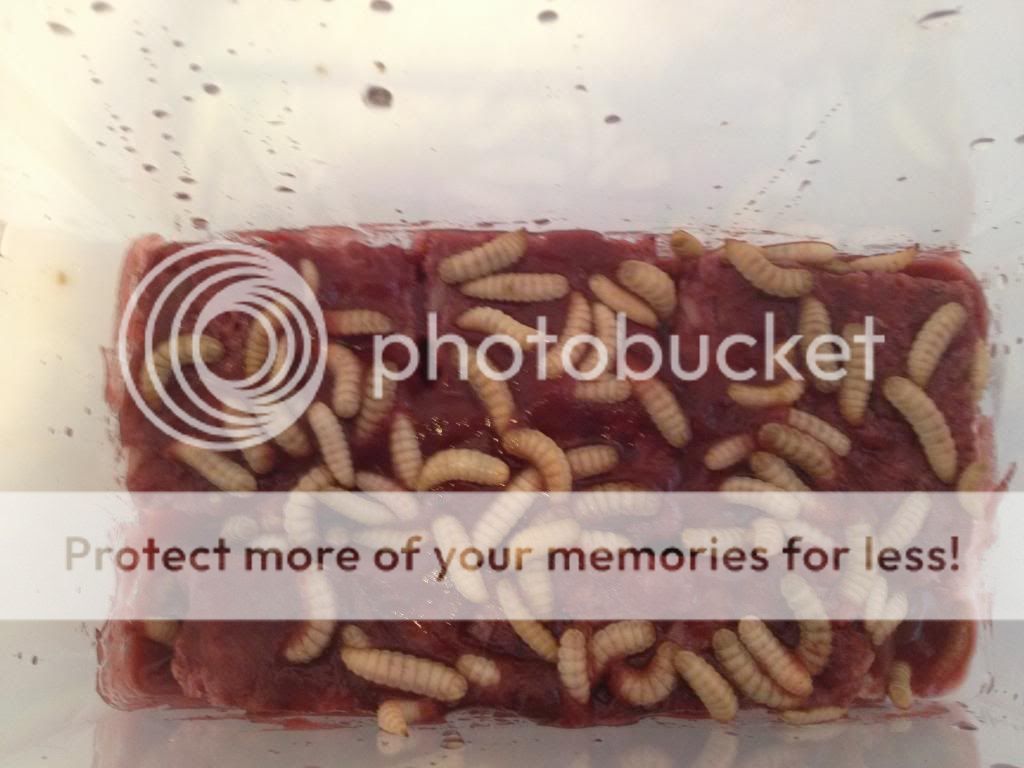
And here's the same Phoenix worm after a week or two of voracious eating:

Phoenix worms LOVE to eat, and they can grow to about an inch long, and 1/4 inch wide! Plus, if you feed the worms yourself, you can be sure your beardie is getting even more great nutrition from them!
Here is my step-by-step guide to growing and fattening Phoenix worms:
1. Start with 1 cup of medium Phoenix worms.
2. Habitat. The small Kritter Keeper is ideal, for 3 reasons:
- The ventilation is just right -- not too dry or humid.
- The little feet on the Kritter Keeper hold the container at the perfect height above the heating pad to keep the worms at exactly 95 degrees.
- The ventilation slots on the lid of the Kritter Keeper can be used as a worm strainer when you are transferring your worms.
3. Heating: Optimal temperature for growth and feeding of Phoenix worms is exactly 95 degrees. I use a Fluker's heating pad, which maintains a constant 100 degree temperature, and place the Kritter Keeper directly on top of it. This maintains the bottom of the container at exactly 95 degrees. At this temperature, you will notice that your worms become extremely happy and wiggly. At lower temperatures, they will be lethargic, and will not eat or grow well. Be sure to warm your worms from below, not above. Using a ceramic heat emitter will warm the top of the container, but the worms at the bottom will be cold and unhappy.
4. Feeding. You can go one of two ways on this:
- Soft fruits and vegetables in about a 50/50 ratio. Any soft fruit or vegetable will do, raw or cooked. Phoenix worms don't eat raw leafy greens, or raw, crunchy fruits and vegetables. These should be cooked before feeding. Line the bottom of the container with enough food to allow the worms to burrow underneath.
- Organic, all-natural multi-grain bread, plus fruit or vegetable baby food. I cut the bread about 1/2 inch thick, and saturate it with the baby food, top and bottom. I line the bottom of the container with the bread. The bread acts like a sponge, moist with little air bubbles, and the worms enjoy burrowing into it. (Use only all-natural, multi-grain bread. Bread which contains preservatives and dough softeners will create a gummy mess when mixed with baby food. Plus it is bad for your worms, and for your beardie!)
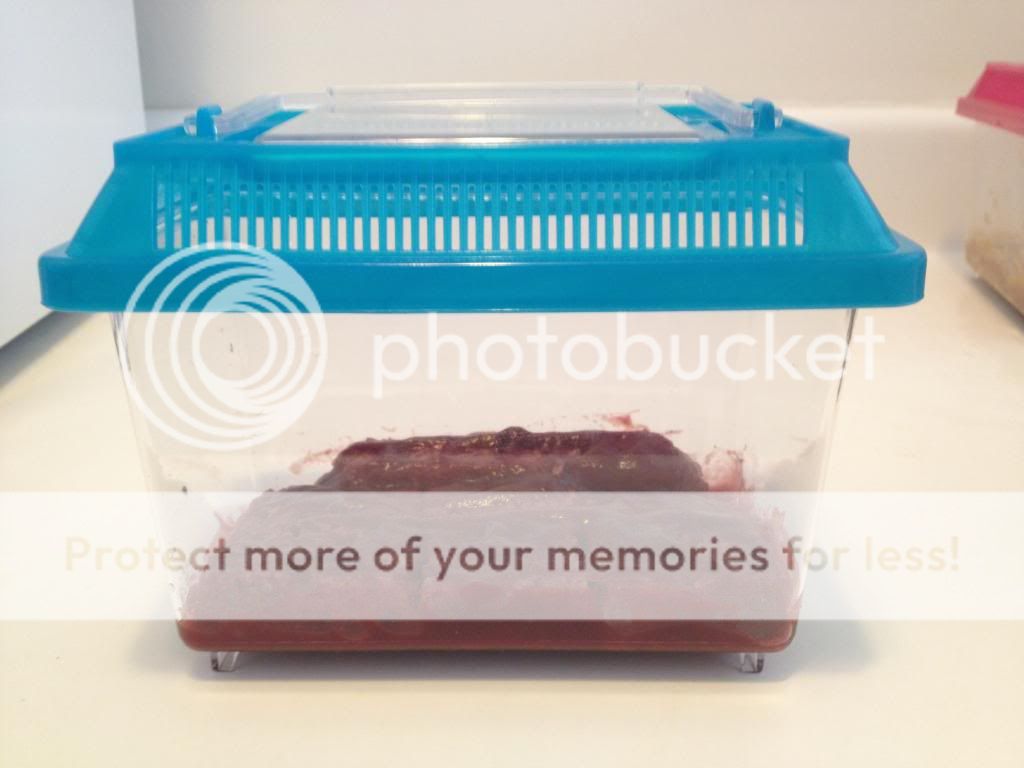
Here's a Kritter Keeper lined with organic multi-grain bread and baby food:

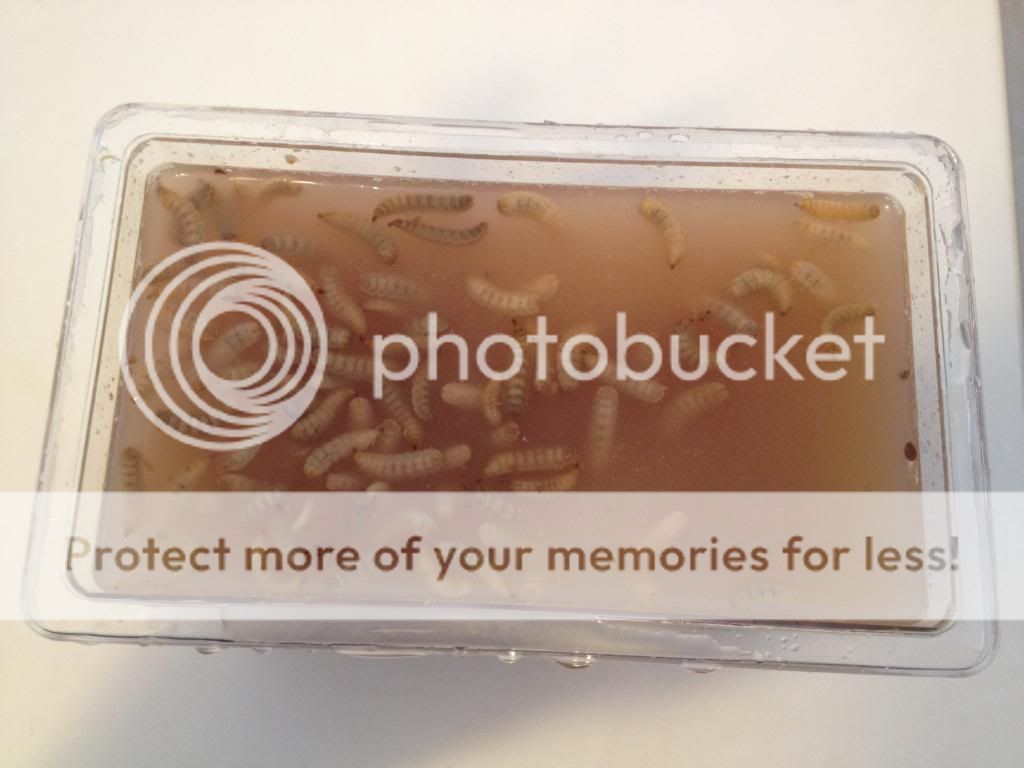
5. Transferring your Phoenix worms: Open your cup full of sawdust and tiny worms. Have you ever seen anything more pitiful? Those are some sad, hungry little worms. You are about to change their life. Pour the worms and sawdust into a container of lukewarm water, and watch the worms float to the top. Using a strainer, collect the tiny worms, and... Drop them into the container full of food! This is the happiest day of their life. Now put them on the heating pad and watch them go crazy!
6. Keeping your container clean: Every couple of days, you will need to change the food to keep it fresh. To do this, simply fill the container with lukewarm water, and strain off the worms as they rise to the top.


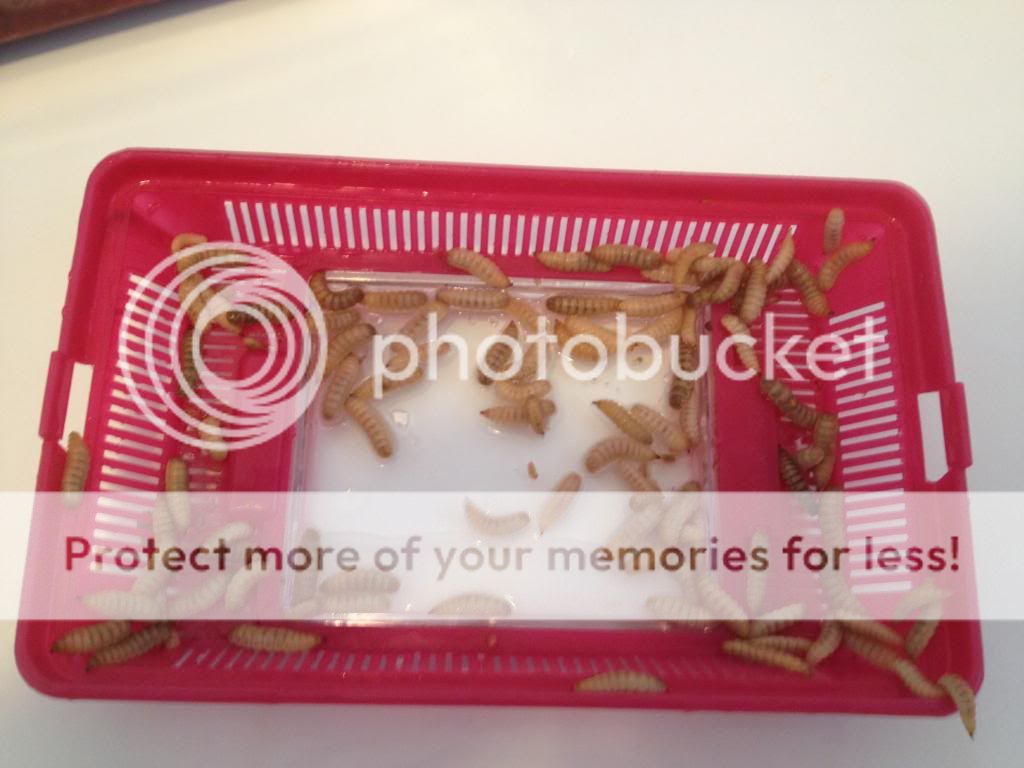
I use the slotted lid of the Kritter Keeper for straining the worms once they get big enough. Be sure to sort through the wet food at the bottom of the container to make sure you rescue all the worms. Then drop them into another container with fresh food.
Transferring the worms to a fresh container:

7. That's it! The worms will reach full size within a couple of weeks. Be sure to rinse them well and pat them dry before serving. Your beardie will love them!
Here's a medium Phoenix worm straight out of the cup:

And here's the same Phoenix worm after a week or two of voracious eating:

Phoenix worms LOVE to eat, and they can grow to about an inch long, and 1/4 inch wide! Plus, if you feed the worms yourself, you can be sure your beardie is getting even more great nutrition from them!
Here is my step-by-step guide to growing and fattening Phoenix worms:
1. Start with 1 cup of medium Phoenix worms.
2. Habitat. The small Kritter Keeper is ideal, for 3 reasons:
- The ventilation is just right -- not too dry or humid.
- The little feet on the Kritter Keeper hold the container at the perfect height above the heating pad to keep the worms at exactly 95 degrees.
- The ventilation slots on the lid of the Kritter Keeper can be used as a worm strainer when you are transferring your worms.
3. Heating: Optimal temperature for growth and feeding of Phoenix worms is exactly 95 degrees. I use a Fluker's heating pad, which maintains a constant 100 degree temperature, and place the Kritter Keeper directly on top of it. This maintains the bottom of the container at exactly 95 degrees. At this temperature, you will notice that your worms become extremely happy and wiggly. At lower temperatures, they will be lethargic, and will not eat or grow well. Be sure to warm your worms from below, not above. Using a ceramic heat emitter will warm the top of the container, but the worms at the bottom will be cold and unhappy.
4. Feeding. You can go one of two ways on this:
- Soft fruits and vegetables in about a 50/50 ratio. Any soft fruit or vegetable will do, raw or cooked. Phoenix worms don't eat raw leafy greens, or raw, crunchy fruits and vegetables. These should be cooked before feeding. Line the bottom of the container with enough food to allow the worms to burrow underneath.
- Organic, all-natural multi-grain bread, plus fruit or vegetable baby food. I cut the bread about 1/2 inch thick, and saturate it with the baby food, top and bottom. I line the bottom of the container with the bread. The bread acts like a sponge, moist with little air bubbles, and the worms enjoy burrowing into it. (Use only all-natural, multi-grain bread. Bread which contains preservatives and dough softeners will create a gummy mess when mixed with baby food. Plus it is bad for your worms, and for your beardie!)
Here's a Kritter Keeper lined with organic multi-grain bread and baby food:

5. Transferring your Phoenix worms: Open your cup full of sawdust and tiny worms. Have you ever seen anything more pitiful? Those are some sad, hungry little worms. You are about to change their life. Pour the worms and sawdust into a container of lukewarm water, and watch the worms float to the top. Using a strainer, collect the tiny worms, and... Drop them into the container full of food! This is the happiest day of their life. Now put them on the heating pad and watch them go crazy!
6. Keeping your container clean: Every couple of days, you will need to change the food to keep it fresh. To do this, simply fill the container with lukewarm water, and strain off the worms as they rise to the top.


I use the slotted lid of the Kritter Keeper for straining the worms once they get big enough. Be sure to sort through the wet food at the bottom of the container to make sure you rescue all the worms. Then drop them into another container with fresh food.
Transferring the worms to a fresh container:

7. That's it! The worms will reach full size within a couple of weeks. Be sure to rinse them well and pat them dry before serving. Your beardie will love them!
