Building a big stackable 7x2x2 enclosure

Status
Not open for further replies.

dragonov

Hatchling Member
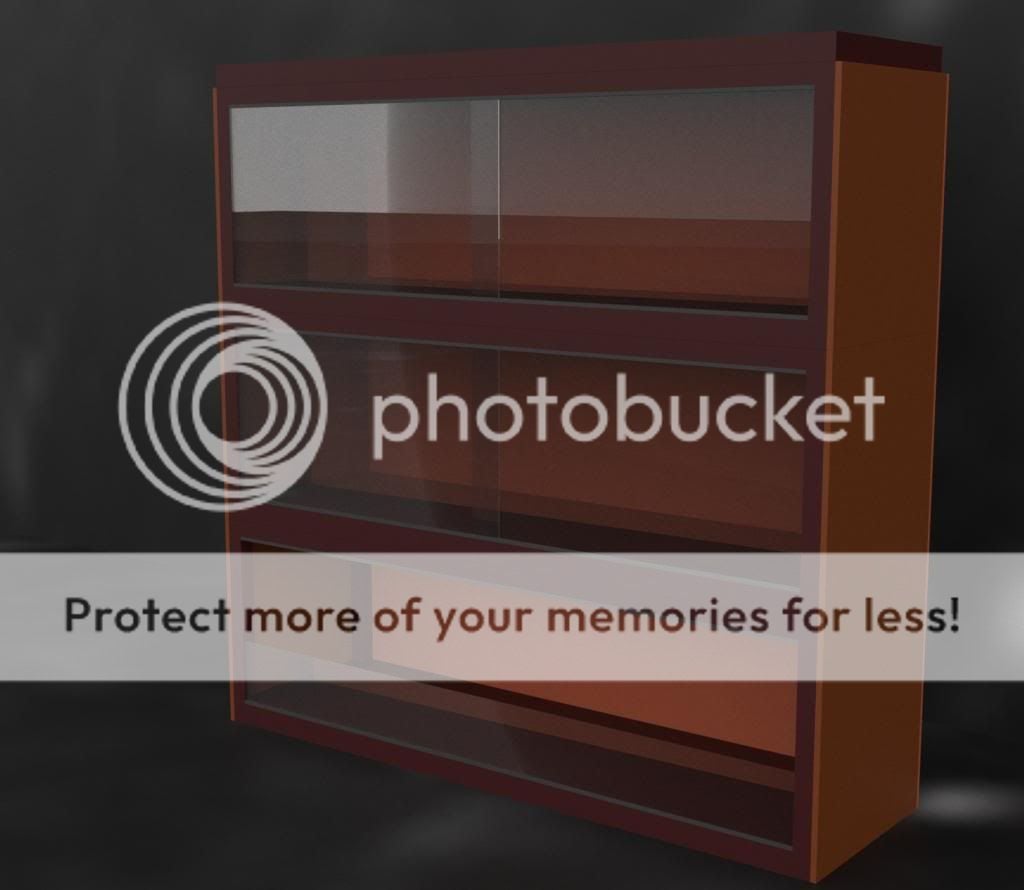
Hi, I'm new to the forum and currently building my first ever dragon enclosure. I am building a big stackable enclosure of 3 vivs of 6'8''x2'2"x2' each. Two will be for bearded dragons and the bottom one will be for a greek turtoise I already own. The plan is to make the bottoms similar to the cover, so that they are interchangable. The plan is approx. like this 3d model.

stackedturtle.jpg


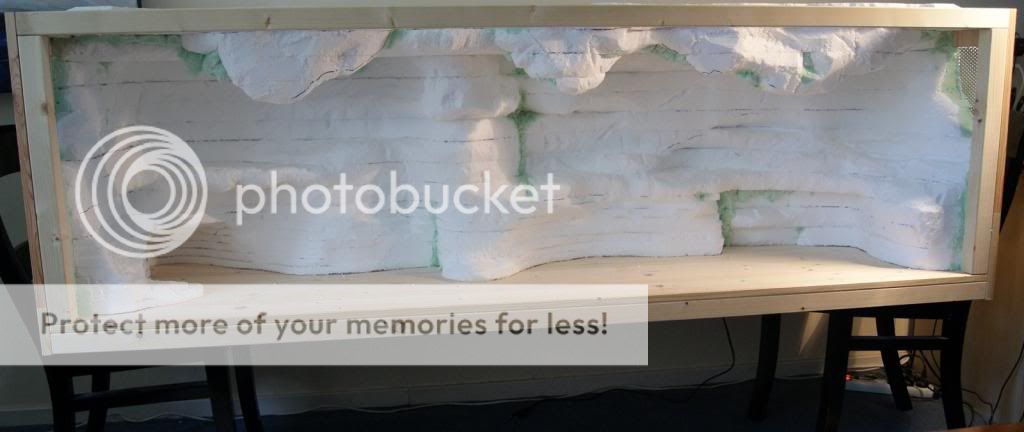
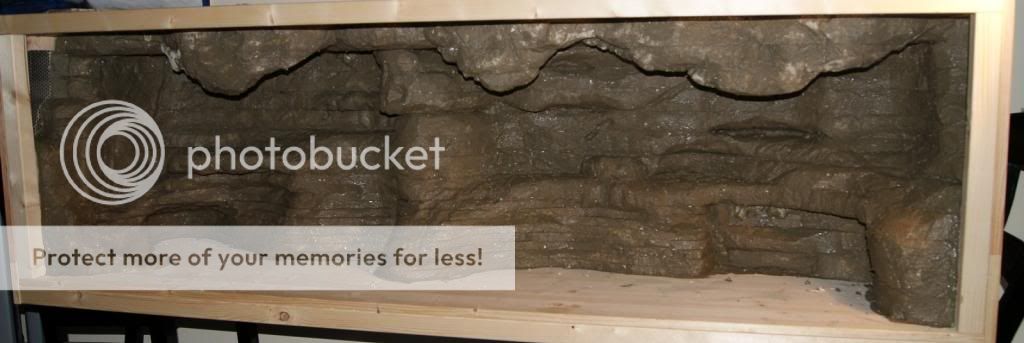
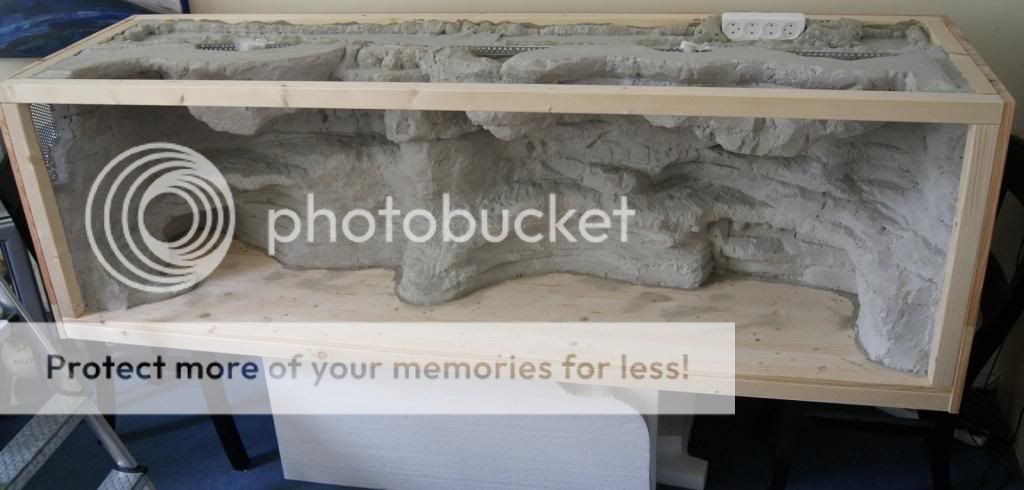
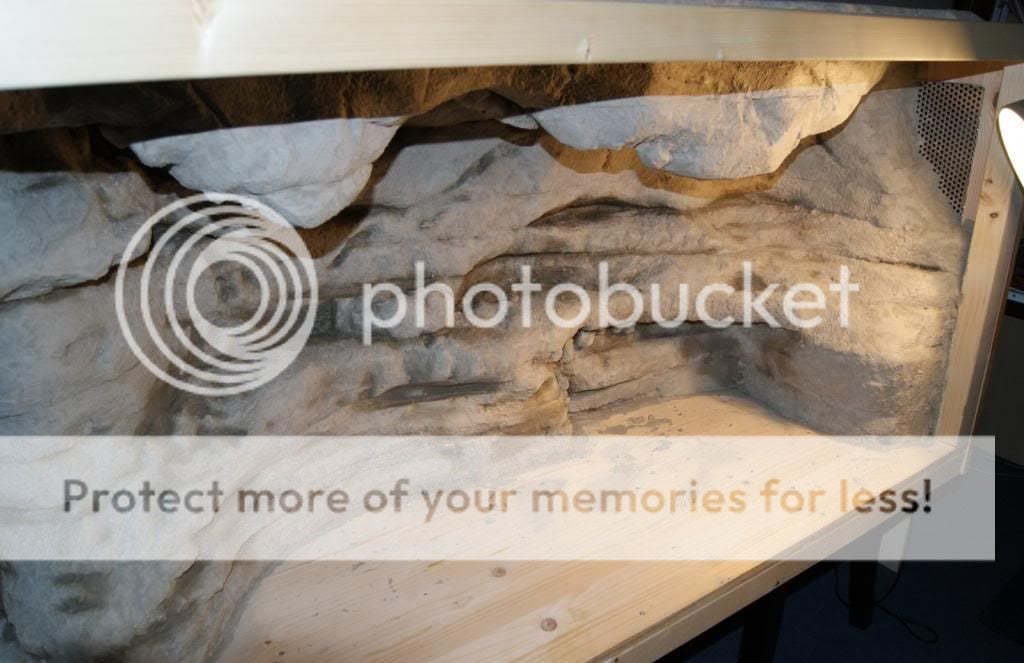
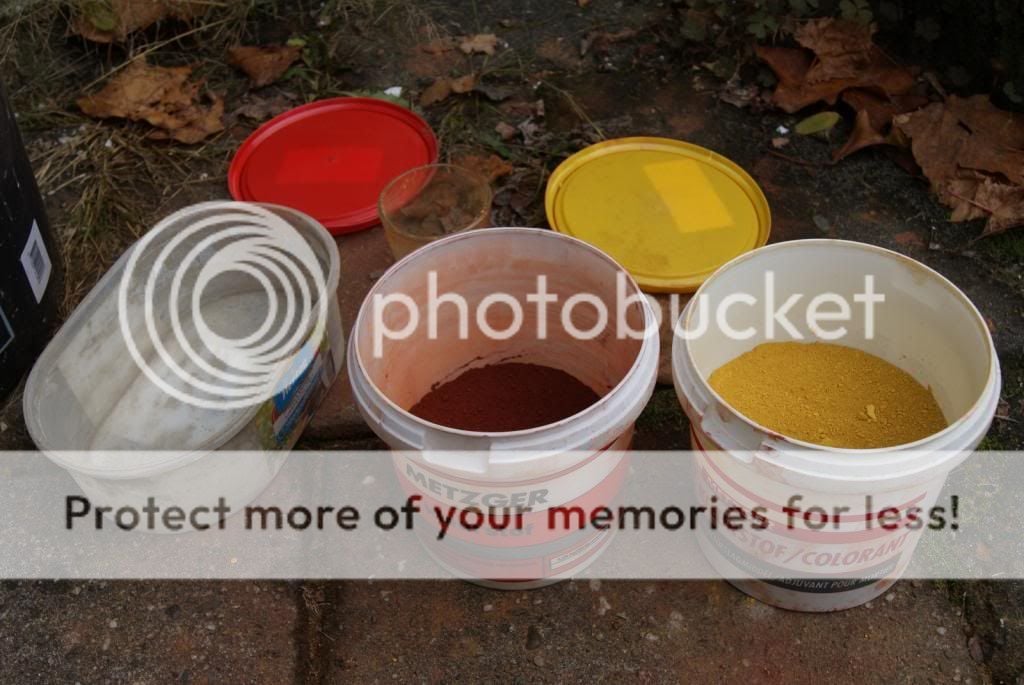
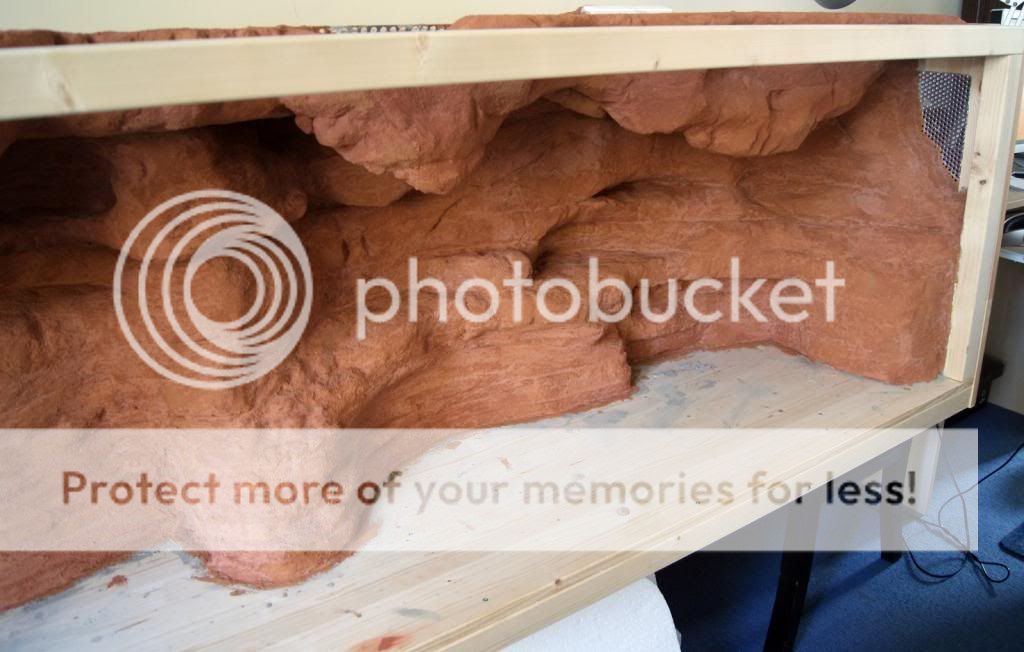
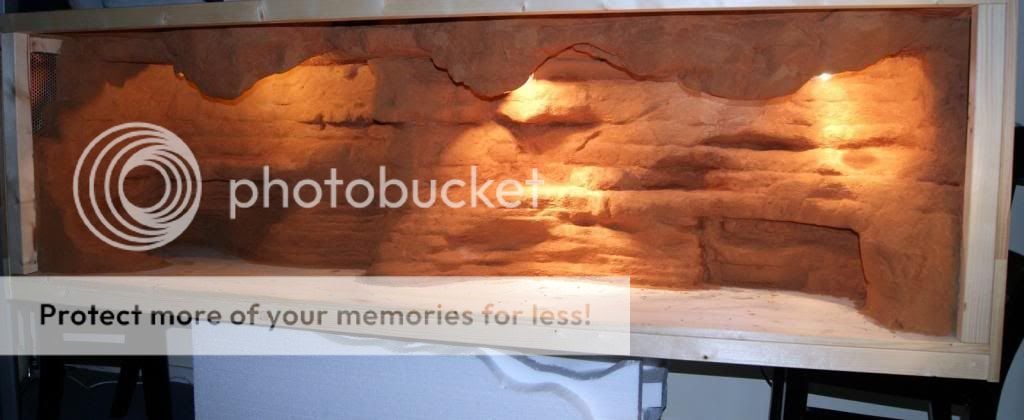
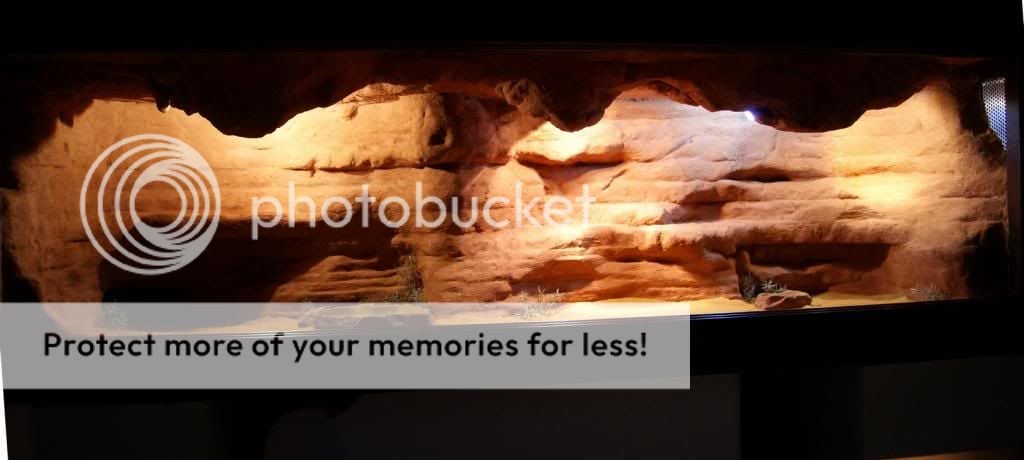
Right now I am working on the first one and I thought to share the progress of the whole build on here with sort of a step by step pictorial. This one is for bearded dragons and I am going for an authentic Australian red desert rock look for the background.

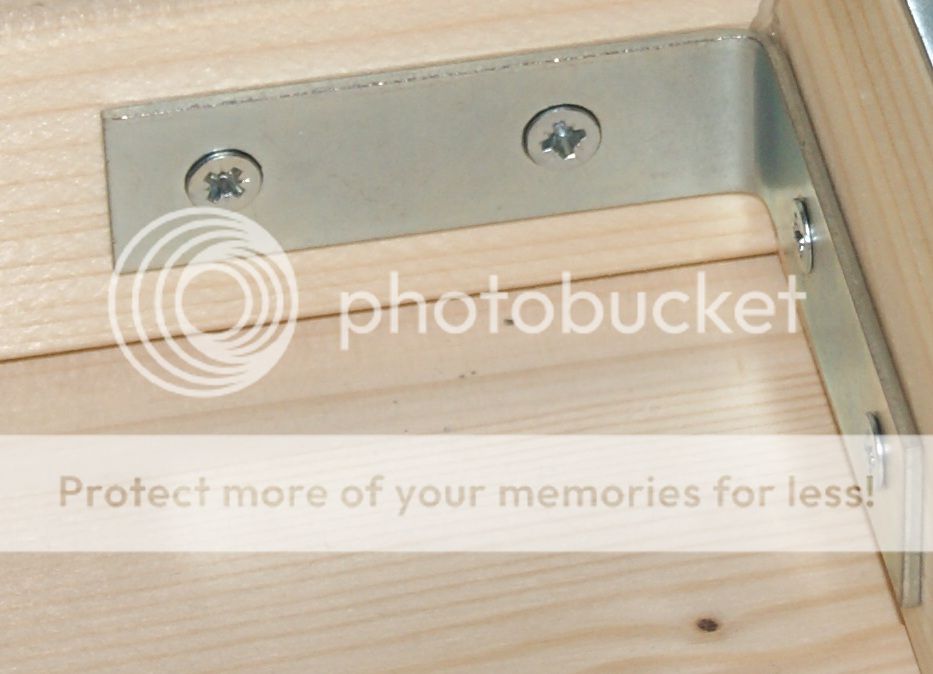
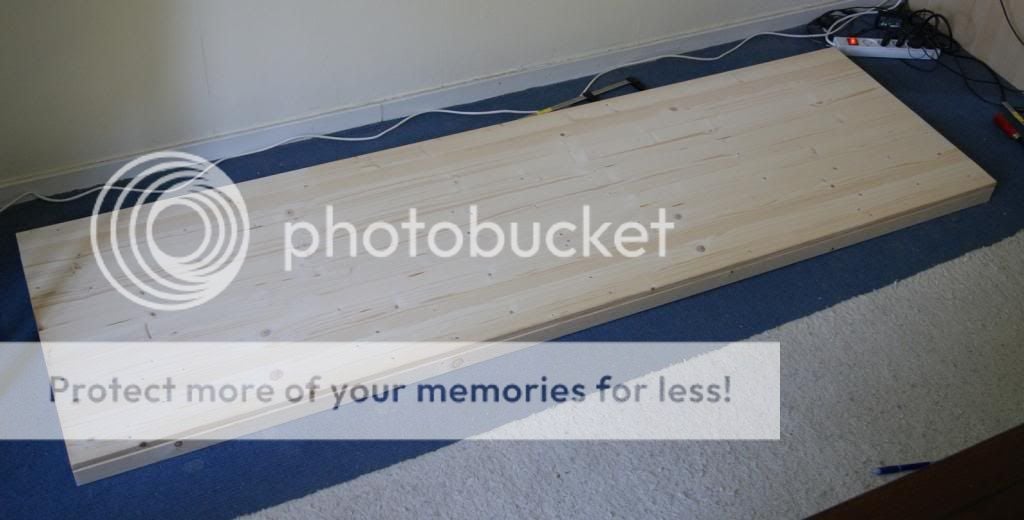
I started out with the bottom by making a frame of 2x2's to support the bottom sheet. I am using pine wood for the 2x2's and the sides, bottom and cover. The back wall will be of cheaper MDF board. The frame I put together with metal corner brackets and lots of wood glue.

bottom2.jpg

corner1.jpg


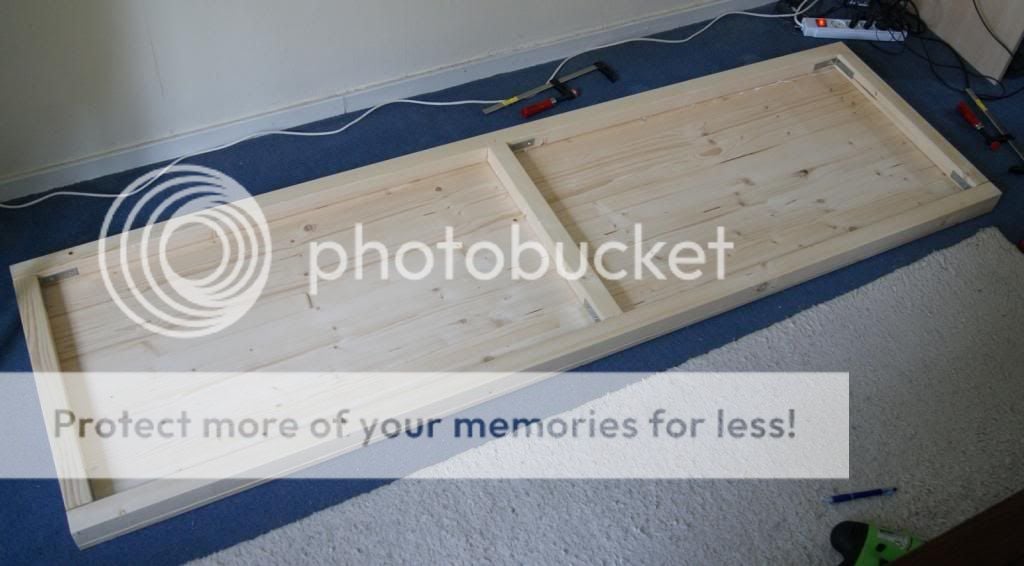
When the frame was ready I screwed the bottom sheet on to the frame, again applying lots of wood glue.

bottomdone.jpg


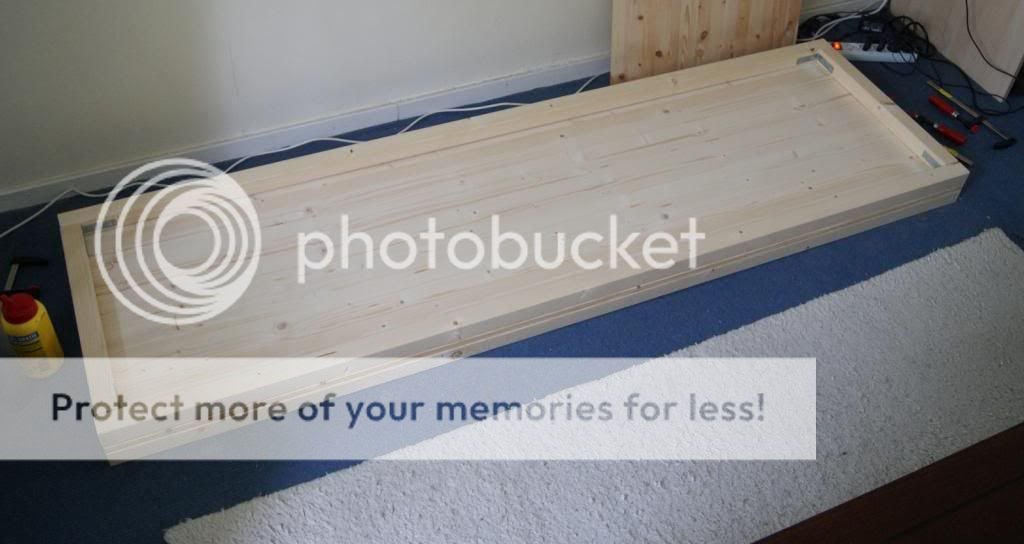
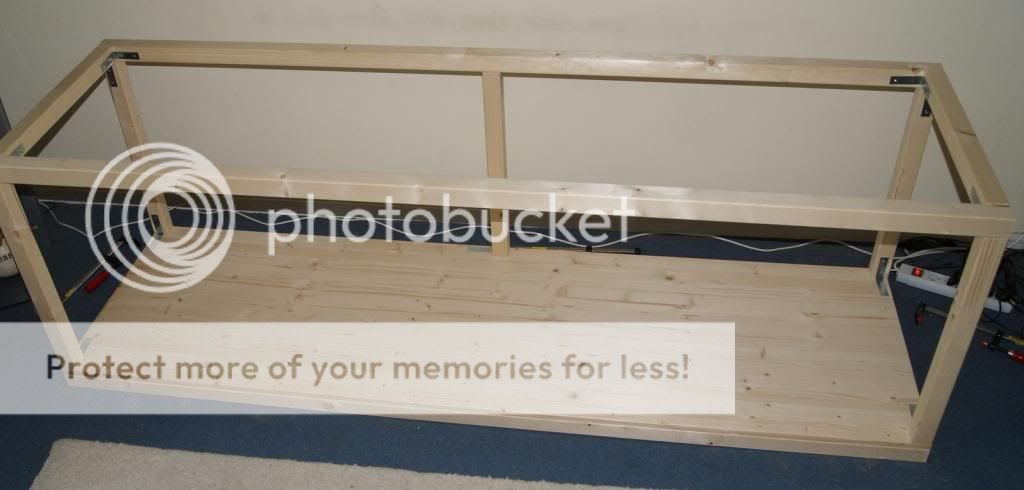
Next the frame for the rest of the enclosure. I started with making a frame that fits right on top of the bottom.

frame1.jpg


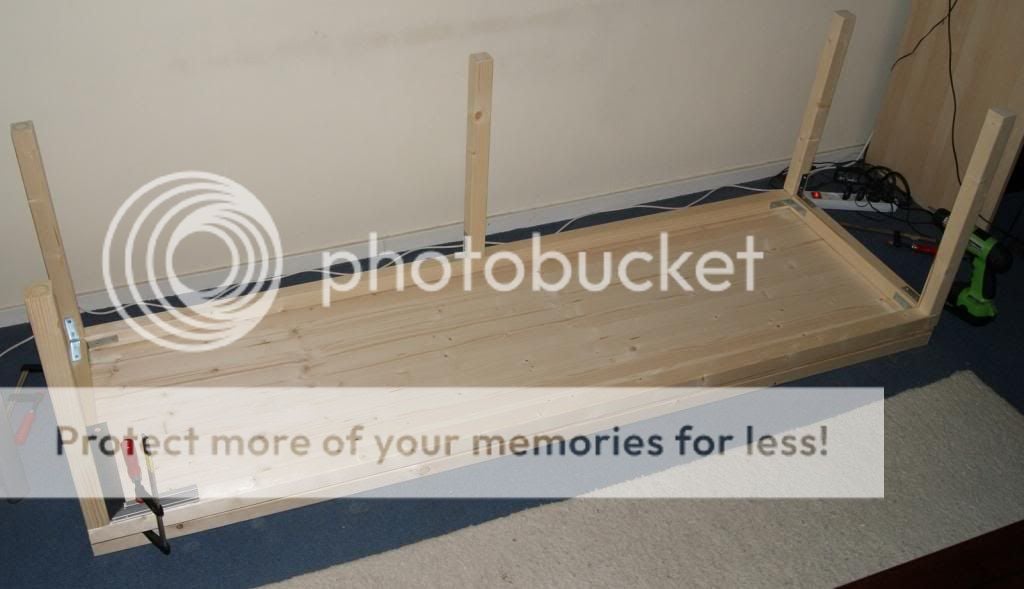
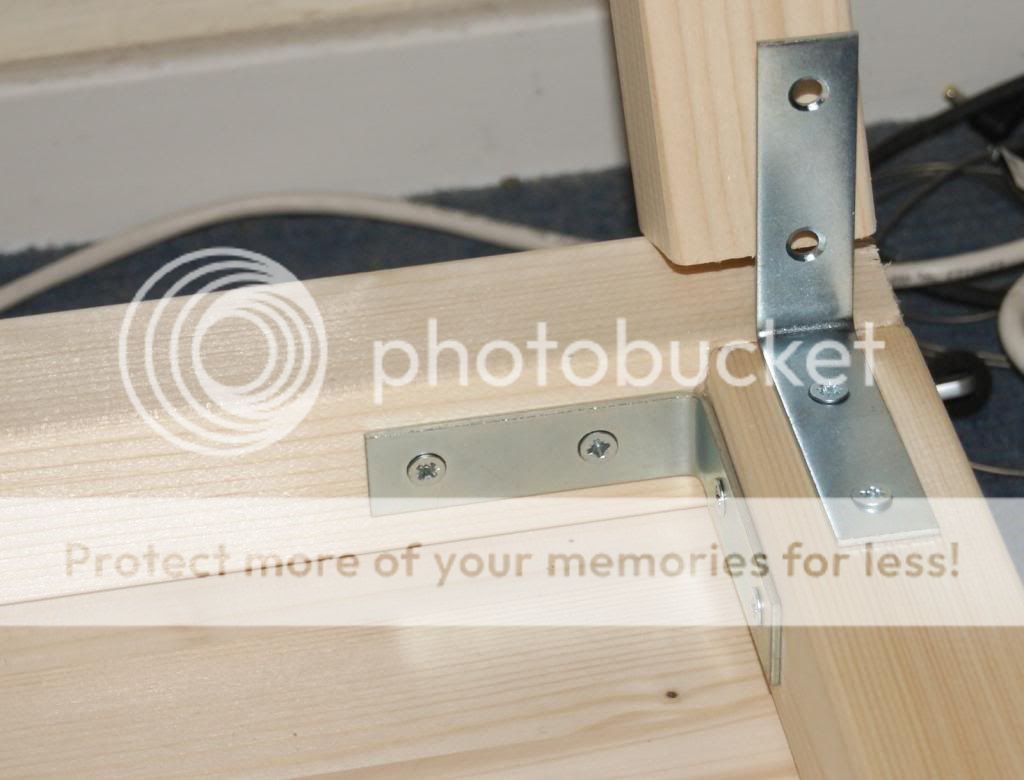
Then I attached 5 legs to that frame, using the metal brackets again. Using those actually helps a lot with this.

frame2.jpg

corner2.jpg


After that I turned the frame upside down and attached it to the bottom using more corner brackets. Now the basic shape is done!

framedone.jpg


I had the back and the sides already sawn to the right sizes by the hardware store, so at this point I wanted to see if those would actually fit..lol They did!

fittingwalls.jpg


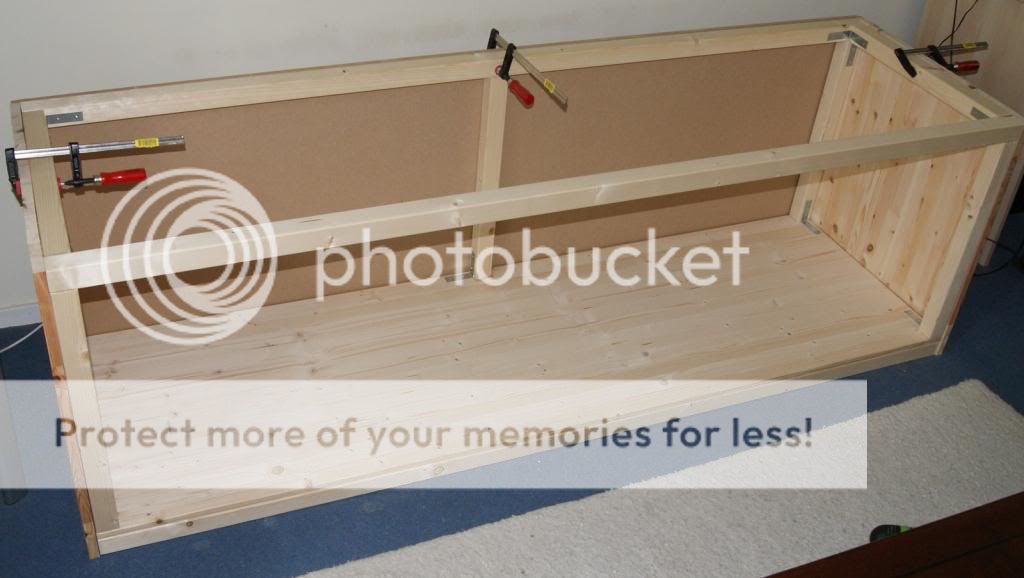
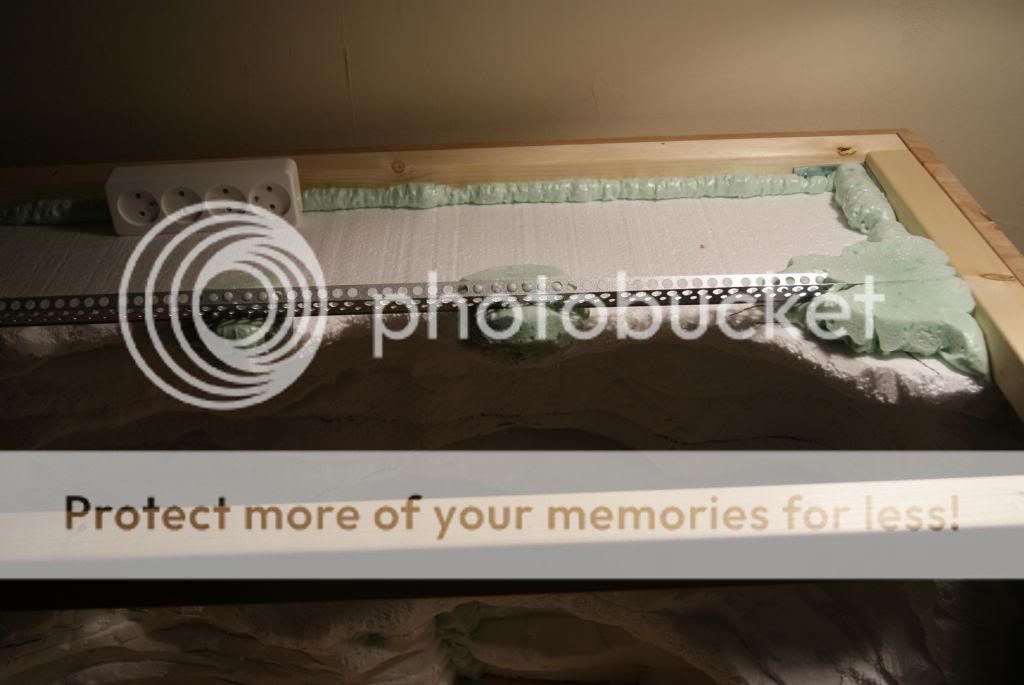
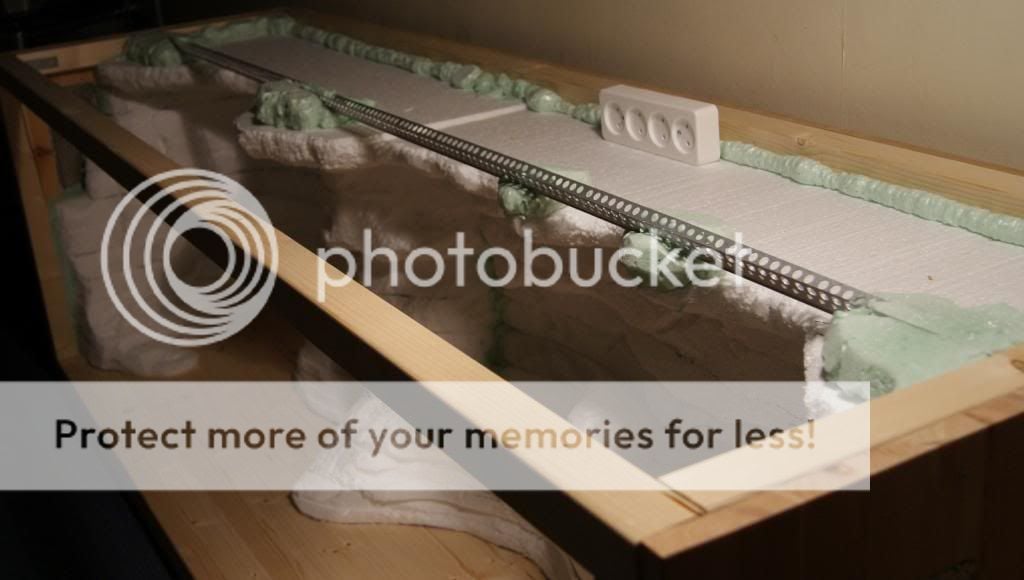
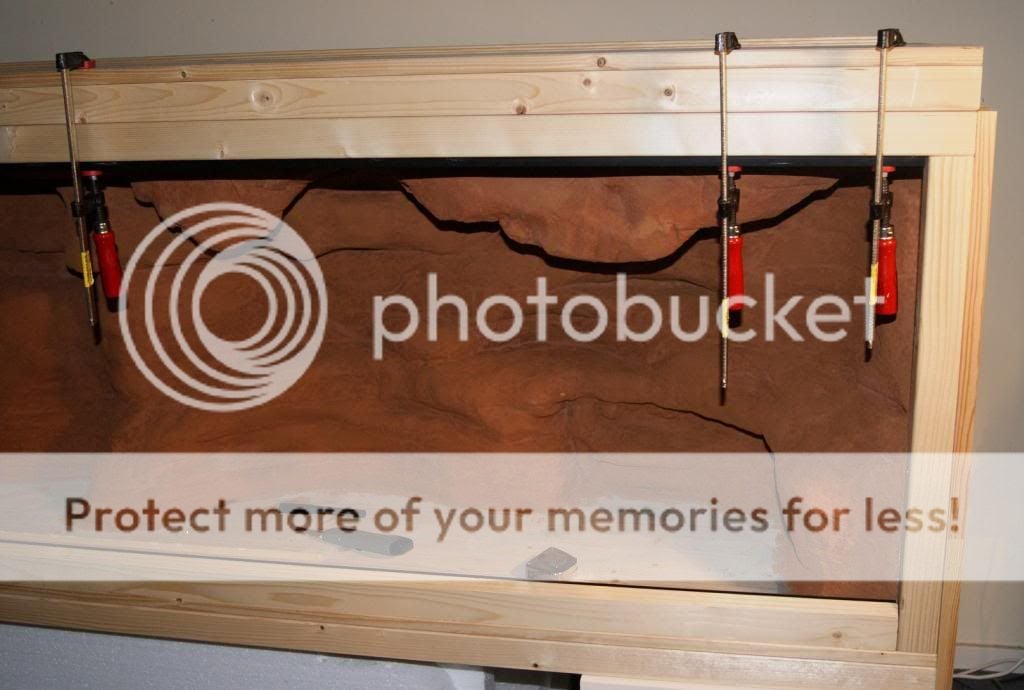
I screwed on the back and went on with making the cover. Because of the design (stackable) it means the cover needed to be the same shape as the bottom of the one above it. That way I can change vivs around if I want to later. Basically I am just making another bottom for a cover. So I started out with the frame again...

lidandbottom1.jpg


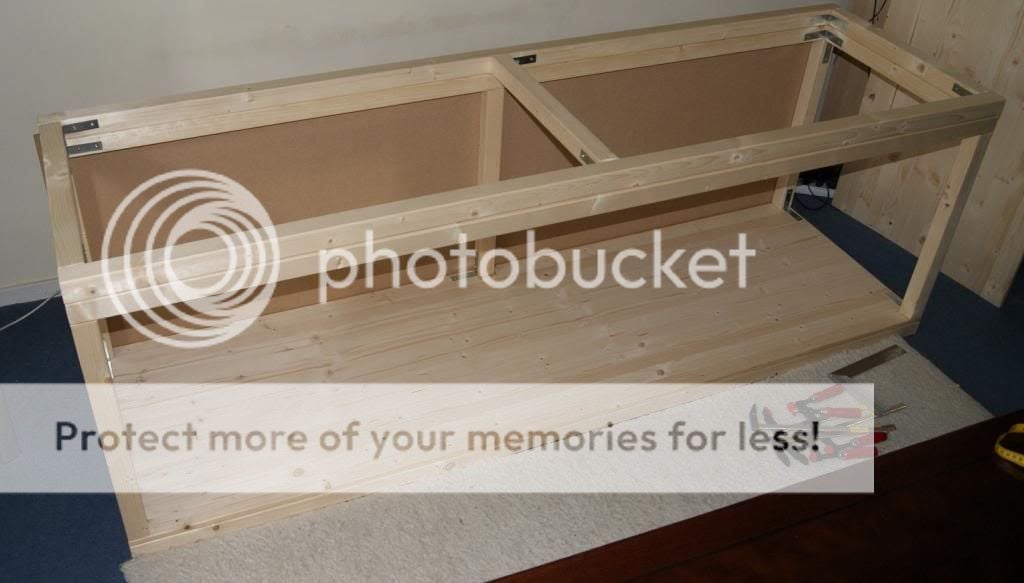
...and attached the cover sheet of 3/4" pine wood to the frame.

lidandbottomdone.jpg


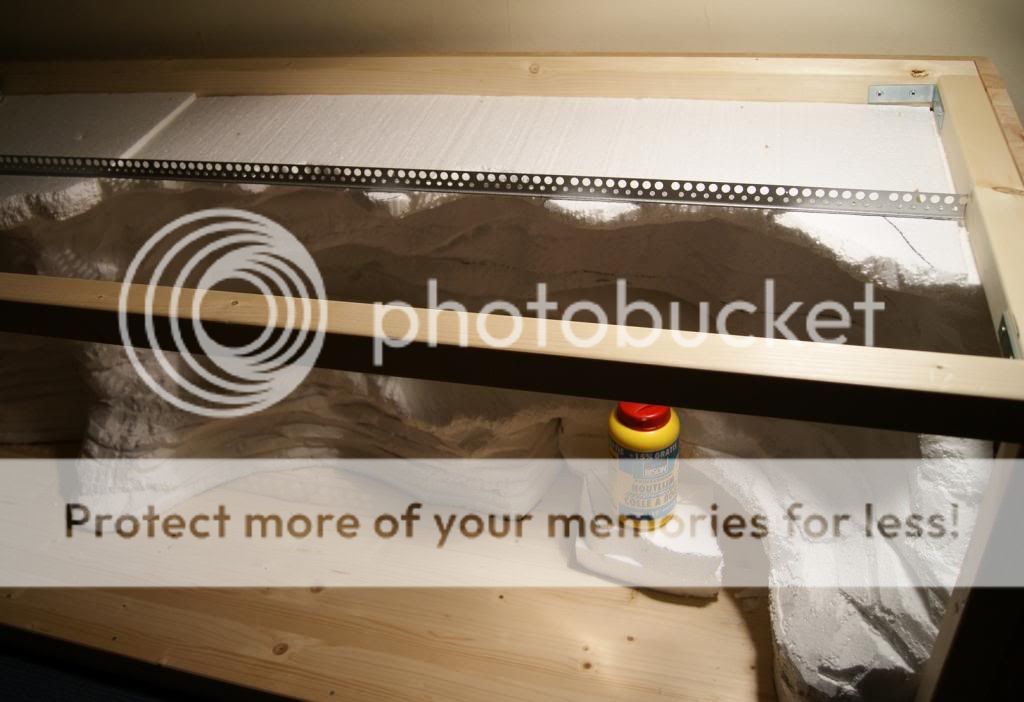
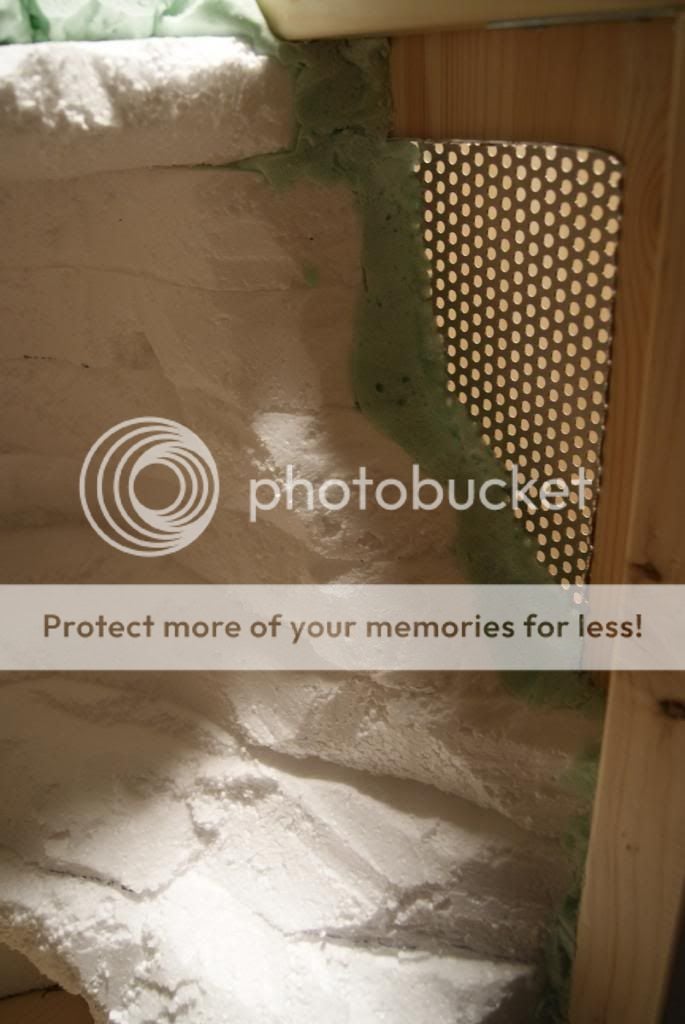
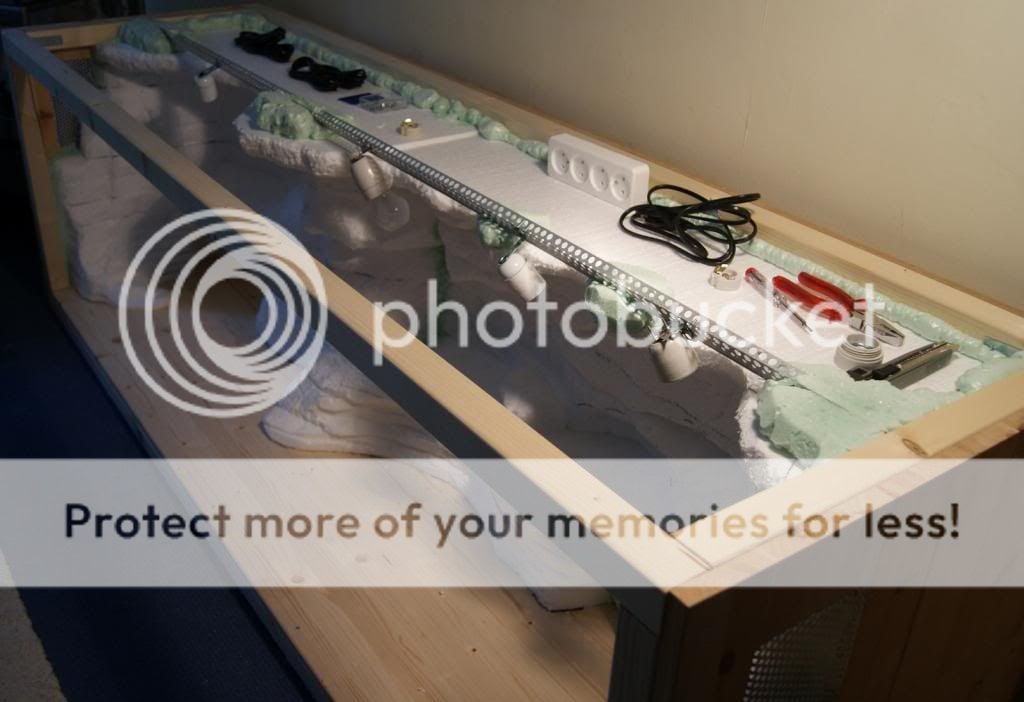
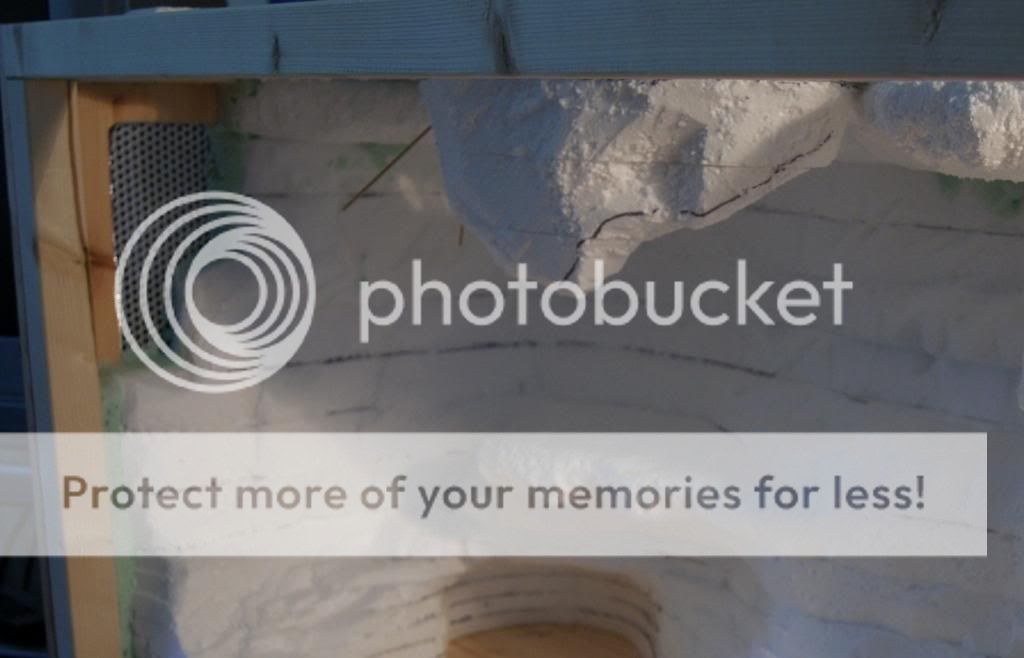
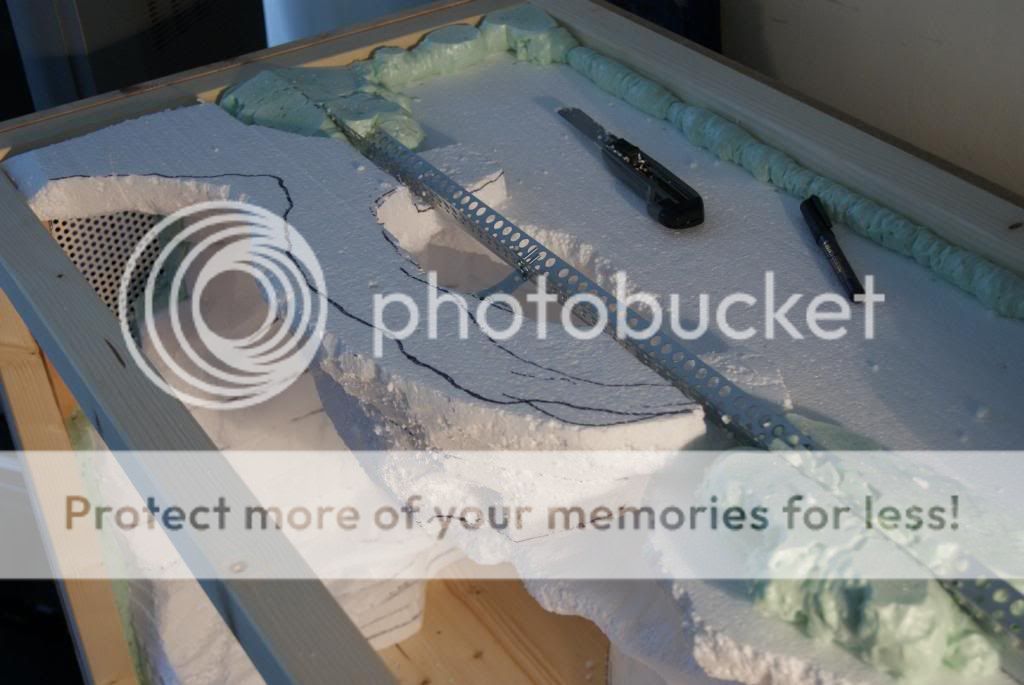
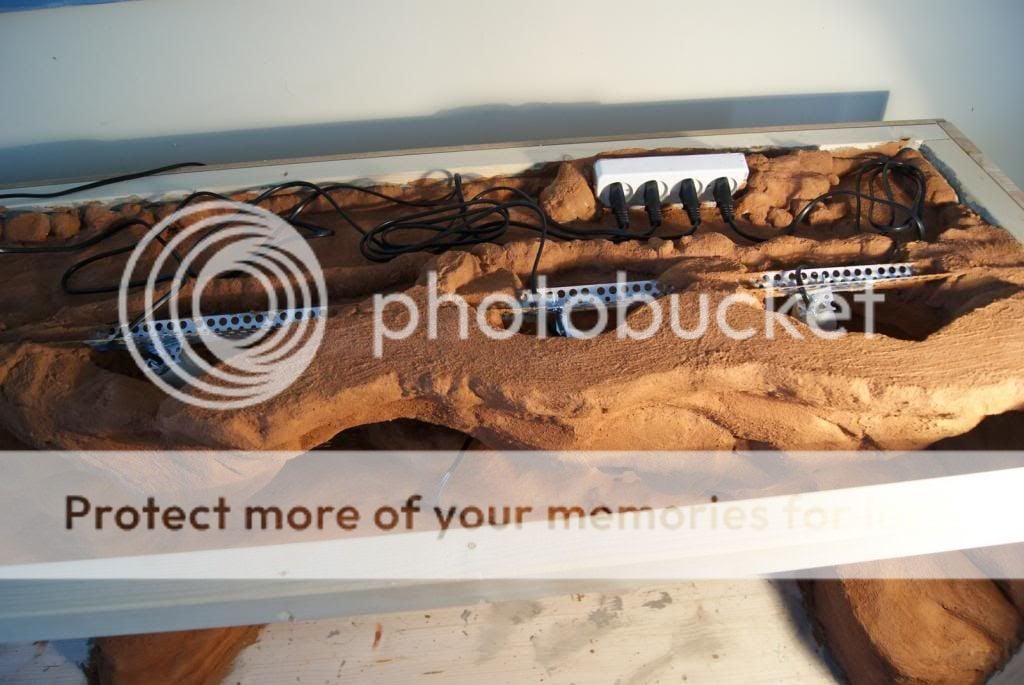
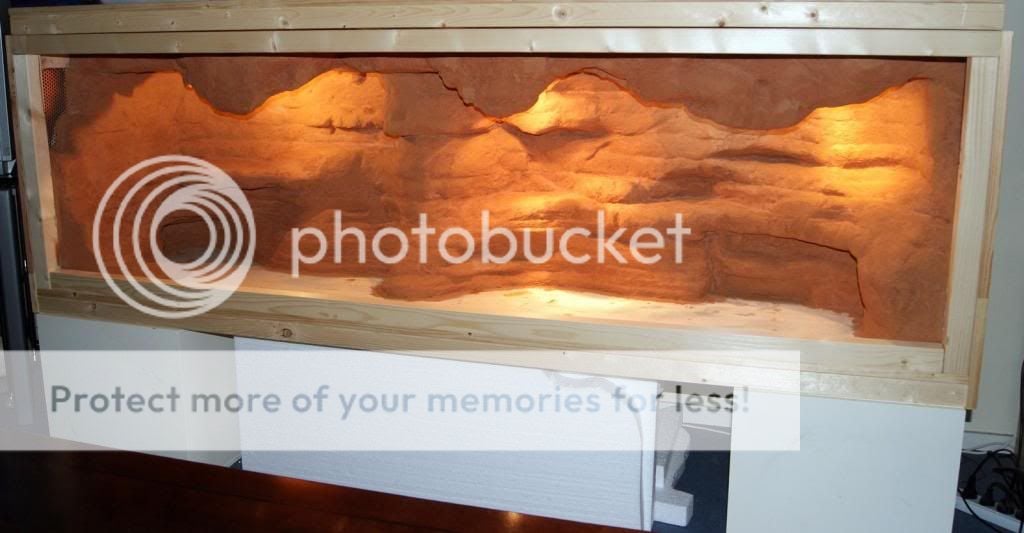
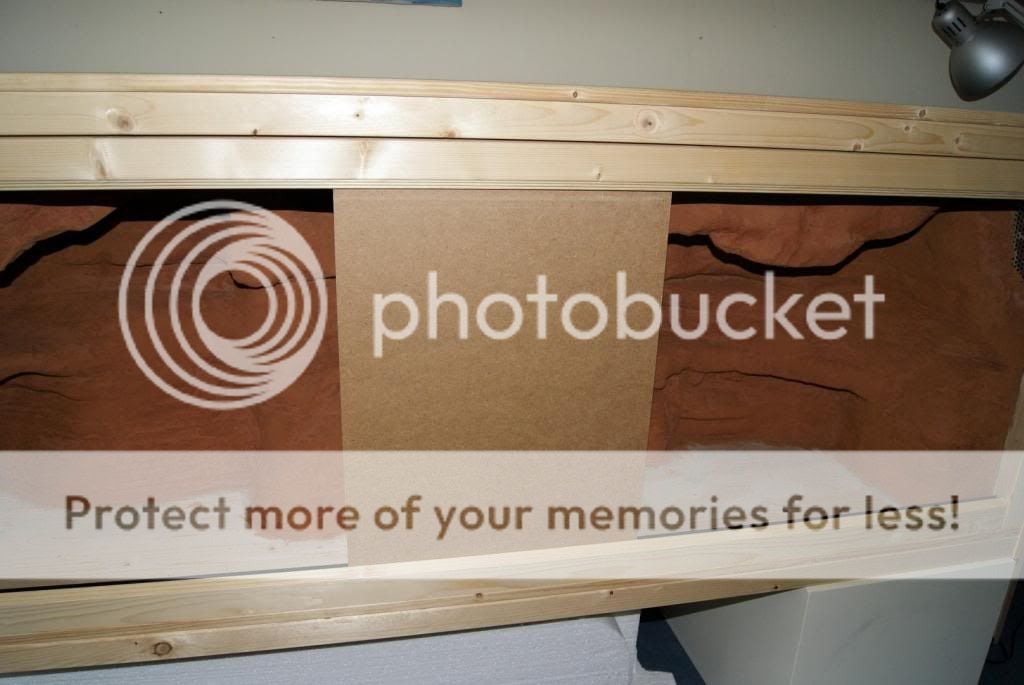
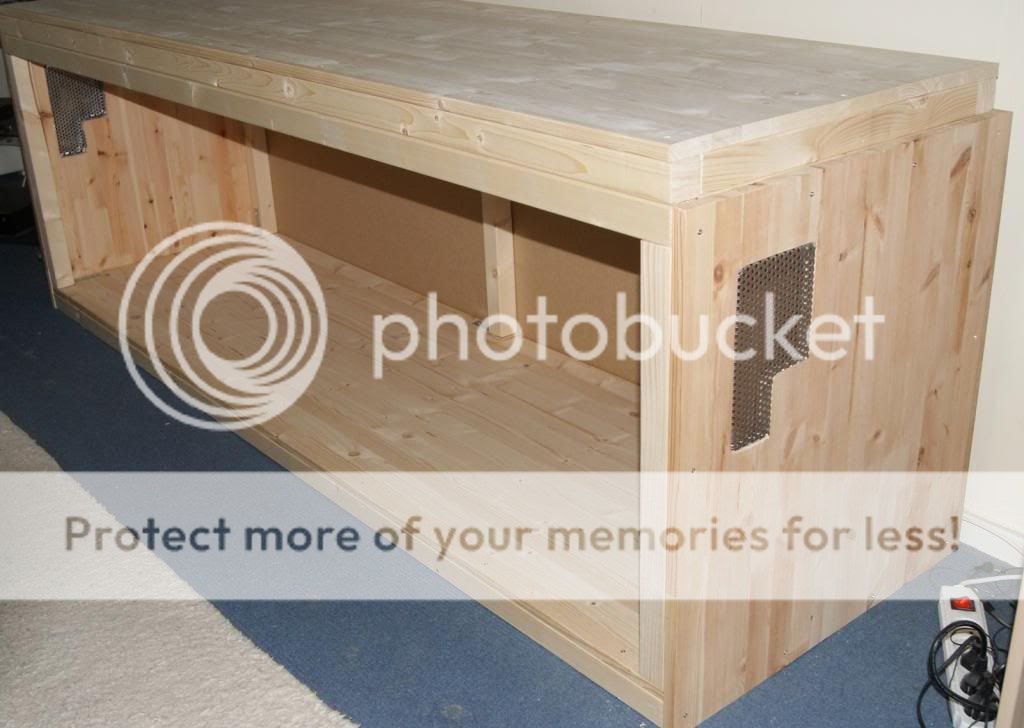
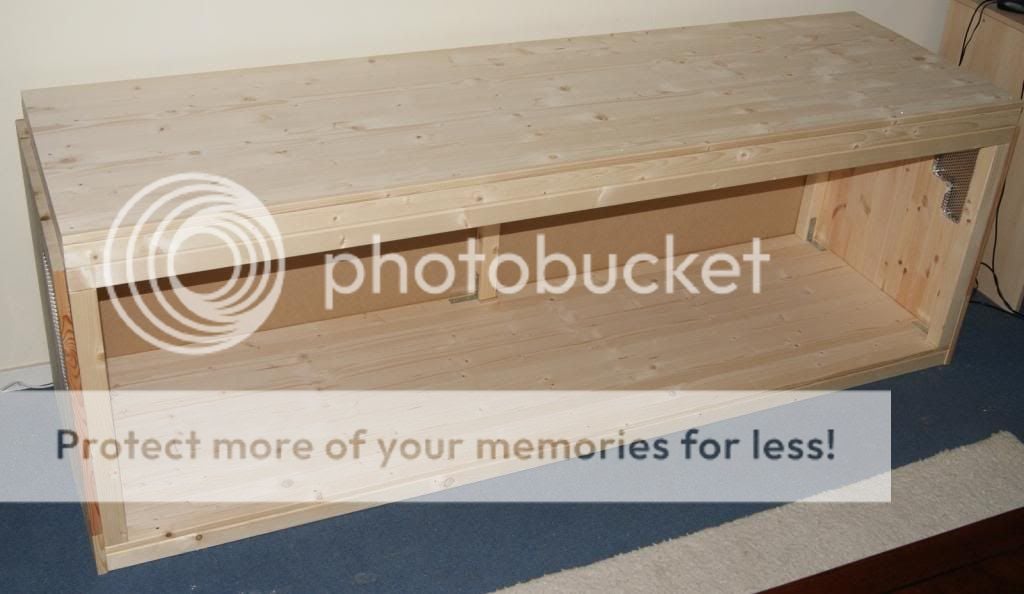
Before attaching the sides I cut out some ventilation holes. The piece of wood that came out I traced onto a piece of perforated aluminum sheet and fitted that in to the vent opening.

sideventdetail.jpg


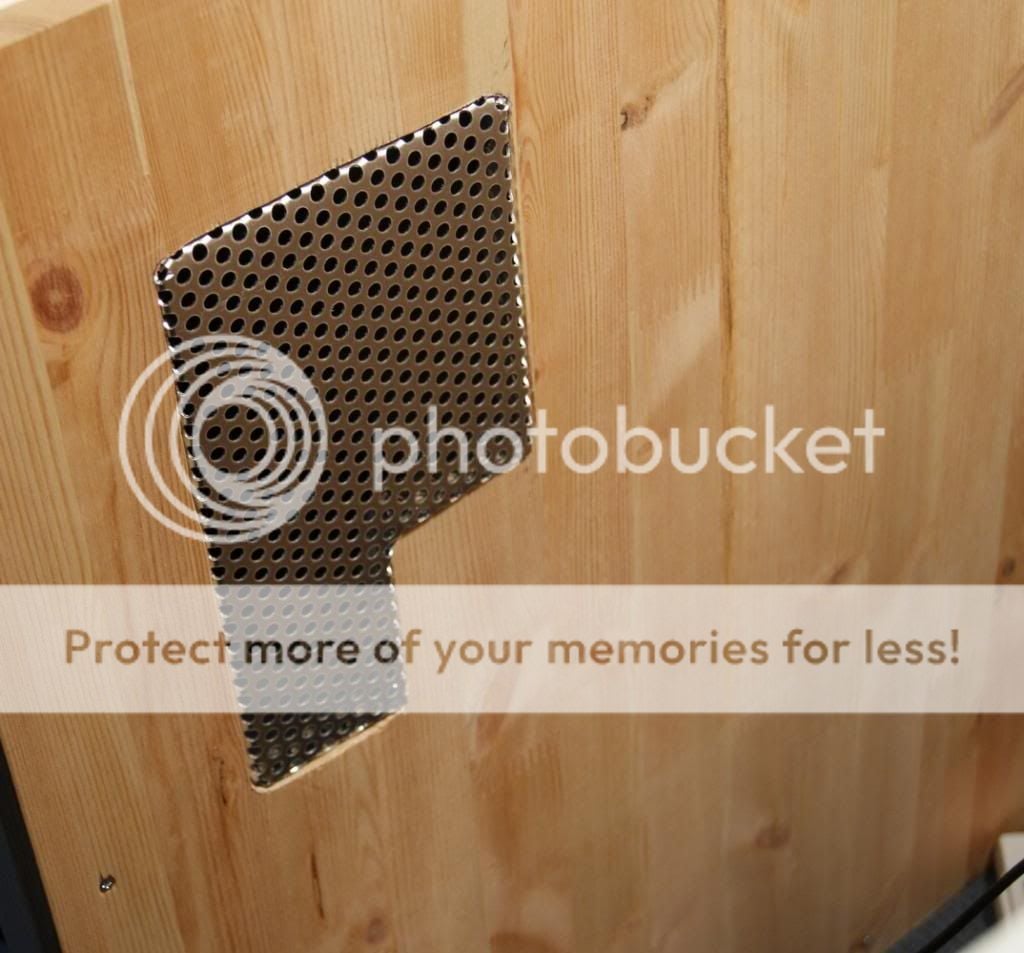
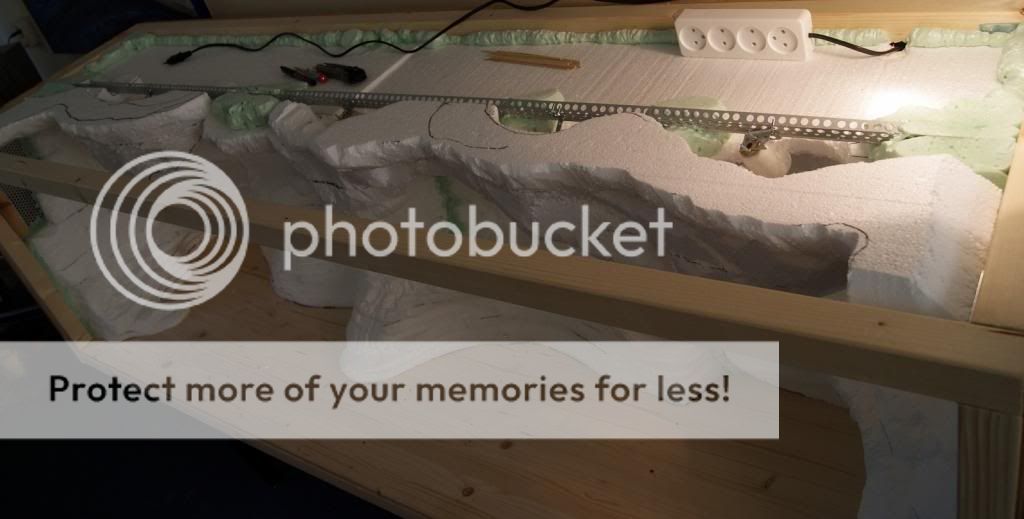
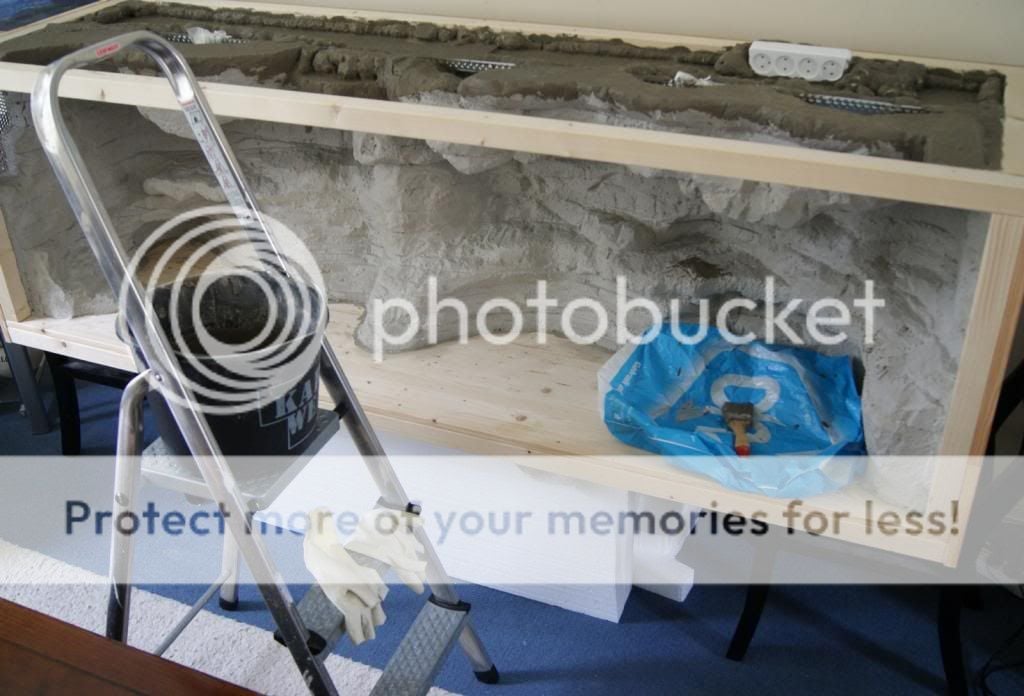
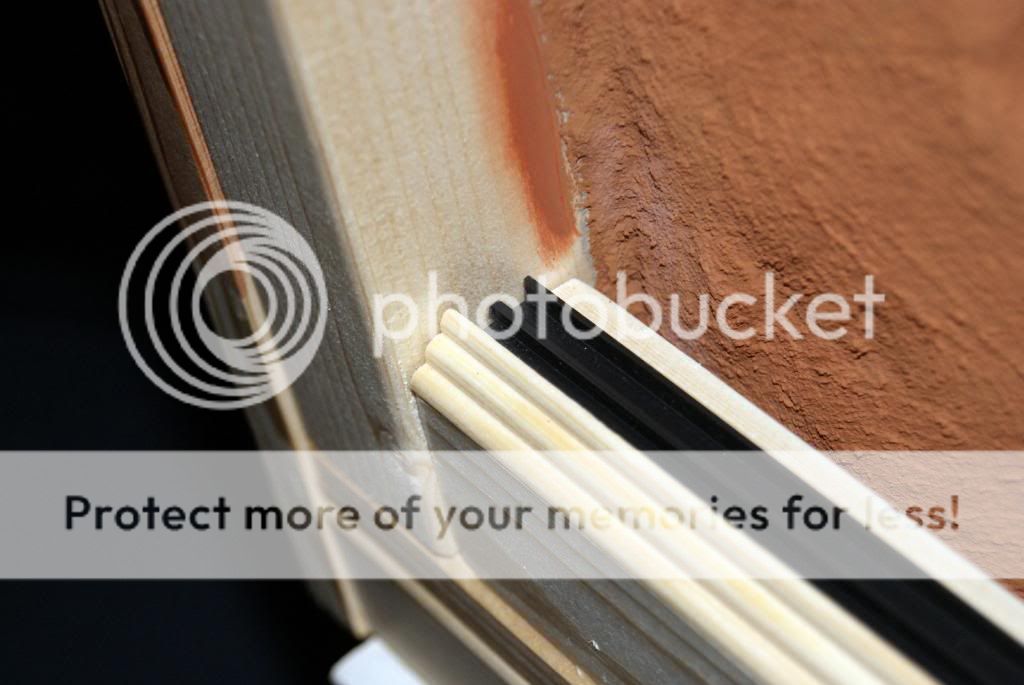
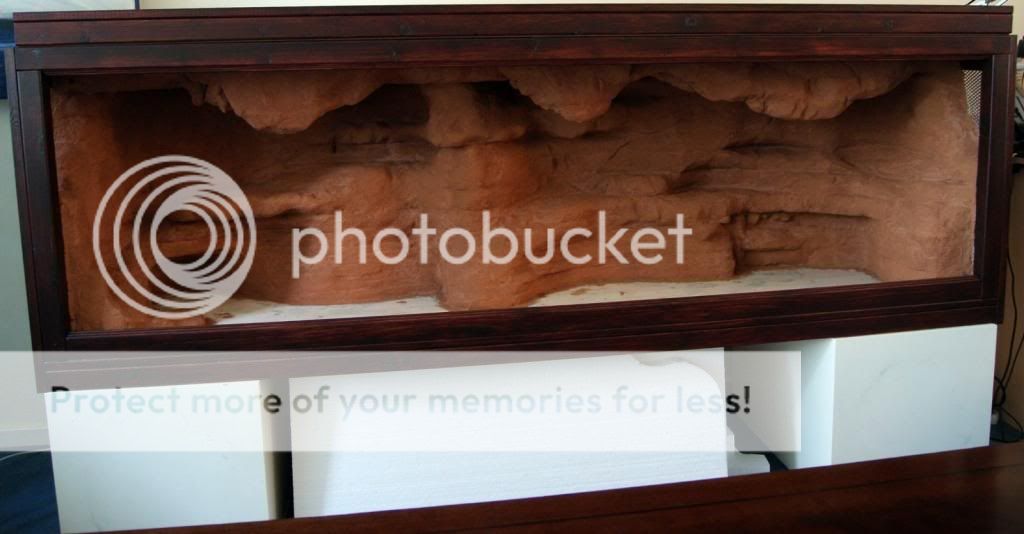
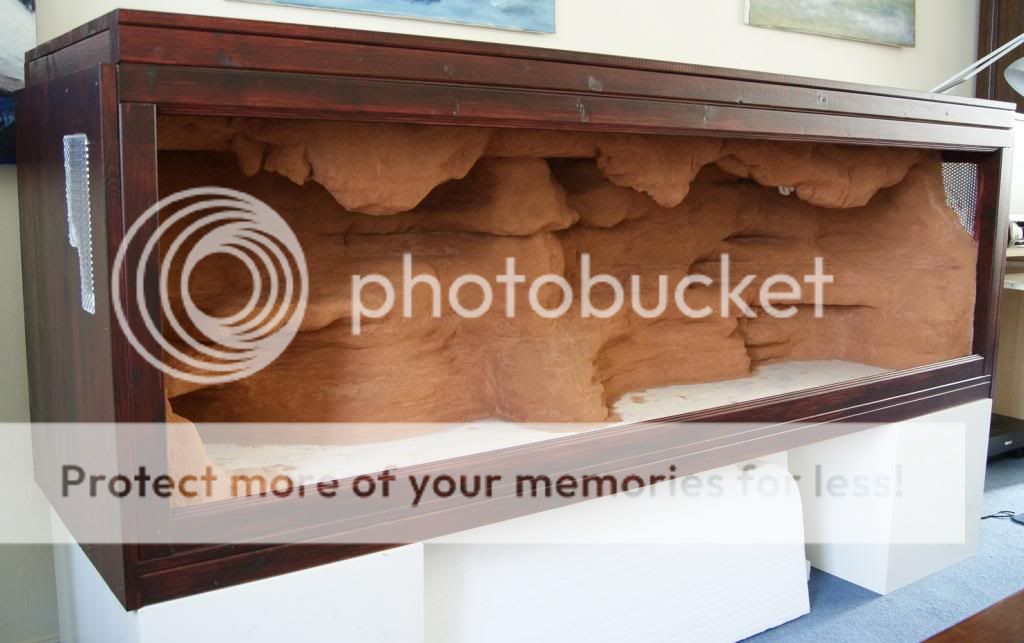
Then the sides went on and the basic shape of the first viv is done! :blob5:

sidesdone.jpg

wallsmounted.jpg


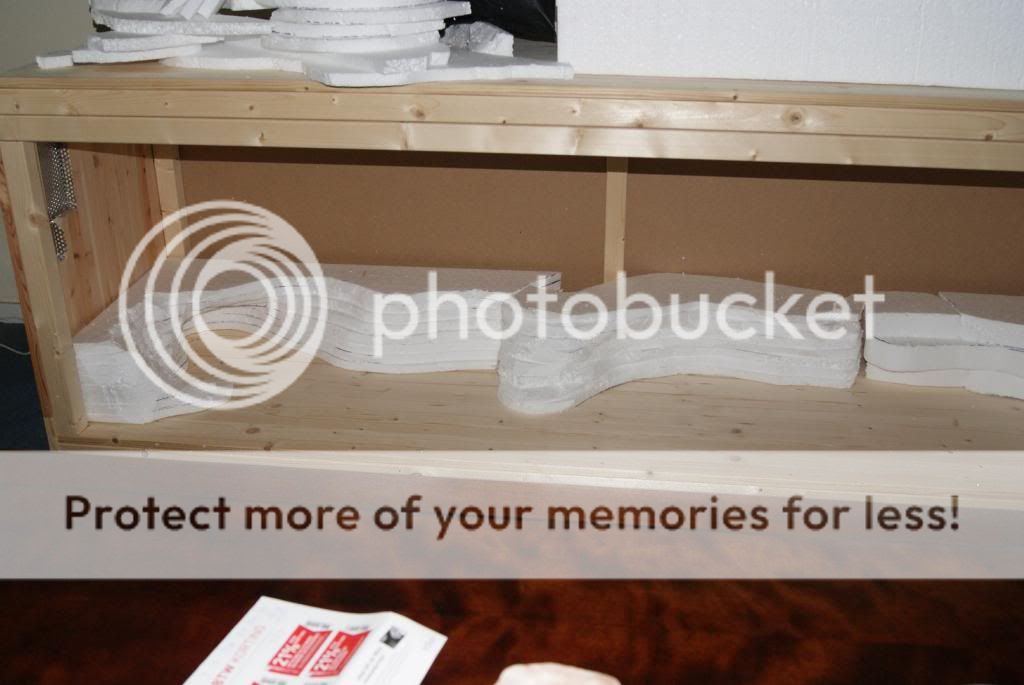
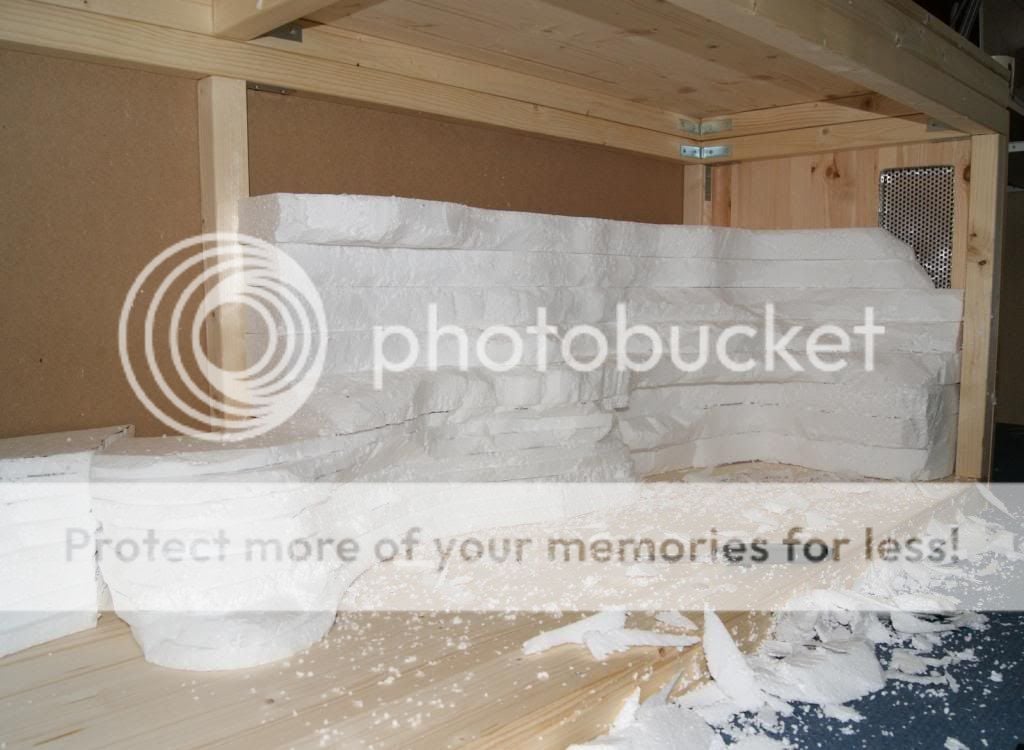
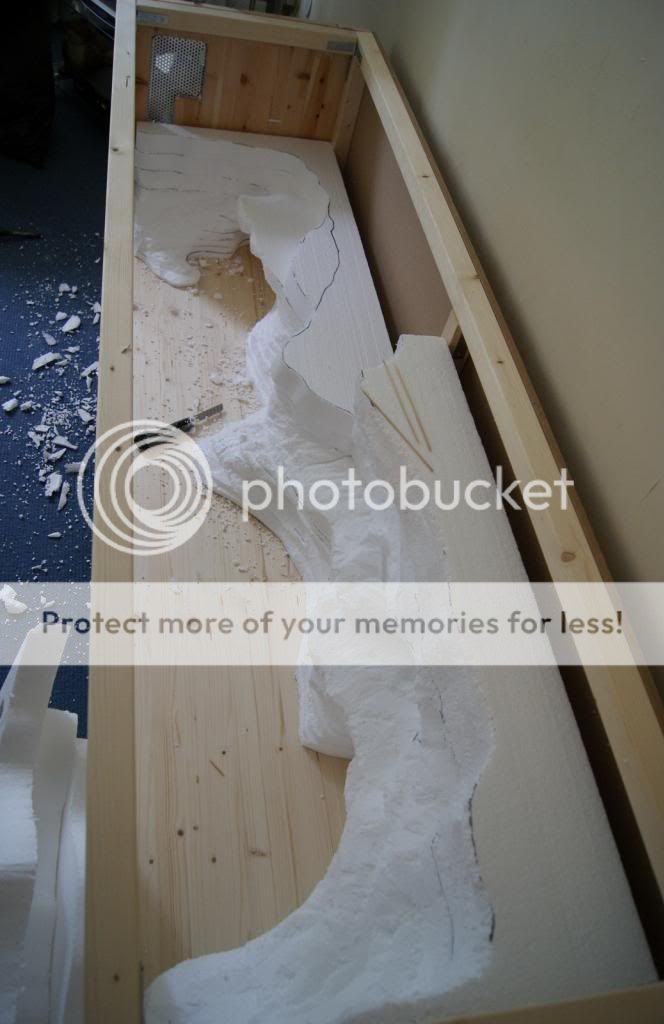
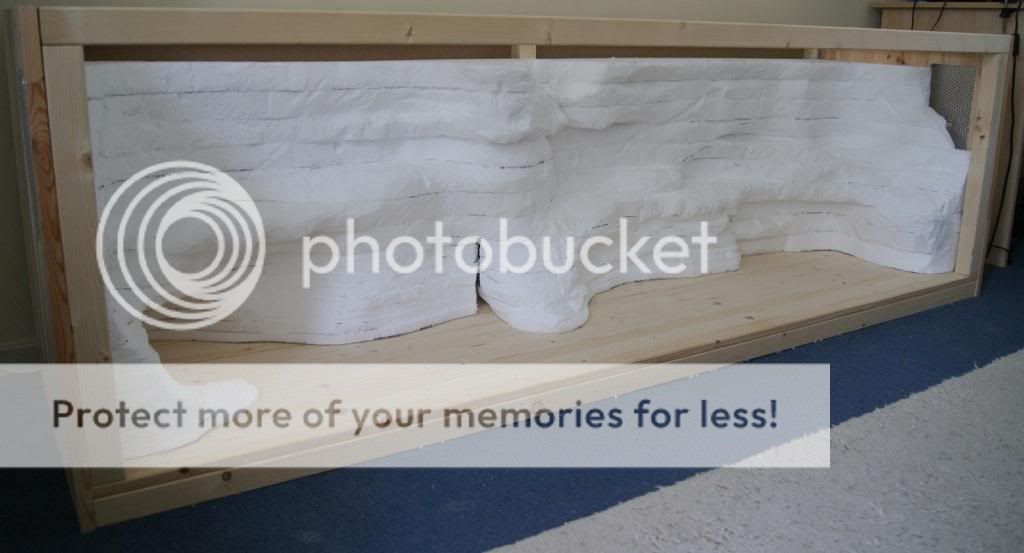
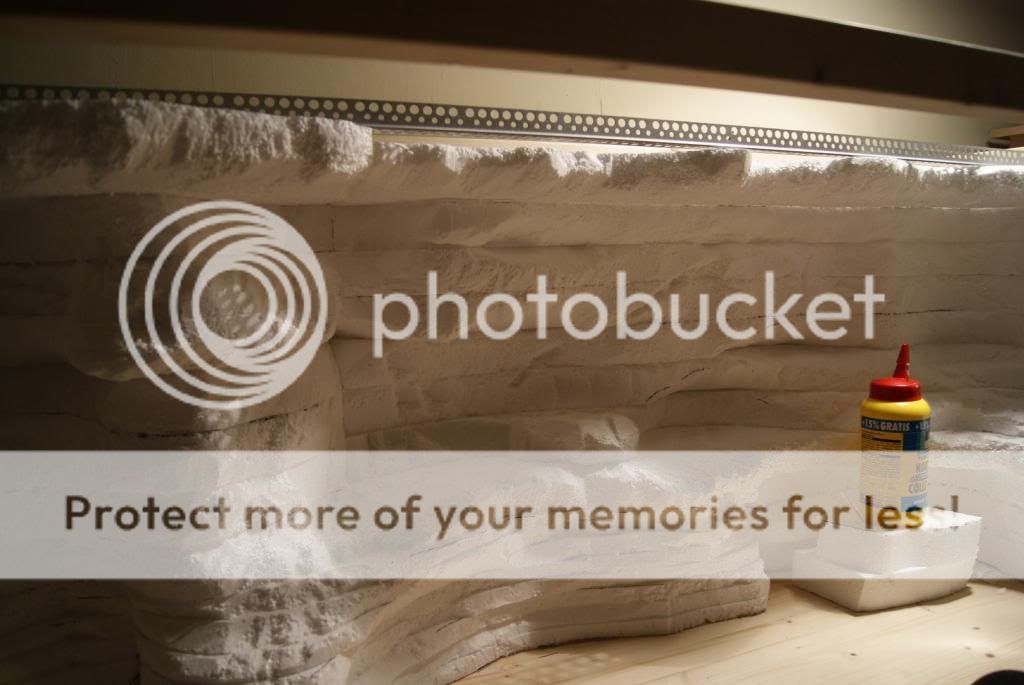
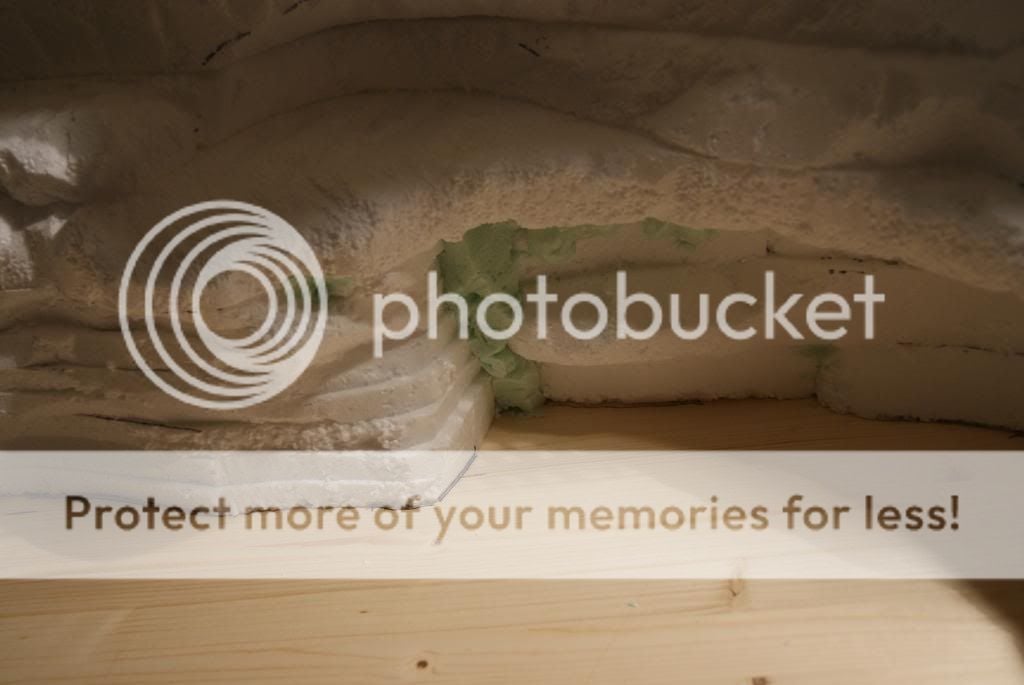
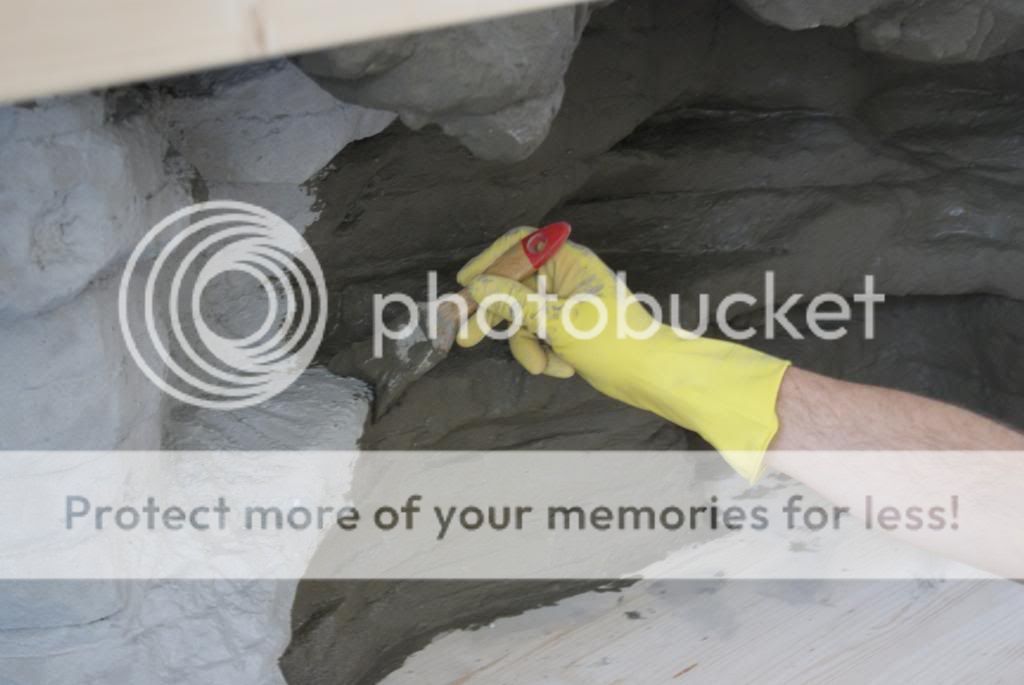
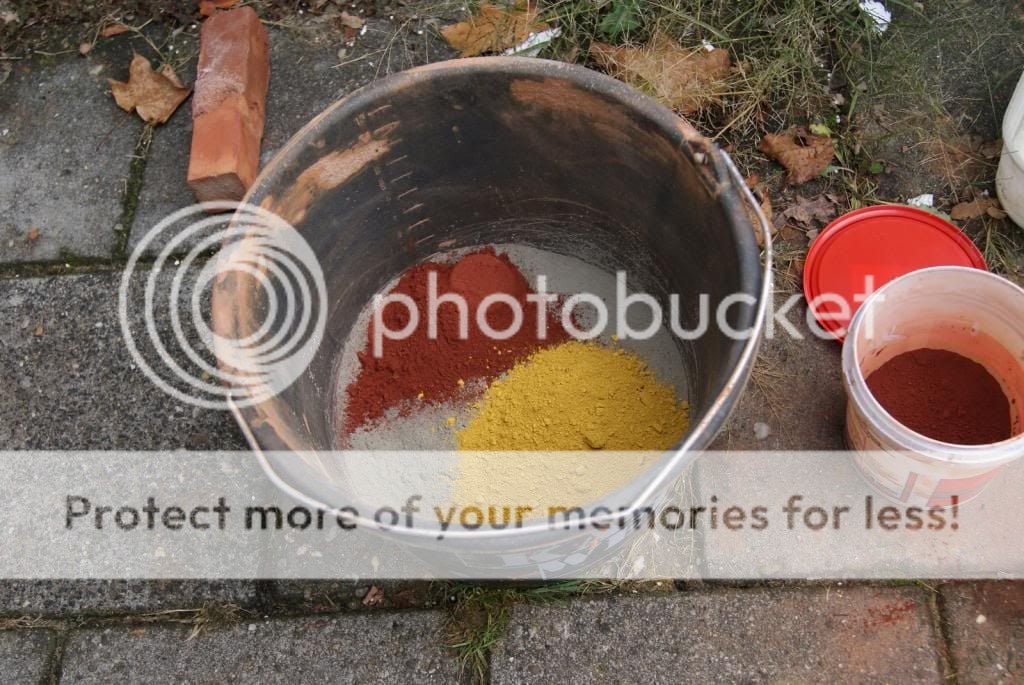
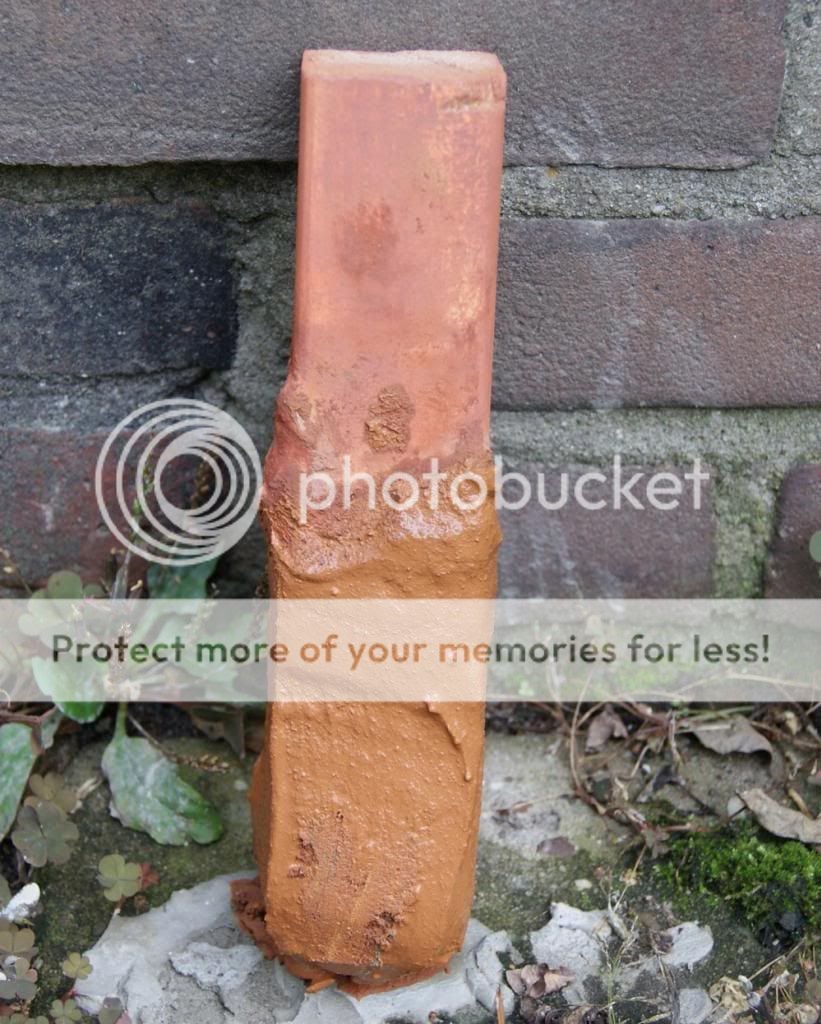
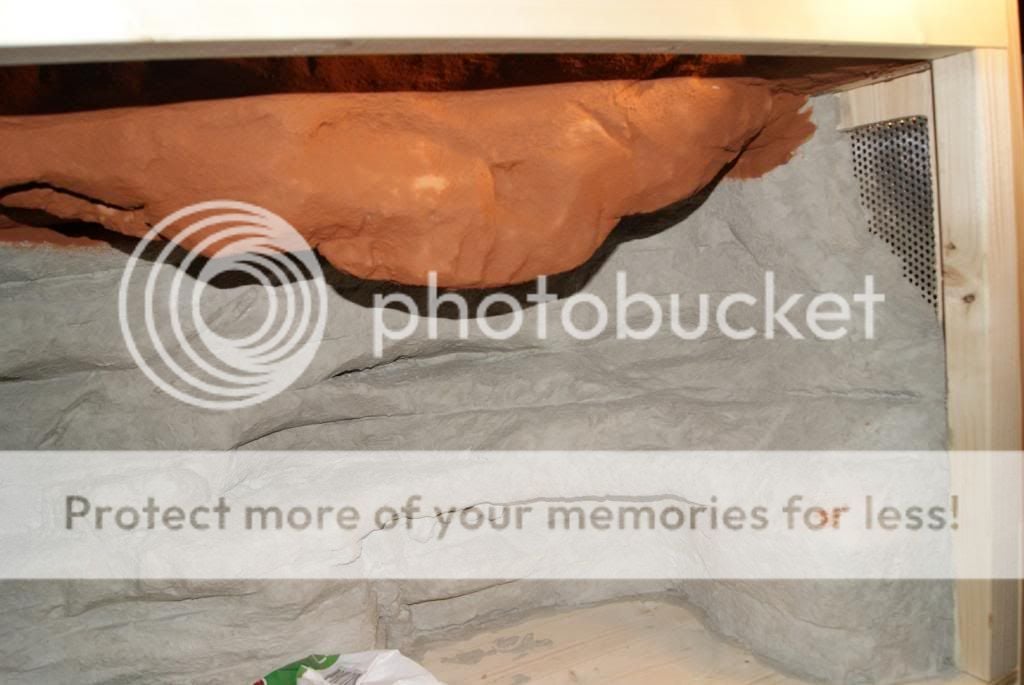
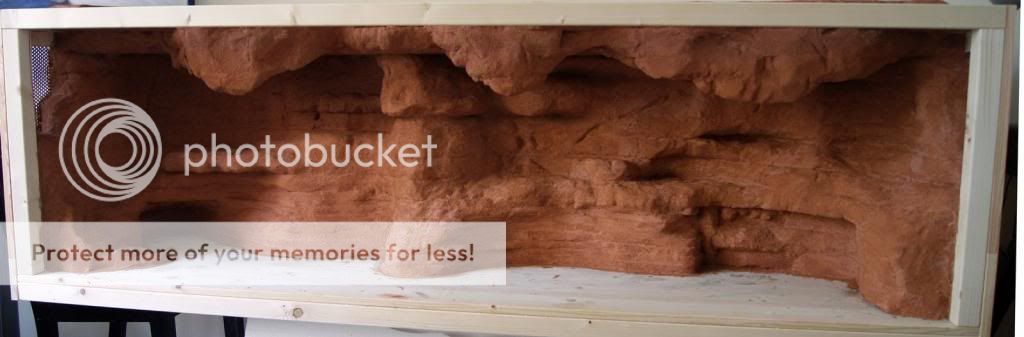
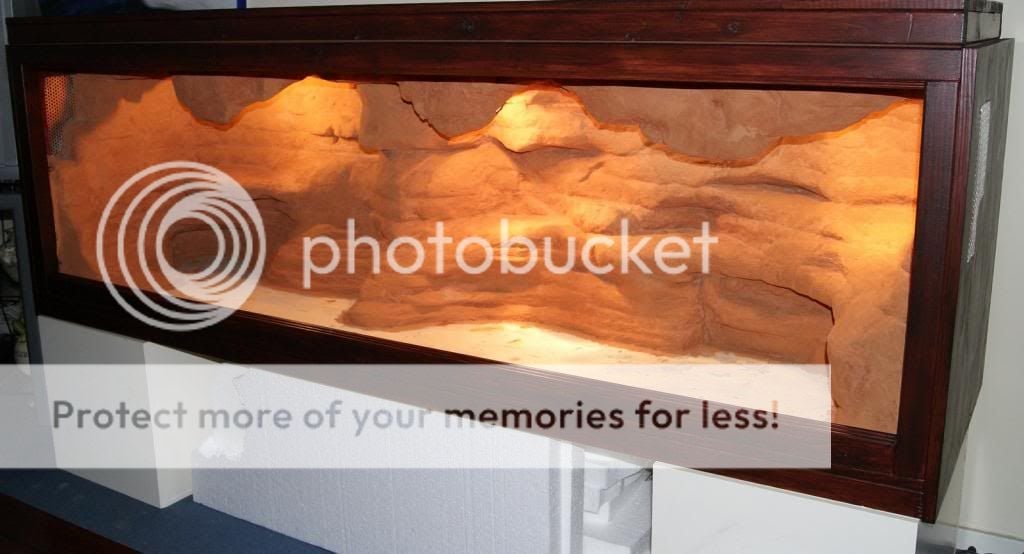
The next step is the red rock background, but that will be in a later post. :)
 

dragonov

Hatchling Member
Original Poster
Thx, hopefully the dragons will agree with you.. :lol: Ok, so the next step is shaping the rock background. I am going for the styrofoam and tile adhesive route and I am aiming to make it look as realistic as possible for them. From what I can find online the rocks in their natural environment in Australia are pretty much all red, so that's what it will have to look like. I want a background they can move around on, so it wil increase their living space or at least not take away from the floor space too much.

I started on the bottom and I am working up towards the ceiling. I want to close the whole back and sides up so that there won't be any openings for crickets to get behind. In the first pic I finished cutting the bottom sheets of styrofoam. I switched from the thinner sheets on the left to the 2" sheets on the right, because I hated having to glue all those thin sheets of styrofoam together all the time. With the 2" ones it takes only three for 8 of the thinner ones.

background2.jpg


For shaping the styrofoam I am just using an Exacto knife. Some people use torches/lighters or paint strippers, but I found that not very easy to control and it also rounded everything off too much for my liking. With the knife you can make nice ridges and cracks and what also worked was just scraping it sideways over the styrofoam to get rid of the artificial look. It does make a big mess though, and because I don't have a work shop or something I found styrofoam about everywhere in our livingroom afterwards.

background3.jpg


Here's a pic from above to see the progress. I used the wooden skewers to help the layers stay in place. To glue the layers together I used left over wood glue and in every layer I stuck at least two wooden skewers to prevent it from sliding.

background4.jpg


Here it's almost to the top. To make it more realistic I made random indentations that run through different layers.

background5.jpg


The next sheet of styrofoam I had stick out more towards the front to create a small ceiling, because I don't want the beardies to be able to climb all the way to the top.

background8.jpg


Here's a shot of the ceiling from above. The metal strip is there for the lights to be mounted on later. I found it in the hardware store, they use it to protect corners of drywall and plastering.

background7.jpg


Next I used expanding PU foam to fill in all the gaps between the background and the viv and also all the gaps in the background itself. I really really want to make sure there's no place for crickets to crawl behind it somewhere. After expanding and hardening the foam was really easy to cut and I cut it to match the background.

background10.jpg

background11.jpg


Because the PU foam expands so much (at least doubles in size) and sticks so well it gave me the idea to use it for attaching the metal strip as well. This way I can elevate it a bit more above the ceiling and position it in the angle I wanted it in.

lightrail1.jpg


That actually worked really well. The excess foam I cut off the top and the strip sat rock solid. I also used the foam to fill the edges around the ceiling. (If you are wondering about that weird expansion cord connector on top btw, that's because I'm currently living in Europe.)

background9.jpg


Next pic is of the positioning of the light fixtures. I am going for two basking spots (the ceramic fittings in the middle and all the way on the right) to prevent competition for one spot. I'm making the right side of the viv the hot side with a UV light in between both basking spots. On the left will be the cold side with a little cave to cool down in and just one light for extra lighting.

lightrail2.jpg


For the ceramic fittings I used a leftover piece of the metal strip to connect them to the strip. The UV light and the other light will be low wattage, so I used regular fittings for those and they came with handy attachment parts that bolted right onto the metal strip.

lightfixture1.jpg

lightfixture2.jpg


Finally a pic of the light fixtures all attached. If you are wondering where the wiring will go through the viv to the outside.... I am too because I forgot about that.. :lol: I guess I'll fix that later when I start wiring it.

lightsfixed.jpg


I noticed the lights would be very present in this setup, so I looked at a way of covering them in the front. The commercial vivs I have seen often have a black cover in front of the lights, but I think that would mess a lot with the realistic look I am going for. Because I also don't want to look right into the lights all the time I thought to try to cover the lights with more rock, but this time hanging down the ceiling, like overhanging rock. I must say I developed a liking for styrofoam..lol.. because that stuff is nice to shape into almost everything.

lightcover1.jpg


To really prevent the dragons from climbing to the top I made the overhanging rock extend to the sides and front. This way there is an overhang and ceiling above every wall except the glass front.

lightcover2.jpg


Next pic is of the light covers done. As you can see I also fixed the little problem with the power cable going out of the viv...lol. It does mean I had to get more PU foam to fill that hole again, but I needed some for the light covers anyway.

lightcoversdone.jpg


And here it is! The background fully shaped and ready for the grouting job. I used plenty of expanding PU foam to securely attach the overhanging rocks and to fill out any gaps that were left. It's actually nice that some of the PU foam came out looking like loose rocks stuck in the overhanging rocks.

background12.jpg


That's it for now. Next post will be about the grouting of it all! :blob5:
 

Falconeer999

New member
I see you mention fixtures for basking lights and CHE but I don't see one for a UVB tube? What are you using for that?

The seriously looks like a nice enclosure and I may copy some of that (on a smaller scale - I don't have 6'8" of room to work with!).
 

dragonov

Hatchling Member
Original Poster
I'm not going to use CHE, but I have ceramic sockets for the two basking lights in case they get too hot. The other two sockets are for a regular light bulb and for a UVB compact coil lamp. I've read on here that people don't like the coil UVB's much, but this one will be positioned at least a foot away from each basking spot (right in between them) and the nearest ground, preventing over exposure problems. I have actually adjusted the position of the right two fixtures for that since the last post, lifting them up a bit.

After shaping the background it was time for putting on the tile adhesive. I have used the cheapest basic grey powder adhesive, because I am going to color it orangy red in the third layer anyway. I watered the first layer down to a runny olive oil like consistency, mainly because I've read online that was the way to go and it makes it easier to get it in all the corners and cracks. For the first layer I used about 5 parts of powder to 3 parts water, which does make me wonder about how that will affect the strength of the adhesive a bit though... :? I guess I will find out at some point...lol.

tileadhesive.jpg

layer1.jpg


It took about a day for the layer to dry and the color difference is amazing, when dry it is pretty much as light as the powdered form.

layer1dry.jpg


Next two pics are of putting on the second layer. I used a (maybe slightly runnier) toothpaste like consistency for this layer.

layer2.jpg

layer2detail.jpg


Here's the second layer drying. I love how it already starts to look more like real rocks! The deeper cracks in the background took over 2 days to dry actually, so I had to wait a bit longer for the next layer.

layer2drying.jpg


For the coloring of the rocks I've decided to use concrete coloring instead of painting the rocks. I have two reasons for that. The first one is that the rocks are completely 3d, so I don't need to put in artificial shading or anything like that to make them look real in my opinion. The second one is that without using paint I don't have to seal in any paint and I would like to leave the rocks unsealed to get the best possible realistic look. This way the dragons and the cleaning up after them will stain and discolor the background over time, what most likely will give some kind of a worn look. (I hope I am not going to regret this one later... :lol: )

In the US there's liquid concrete colorant for sale at Lowe's for example, but overhere I could only find powdered colorant for cement based mixes. They didn't have the orangy red terracotta like color of the rocks so I went with pure red and pure yellow and decided to mix them half and half. I mixed two ice cream quart sized containers of tile adhesive with two shotglasses of red and two shotglasses of yellow and mixed it all together.

coloring1.jpg

coloring2.jpg

coloring3.jpg


According to the instructions on the colorant it is very important to first mix all the dry components and only then add the water. I did notice that only after adding the water you can really see what the (wet) color will look like. If you look at the pic of the piece of wood I used to stir it with you can see the huge difference in color between before and after adding the water.

coloring4.jpg

coloring5.jpg


The color came out pretty good I think! Because the powder colorant is not totally mixed in exactly the same everywhere, it has differences in the red which makes it dry up pretty realistic looking in my opinion.

coloring6.jpg

coloring7.jpg

coloring8.jpg


After that I finished the wiring for the lights. I just mounted an extension cord inside the viv and plugged in the lights like that. I plan on using a timer for all the lighting together, but I could still use timers for separate ones by plugging them in there too. In the first pic the lights are in the original position, but in the third pic you can see the adjustment I made to position the coil UVB and the second basking light in the right position. Where the lights came close to the background, I stuck a piece of heat reflecting aluminum radiator foil on the rocks to prevent it from being damaged by the heat, just to be sure.

wiring1.jpg

light2.jpg

lightsadjusted.jpg


So here it is with the lights on for the first time! I still need to do some tweaking, but it starts to look like something. The lights come across extremely yellow in the picture, but that's just bad photo taking on my part.. :)

lightsonfirsttime.jpg


Alright, next post will be about painting and getting ready for the windows! :blob5:
 

dragonov

Hatchling Member
Original Poster
Last post I forgot to mention I put two coats of colored tile adhesive on, so there's 4 coats on in total. I think that should be strong enough to deal with whatever the future beardie will throw at it...lol.

With the background done and me not having to mess with it anymore, I mounted a piece of wood in the front that will hold the bottom runner for the sliding windows. I want it to be a bit elevated and not on the bottom, to prevent sand and whatever else to get stuck in the runner of the sliding windows. I used wood that was slightly thinner than a 2x2, because the background grout got in the way on the front frame posts a little.

frontbottom.jpg


Next it was time to put in the runners. I am going for 4mm glass, so that would be about 3/16 inch thick. I used a good amount of liquid nails to attach the runners, making sure I put the taller one on top.

railtop.jpg


In my original design I had planned (see top of this post) for the runners to be visible, but when they were in I thought they looked kinda ugly. In the hardware store I found two tiny decorative wooden strips (I don't know what those are used for, maybe for furniture or picture frames or something?) that could exactly cover the runners from the front, so I glued those on with wood glue. That turned out pretty cool I think.

railbottomdetail.jpg

railtopdetail.jpg


And here's the viv with both runners in! :D

railsdone.jpg


Being all excited about the runners finally in I tried to order glass for it based on what I had measured with my tape measure. The guy actually refused and told me to make a piece of fiber board fit in the runners and measure that piece of board and order after that! I am very glad he told me that, because after making the fiber board fit it showed I had been wrong about a fifth of an inch and that would totally have made it impossible for me to get the windows in... :lol: Now I still have to order the glass, but at least I know what size I will need.... :p

windowfitting.jpg


I went on with staining the viv. I put three layers on in total, I started with a dark mahogany and finished with two layers of nut color.

painted.jpg

painted2.jpg

painted3.jpg


Now I'm waiting to order glass and after that I can start looking for beardies! I'm hoping to find two mature ladies somewhere. Will probably be somewhere around Christmas!
 

ju5t1n

Juvie Member
Wow that's looks great!
I like the color stain and how you hid the lights with the background.
Can't wait to see the other 2 vivariums!
 

SpitFyre

Sub-Adult Member
Oh my gosh, this is amazing. First off, I LOVE the color you used for the rock. Second, the way you made the rocks' shape so realistic was really cool. Third, loving the "recessed" lighting. It looks great. Fourth, the color you used for staining the wood was nice. I really don't like the yellowish brown stains like this, but dark colors always look good.
Whatever beardie you decide to get will be a lucky lady indeed.

And now I am feeling ashamed because I am quite handy. And am stuck with a prebuilt tank.
 

dragonov

Hatchling Member
Original Poster
SpitFyre":6kra24ha said:
Oh my gosh, this is amazing. First off, I LOVE the color you used for the rock. Second, the way you made the rocks' shape so realistic was really cool. Third, loving the "recessed" lighting. It looks great. Fourth, the color you used for staining the wood was nice. I really don't like the yellowish brown stains like this, but dark colors always look good.
Whatever beardie you decide to get will be a lucky lady indeed.

And now I am feeling ashamed because I am quite handy. And am stuck with a prebuilt tank.

:D thanks for the nice comment! no need to feel ashamed lol, and it's never too late to start your own project of course!
 

dragonov

Hatchling Member
Original Poster
All done except for the sliding windows! :blob5: Going to try to get those today. Added substrate, bowls and also some fake dry grass today to give a bit of an "outback" feel to it.. :lol:
sand_zps0bb0b188.jpg
 
Status
Not open for further replies.

Members online

No members online now.

Still Needs Help

Latest resources

Latest posts

Latest profile posts

Getting ready for another day. Feeling sleepy. 😴
I just walked into my room and instead of looking at me, Swordtail's eyes darted directly to the ice cream drumstick I'm holding
Finally replaced Swordtail's substrate
I miss you so much, Amaris 💔
What is a quick way to warm up a cold beardie? His heating element went out overnight and now he's very cold.

Forum statistics

Threads
156,041
Messages
1,257,105
Members
76,044
Latest member
SunshineP95
Top Bottom