Time to upgrade enclosure

Status
Not open for further replies.

KevinMcG

Member
For the last few month my little guy has been thriving in his 20l but he is starting to outgrow it so the search was on.

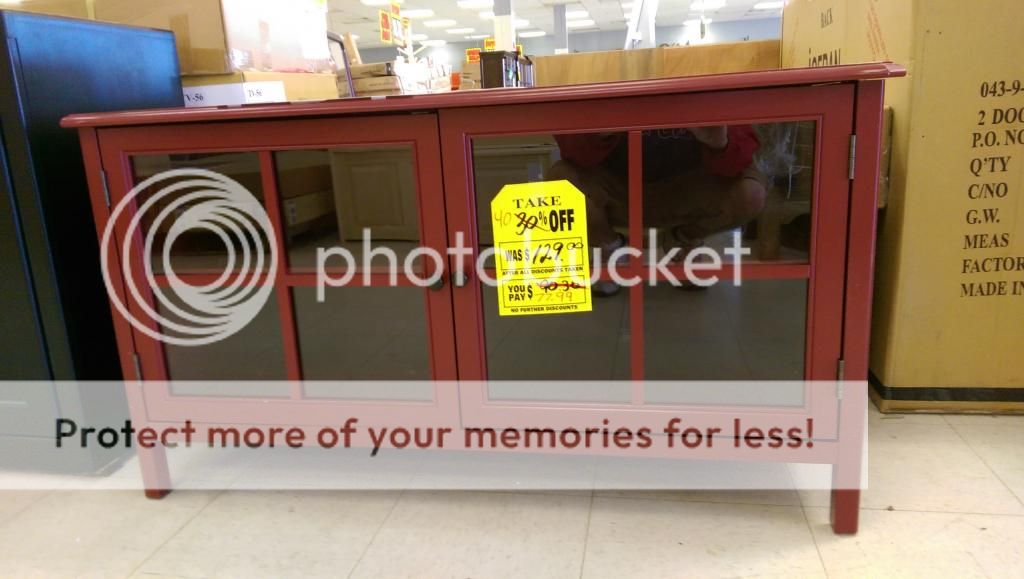
Found this gem in a local store going out of business for $78


Got it home and built it without adding the inside shelving


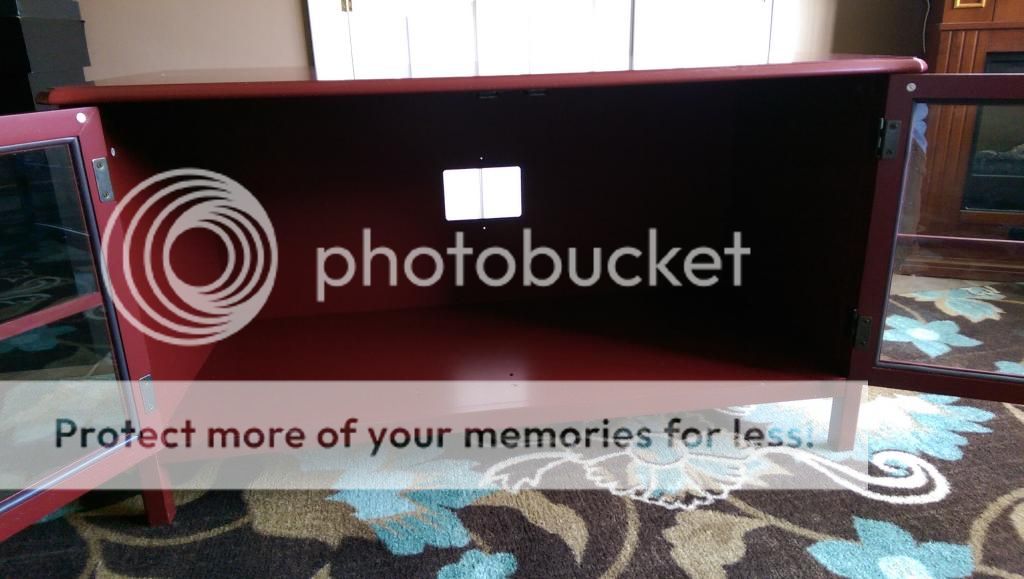
inside dimensions are not optimal but I'm sure will be fine for the next year or so at 40"long x 18" deep x 18" tall. Now the fun part, adding all the goodies such as ventilation, lighting & basking areas etc....

Suggestions are obviously welcomed :D
 

Taterbug

BD.org Addict
Nice find! I'm sure rocky will be pleased with all the new space.

In your other thread you mentioned you don't want to cut into the lid? I'd consider at least a hole on one side for the basking light.

At least for the basking light that will limit you a bit. One user on here used articulated sockets to aim the basking light across the tank using a halogen spot/flood, you'd need to be extra careful of cool side temps in this case. I have mine on the warm side shining down in my 24" tall cage. I got the thinnest socket I could find and it still hangs ~7" down including the basking bulb (again, shortest I could find) I'm still disappointed in the vertical space though. In your cage, after a minimum 6" safe distance... You'll only have 5 inches of height to work with... Not much room for climbing features. Mouting the basking light on the side of the enclosure might help, but that will limit the style of bulb you can use to incandescent globes.

For uvb, maybe look into mouting a 22" T5 w/ a reflector up in the front edge.
slimline-luminaire-01.jpg
 

KevinMcG

Member
Original Poster
Ugg I didn't take into effect the light fixture hanging down limiting the space in height. Looks like I will cut a hole for the basking light but need to be careful about the size cause the dome fixtures I currently use get pretty hot.
 

KevinMcG

Member
Original Poster
Got a lot done today :blob5: :blob8:

-Used DUCK brand shelf liner on the floor to act as a barrier between the wood of the cabinet and the slate tiles I plan on using.

-Tiled all three sides with the exception of the top back, still have to attach the vents to the inside which will look like it does on the outside of the back of the enclosure then complete the tiling.

- Added all the vents on the sides.

Tomorrow I will attempt to find the slate tiles for the flooring.


Pictures


Status
Not open for further replies.

Members online

Latest resources

Latest posts

Latest profile posts

Mirage entered brumation yesterday, I'm gonna miss hanging out with my little guy.
Getting ready for another day. Feeling sleepy. 😴
I just walked into my room and instead of looking at me, Swordtail's eyes darted directly to the ice cream drumstick I'm holding
Finally replaced Swordtail's substrate
I miss you so much, Amaris 💔

Forum statistics

Threads
156,086
Messages
1,257,585
Members
76,069
Latest member
mommatojack
Top Bottom