DIY Custom Background *Done 1/29!*

Status
Not open for further replies.

Evergreen

Juvie Member
EDIT: Finished January 29th, I've added a final picture and edited the info below so everything is up to date.
________________________________-------------------------------------------------_______________________________________
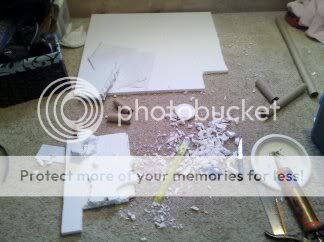
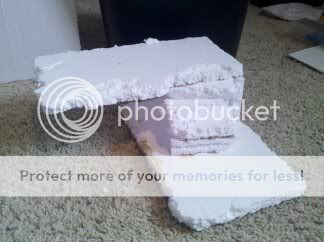
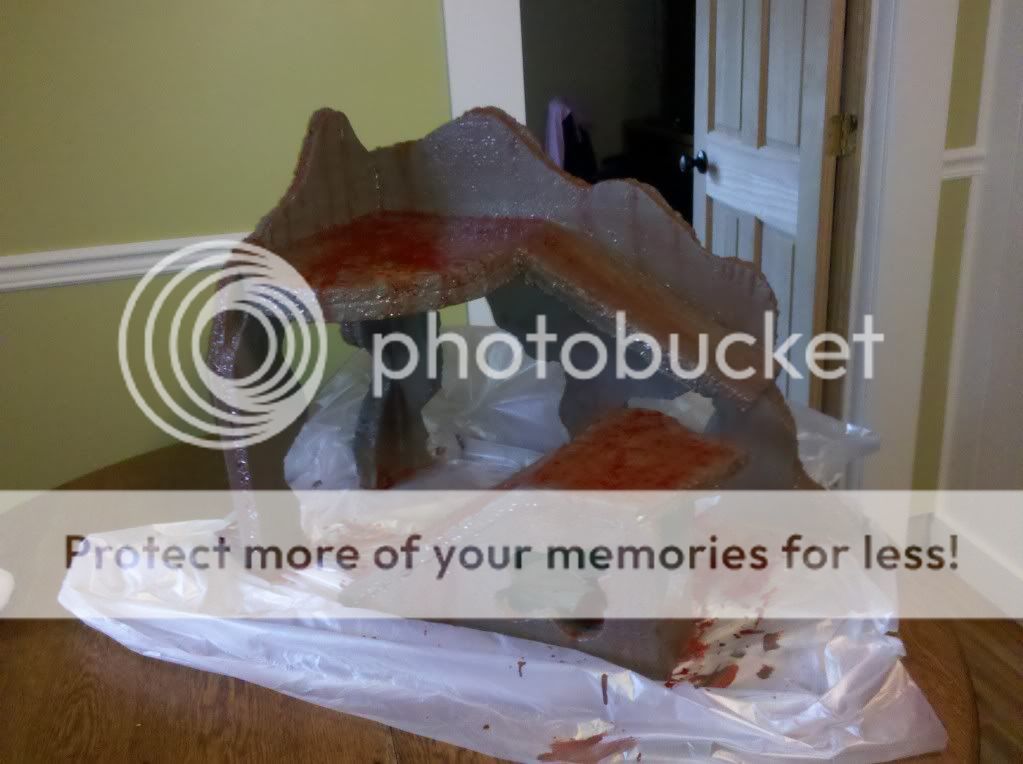
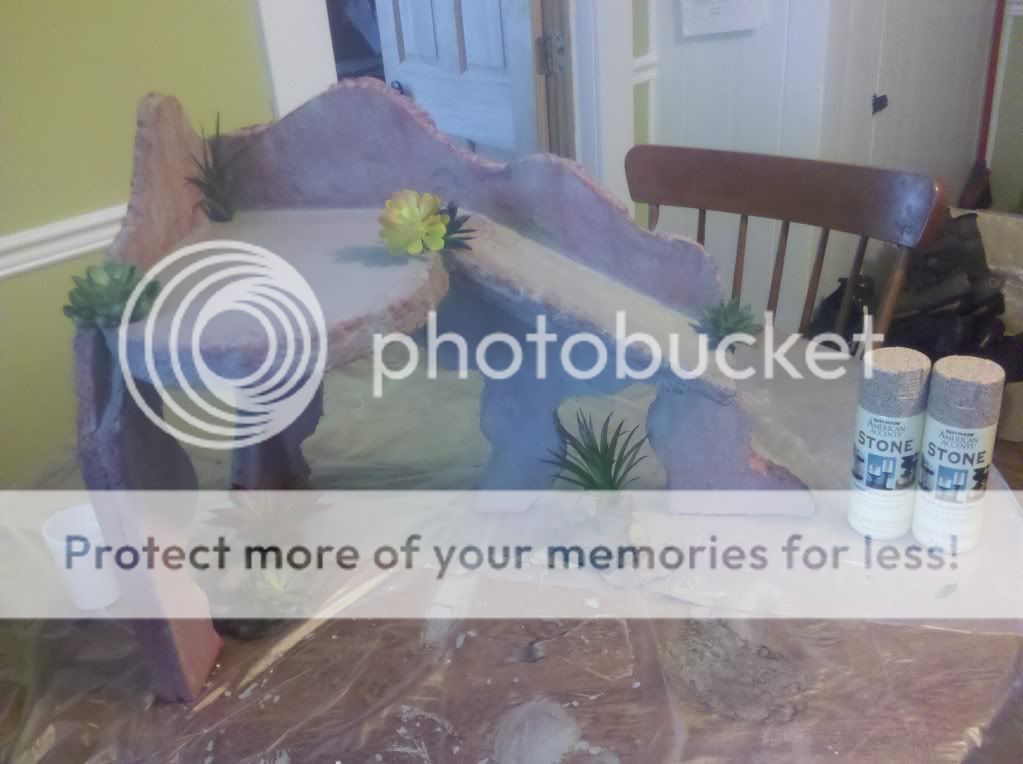
I'm not a crafty person but I thought I'd try my luck at the Styrofoam-Grout structures. I had never even heard of these a week ago but my other ideas fell through and this is a great way to spend the cold winter break until spring semester starts.

The Tenant: Felix; my boy from Rio Reptiles. He's an "intense red tiger" and hatched on 8/12/11.

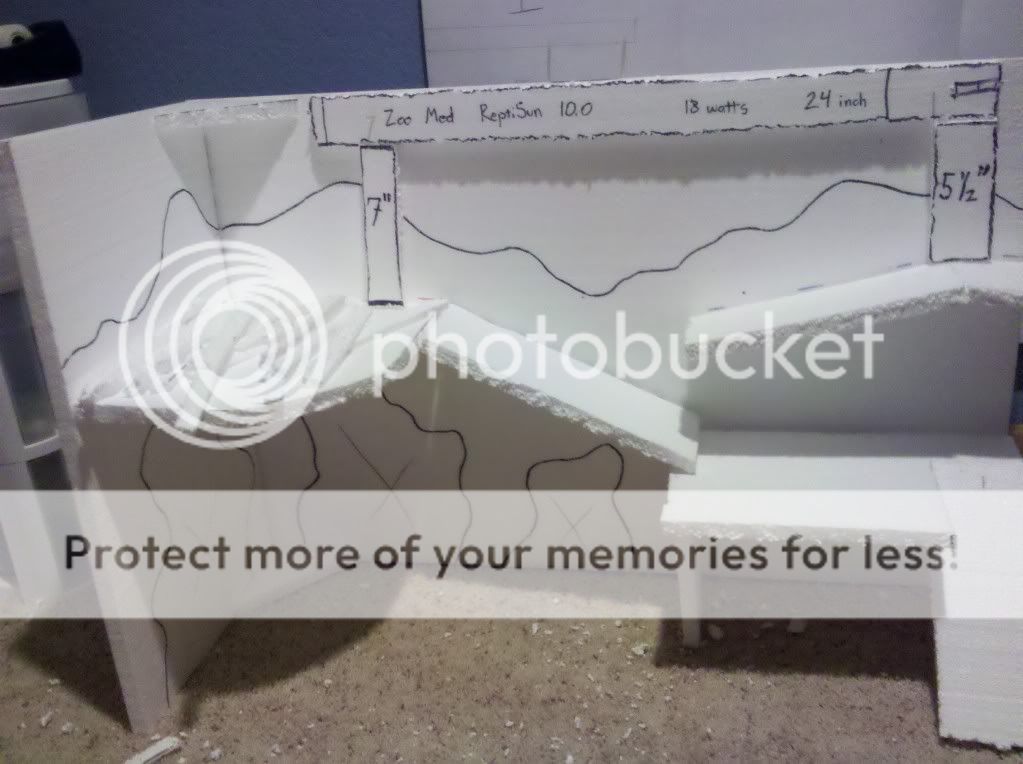
The Plan:
Turns out I don't work well with laid out plans so by the time I finished I had pretty much winged it...

Materials and Costs: (I'll keep it updated as I progress)
(2) 3/4" Styrofoam Sheets 4x8 = $3.33 each
(2) Canister Liquid Nails = $2.79 each
(1) Container of Modge Podge sealer = $7.99
(2) cans of rock textured spray paint = $8.00 each
(?) fake plant decorations = $20
(1) 800 count Toothpicks = $1.69
(1) paint brushes = $2.5
=roughly $60 from start to finish.
**I would only have needed 1 sheet of styrofoam and one canister of liquid nails for what turned out to be the final project but I had quite a few little practice pieces on the way.
*We had grout leftover from remodeling so I did not have to purchase any

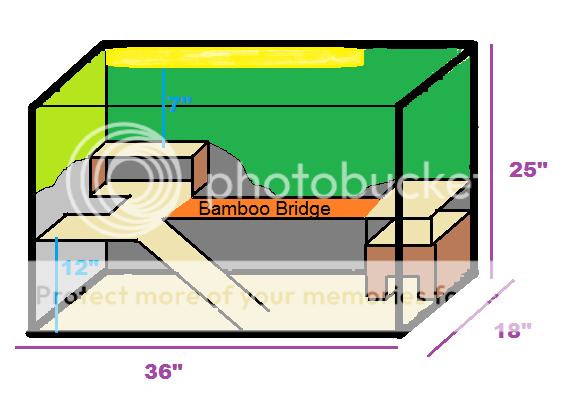
The Tank: 70 (or 50?) gallons at 36x18x25". It's not the prefect tank and it will be difficult to get in there even with a chair but I've spent enough time trying to think of ways to make it work that it's defiantly not going anywhere now (and it was only $60 for the stand and tank) so unless I find something better on Craigslist this isn't going anywhere!

tank.jpg

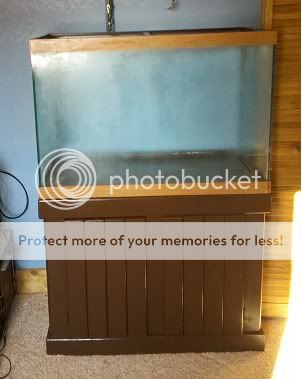
*just over 4 feet tall with stand.
________________________-------------------------------------------_________________________________
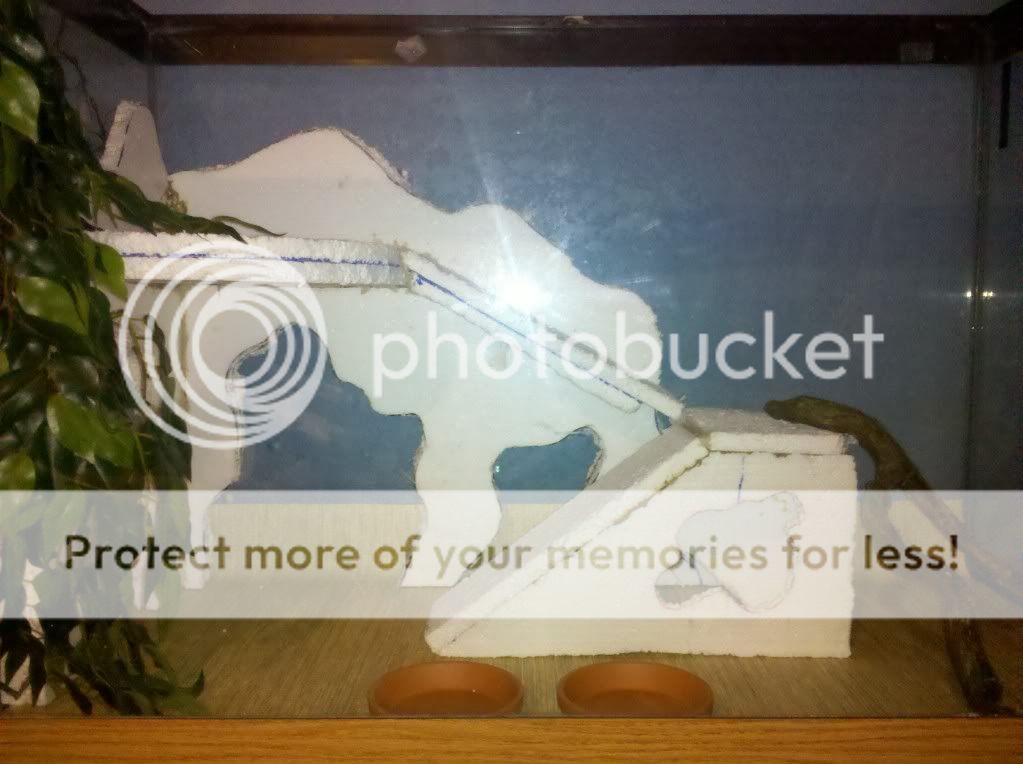
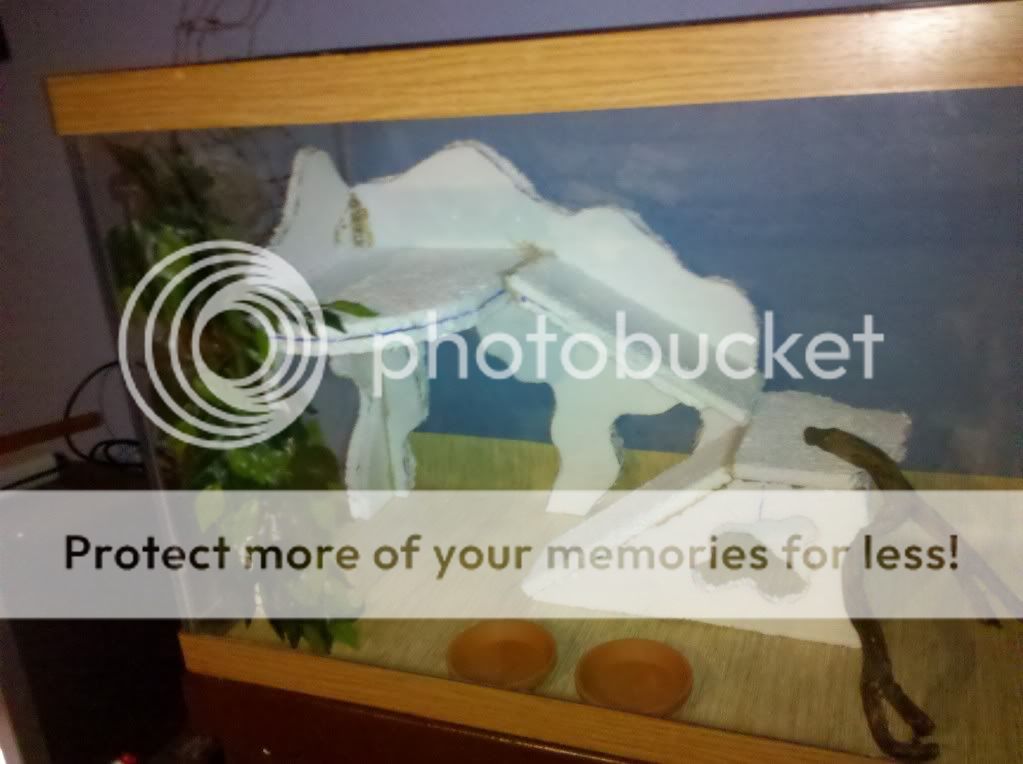
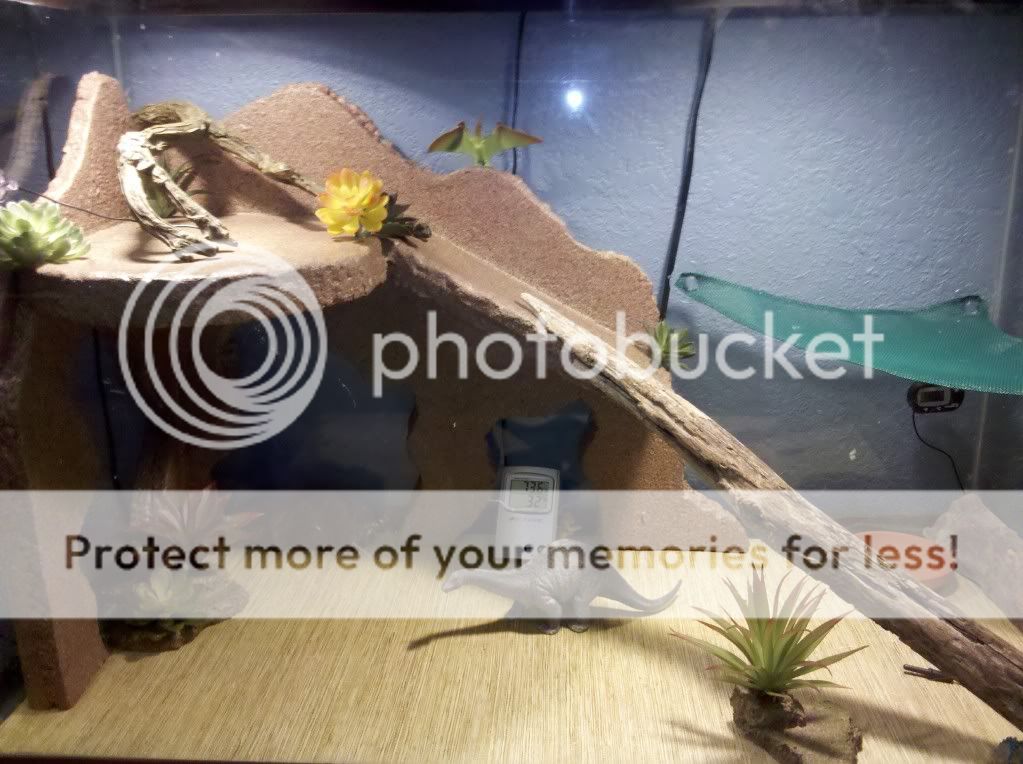
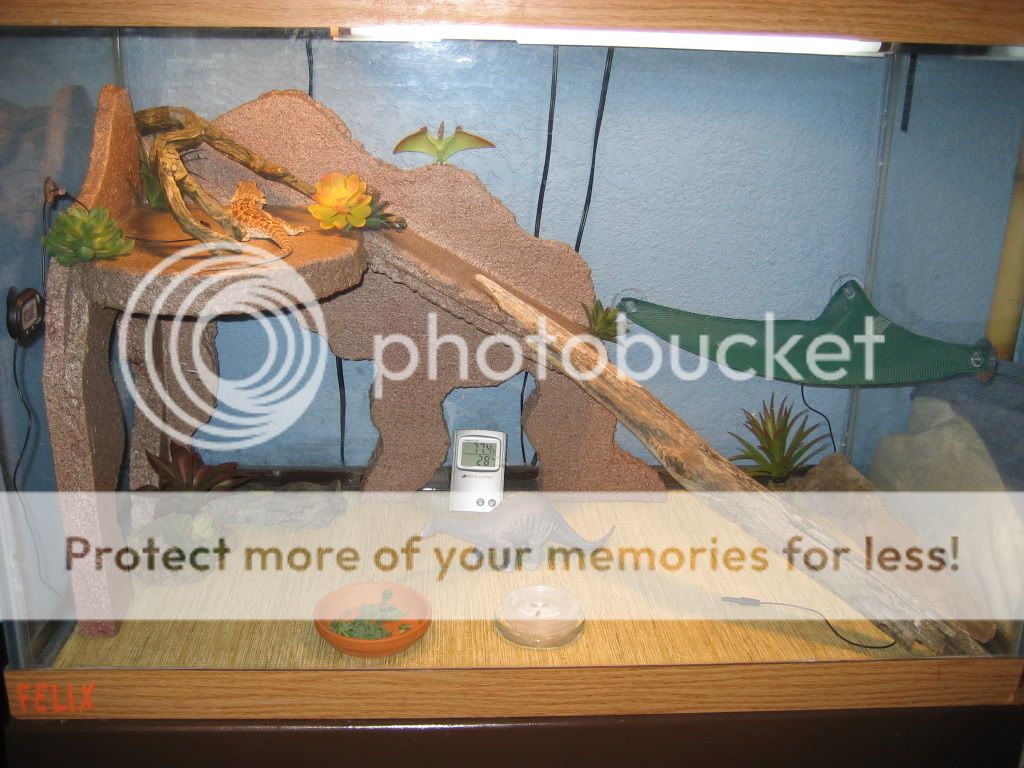
AFTER- still room for improvement but the DIY part is done
082.jpg
 

BadCon

Sub-Adult Member
Get a regular brush, not foam. The foam won't be worth a darn when you're trying to spread grout, and it won't be as effective at getting in the nooks and crannies. I get the cheapo bags of brushes at home depo, and 1 brush lasts a long time, just rinse it out after each layer of grout.
As for that tank, you'll definitely want to double check the width. Should be at least 18", as you need ample floor space for a bearded dragon.
 

Evergreen

Juvie Member
Original Poster
I just ran outside to measure the tank and it is (LxWxH) 36x18x25. I can't find any standard tank that fits these measurements but the calculator says it's about 70 gallons. The previous owners told me it was a 55 gallon so I honestly don't know the history of this thing, maybe it was custom made at some point. I plan on buying the 24" 10.0 Reptisun blub and I will be installing it under the screen to accommodate for the height of the tank.

Thanks for the heads up on the brushes, I'll pick up a bristled brush when I buy the grout and sealant.
 

kjinxx2

Sub-Adult Member
I suggest you use 1" thick pink insulating polystyrene from Home Depot, it is much stronger and rigid and keeps the grout from crumbling off - It's a little more expensive @ ~$12.00 for a 4' X 8' peice but it is well worth it ;)

Let me know if you need any help (or if you give up and want me to build you one :p - see link below)

Ken
 

Evergreen

Juvie Member
Original Poster
kjinxx2--I was standing in front of the pink foam and this white foam for probably 20 minutes poking each one trying to decide. When I was looking at other people's projects it looked like they all used the white stuff so I went with that even though I had your suggestion of the pink stuff written down! I might just go back and pick up a sheet for the things that require more structure. And I could very well get back to you, I already feel like giving up!
___________________________
EDIT: Final Plan below (The purple measurements are accurate measurements of the tank but the blue 12" has been changed to 9" so the hide on top could be bigger. The right basking platform above the hide has also changed a bit.)

GREEN: this will be either clear glass or I'll get one of those plastic sheets to put behind the glass
GREY: This will be the fake rock background.
TAN: The ground will be tile but other than that the brown and tan will be made from the fake rock
YELLOW: That will be a 10.0 Reptisun 24" bulb that is under the screen.

Yup, that's from Paint. I have 0 drawing skills and no other programs!
TankSetup3-1.png


I changed quite a few of the dimensions to make it more suitable for an adult dragon but other then that the picture above is my outline. I just starting cutting and I really hope this works out!

EDIT: Well I made both the basking platforms but I've lost a lot of steam and am rethinking it all. Maybe I should just get a different tank...
 

BadCon

Sub-Adult Member
Your tank is ok, decent sized for a dragon. The height will bode well for a custom rock background. The problem a lot of people make is to bite off more then they can chew at the start. I say you make a couple of simple structures to start, get a feel for the process, and go from there. I've been making these for years, and the first few I made turned out...um...very average looking :oops:
But once I got the hang of it, I was able to produce this:
PC038.jpg
 

Evergreen

Juvie Member
Original Poster
BadCon-- Wow, that looks fantastic! It's from wall to wall in the back, how did you know how big it would get after all the layers of grout?

Here are a couple pictures of my first structures. They were what I was thinking of when I drew out the plan but they just didn't look big enough for an adult dragon to maneuver. The paper towel tubes were just place holders so I could easily mess with the heights without having to waste Styrofoam.
Phonedec11357.jpg

Phonedec11385.jpg

Phonedec11354.jpg


*This one I still like, I think I'll go ahead and finish it and use it in my 20L for a baby dragon. (whoops, it was huge but when I tried to re-size it it got very small. It's the same as the thing on the left in the above picture though)
Phonedec11380.jpg


**Here is what I'm working on right now. I'm holding it together with toothpicks so it's easy to move until I'm satisfied. The ramps going up the wall are 4.5" wide with a 2" gap between structures. The back is the exact size of the back of my tank and the side is just a couple inches shorter.
Phonedec11382.jpg

(and I got a little distracted and made myself a dragon. Her name is Avalon and she's 17" in from head to tail for size comparisons.)
 

BadCon

Sub-Adult Member
Looking good. One thing I've learned is that tall grout structures on tall skinny foam grout legs never really work out. Its too hard to get all the legs the exact size, so it tends to be a bit wobbly. If you make the legs out of something else, or just attach that structure to the back wall, it will be a bit more secure (you may have already been planning that, so ignore me if I'm off the mark). Also, the ledges on that background should probably be doubled up on foam, for more strength.

Also, with that entire thing being made of foam, its going to be really difficult to move without breaking unless you make the thing inside the enclosure with the foam already attached to the back wall (which itself would make this a lot harder to do and a lot messier). Not to mention it would be pretty heavy when its all said and done. It might actually be a good idea to make it in 2 or 3 pieces with seems. Then you can move it piece by piece inside the enclosure.
On that big structure I have pictured above, I made it oustside the enclosure and reinforced the back of it with wooden doweling, and reinforced the ledge with steel brackets. It didn't really need the brackets, but I wanted this thing to last a long long time. I left approximately a 1/4" gap on either side of the foam and the enclosure to leave room for grout. I typically apply about 1/8" of grout to flat surfaces on my structures, and it fit like a glove when it was time to transfer it to the enclosure. With it being one piece, the transfer process was a bit scary, but it held nice and strong.
Also remember that dragons love nice tight spaces, so it doesn't have to be super tall or super huge...something they can crawl into or under would be very much loved by a dragon.

Here is a link to some of the structures I've made, perhaps they will give you a bit of inspiration. Its never a bad thing to start small remember...I started with some very rudimentary structures before I ever tackled an entire wall. Anyways, good luck and have fun! http://s227.photobucket.com/albums/dd278/pzev/Bearded%20Dragons/Basking%20Platforms%20and%20Enclosures/
 

kjinxx2

Sub-Adult Member
BadCon Gabe you some great advise. I'd like to also recommend using a layer of sackrete and wire lathing, it adds tons of rigidity and helps the grout stick.
 

Evergreen

Juvie Member
Original Poster
Thanks again, that's all extremely helpful. I do have a support thing in the middle of my tank so I'll have to cut it in half or thirds. I plan on using Velcro for some extra security when it goes into the tank but I don't want to do anything more permanent then that since I'm sure I'll want to change it at some point.

kjinxx2-- I'll defiantly use the wiring to support those tough areas, last thing I want is for my final structure to fall apart!

IMG_20111211_184206.jpg

Here is what I'm looking at right now. I don't want a solid wall so the areas in the bottom that are crossed out I'd like to cut out (so you'd see the glass) and on top everything above that black sharpie line I would cut away mostly so I could move my light to wherever it ends up working best. I'll have to make a support beam or two even with doubling up and supporting the foam. (I'm going to double it not triple the foam on the parts that are against the wall and will be holding the weight of the structure) Even if this setup doesn't work it's great practice.

As for the tight spaces that's very good to know because I was under the impression that they (majority) liked big open spaces so I was trying to keep it as open as possible. Your pictures also helpful, I'm sure your boy/girl must love their home!

Thanks again for all your help, I really appreciate it :-D
 

Evergreen

Juvie Member
Original Poster
I have a ReptiSun 10.0 blub on the way though and everything I've read prior to now said they should be able to get within 6-8 inches of the bulb but I just looked at their website and it says "This lamp should be placed 20 inches from your animals basking site."

Uh, ohh! I've got my basking site 7 inches from the bulb (little more or less depending on where i end up hanging the bulb itself). Now are they saying anything closer then 20" is dangerous or just that it can reach up to 20" and my basking site is find where it is?

*Picture of new background will be posted soon
 

Evergreen

Juvie Member
Original Poster
it changed a bit...
IMG_20111214_214446.jpg

IMG_20111214_214419.jpg

IMG_20111214_214425.jpg

I'll be grouting tomorrow. I am fairly happy with it, I did have far to high of expectations but nevertheless I like it. I'll defiantly make a different one when my dragon gets bigger but it's better then anything else I could have bought at the pet store. I'm debating on whether or not I need to put a little safety ledge/railing around that top part. I'll have to do it tonight for it to be dry tomorrow to grout so please pitch in your thoughts. They seem like good climbers but I don't know how great they are at judging height and distances...

Oh and as for perspective the top basking platform will be 7 inches away from the uv light (but he'll probably be able to lift his head to within 5-6" depending on which side of the tank I attach the light to). I'm buying a hammock to hang in the right side of the tank and I have a long strip of bamboo that I'd like to find a way to stand/attach about 4 inches from the ground at the front of the tank.

The bottom of the tank it's 21" from the light so it's an inch further then the the bulb says it can reach. I have extra Styrofoam so I think I'll shape and grout that and put it under the shelf liner (which will eventually be a tile/linoleum). Another option would be to cut an inch or two off the current structure and then lower the blub itself an inch or two as well.

That first ramp is also a hide but it's not attached to the background itself. Hopefully it's big enough but if not I'll make something else so he doesn't get stuck inside.
_____
Edit: Well It's Thursday and i got my reptisun 10.0 in the mail. Its to small (width wise) for my fixture. Went to three different stores and none of them had the kind I was looking for and my crickets had been in their bag for almost an hour so I headed home. The blub does fit into a canopy/dome that sits over my 20gal though and with the screen that I have I'm able to pull it out a couple inches so the blub is not being blocked and there's no way anything could get out. Hopefully i'm able to find an identical or similar fixture for my blub though or else I don't think my structure is going to work... I'll keep this updated as I figure things out.
 

Evergreen

Juvie Member
Original Poster
First I have to say that BadCon, you were right in that I I had a little to high of expectations for my first go at this kind of thing! But even though there are plenty of things I'd do differently I'm still happy with the outcome so here are a couple pictures of the last few steps of what I did...

The grout while still wet. We threw on some food coloring as a little experiment but I didn't like how it turned out so I bought a couple cans of spray paint instead.
IMG_20111223_145528.jpg


Right before painting it I put everything in place and this is what it looked like. I got the fake plants from a craft store and just cut them down until I could stick them into a hole I made. There were literally over 100 little fake plants to choose from but I just took the ones that I thought looked good together.
IMG_20120122_124751.jpg


I made many different hide/ramp structures but I just wasn't fond of any of them. On a hike I found this branch that ended up fitting perfectly (it might not look sturdy but I assure you it's safely wedged in). I'm still trying to find the best looking place for the plants on the bottom and will probably add a few decorative river rocks when its warm enough to go hiking down the creek again.
IMG_20120128_223241.jpg


It's not even slightly wobbly which is probably due to pure luck. I've sense dissembled the hood light above the screen and made it so the UV hangs correctly underneath. I guess we'll see how it stands up against time but this is hands down the craftiest I've even been so I'm pretty proud of the result. (and for the record he never uses the hammock >.<)
 
Status
Not open for further replies.

Members online

Latest resources

Latest profile posts

Day 3 of brumation. It's a struggle. I really miss my little guy. 😔
Mirage entered brumation yesterday, I'm gonna miss hanging out with my little guy.
Getting ready for another day. Feeling sleepy. 😴
I just walked into my room and instead of looking at me, Swordtail's eyes darted directly to the ice cream drumstick I'm holding
Finally replaced Swordtail's substrate

Forum statistics

Threads
156,086
Messages
1,257,594
Members
76,070
Latest member
El heffe
Top Bottom